
Hear from Our Customers
You’re dealing with cracks that keep coming back. Holes from that furniture move last year. Water stains from a leak you already paid to fix. Maybe you tried patching it yourself and now it looks worse than before.
Here’s what matters: when we’re done, you shouldn’t be able to tell where the damage was. No visible seams. No texture mismatches. No paint that’s three shades off.
The difference isn’t just in how it looks. It’s in how long it lasts. Proper sheetrock work means treating the cause, not just covering symptoms. If moisture caused the problem, we find where it’s coming from. If settling created the crack, we reinforce before we patch. That’s how you avoid paying twice for the same repair.
You get walls that look clean, feel solid, and don’t need attention again in six months. No dust coating your furniture. No crew that disappears for days between visits. Just straightforward work that actually solves the problem.
We’ve been doing interior renovations in Bayport and across Suffolk County since 2015. That’s long enough to know which products hold up to Long Island’s coastal humidity and which ones fail in two years.
Bayport homes deal with specific challenges. Salty air from the Great South Bay accelerates wear. Nor’easters test every seal and seam. Temperature swings between summer and winter create movement that shows up as cracks if the installation wasn’t done right the first time.
We’re licensed and insured for work in Nassau and Suffolk County. Our pricing is transparent before we start. No upsells once we’re in your home. No pressure tactics. You’ll know what you’re paying and why.
First, we look at the damage and everything around it. A crack in your wall might be from settling, but it could also signal a moisture issue or structural movement. We check the whole area, not just the obvious problem spot.
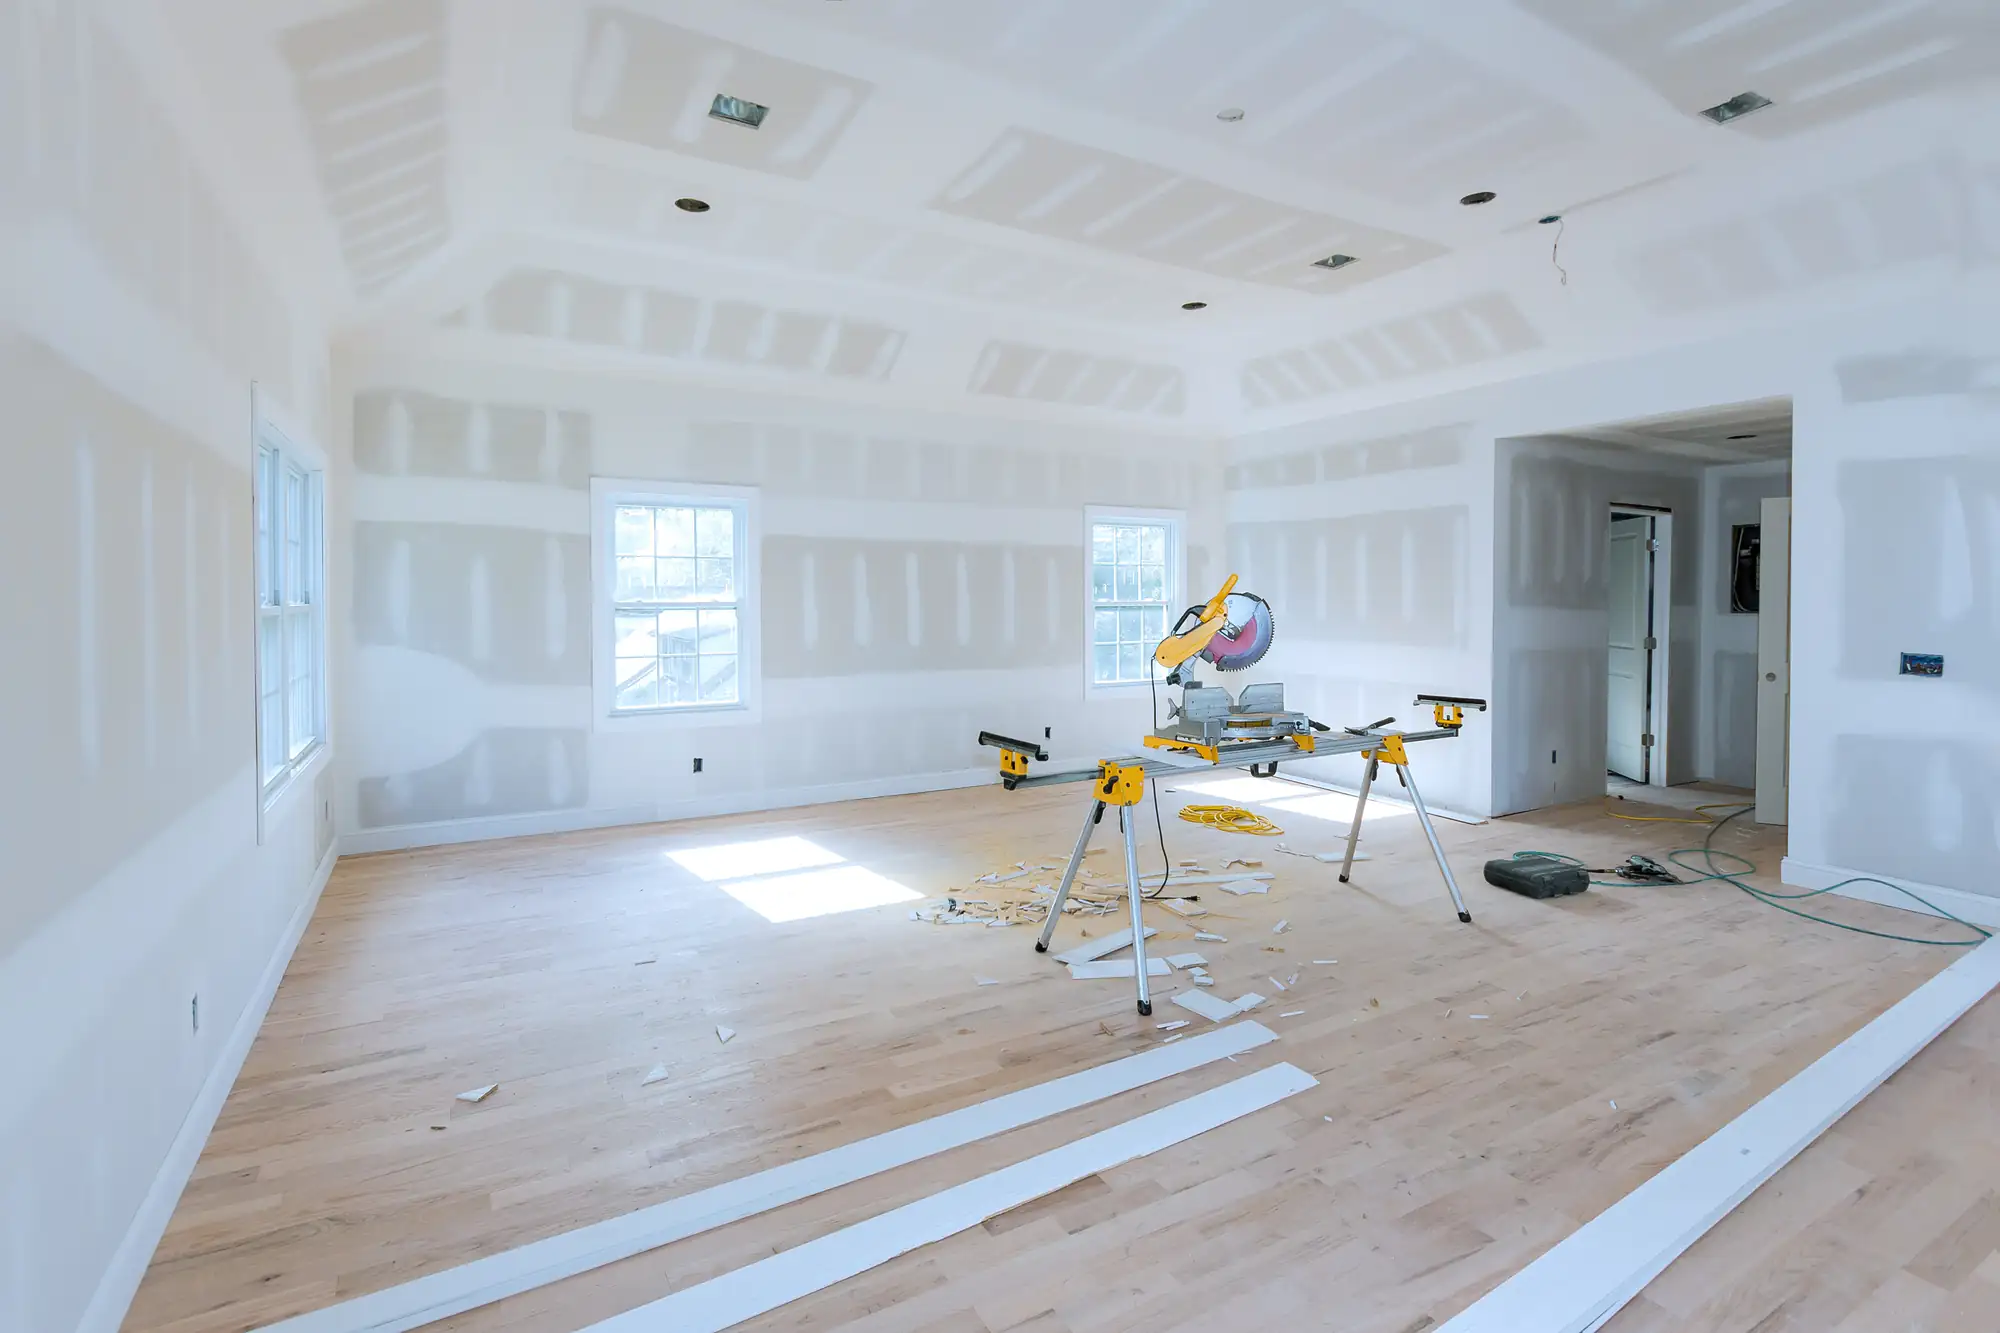
Next, we prep the space. Drop cloths go down. Furniture gets covered or moved. If we’re sanding, we use vacuum sanders that catch dust at the source instead of letting it settle on everything you own.
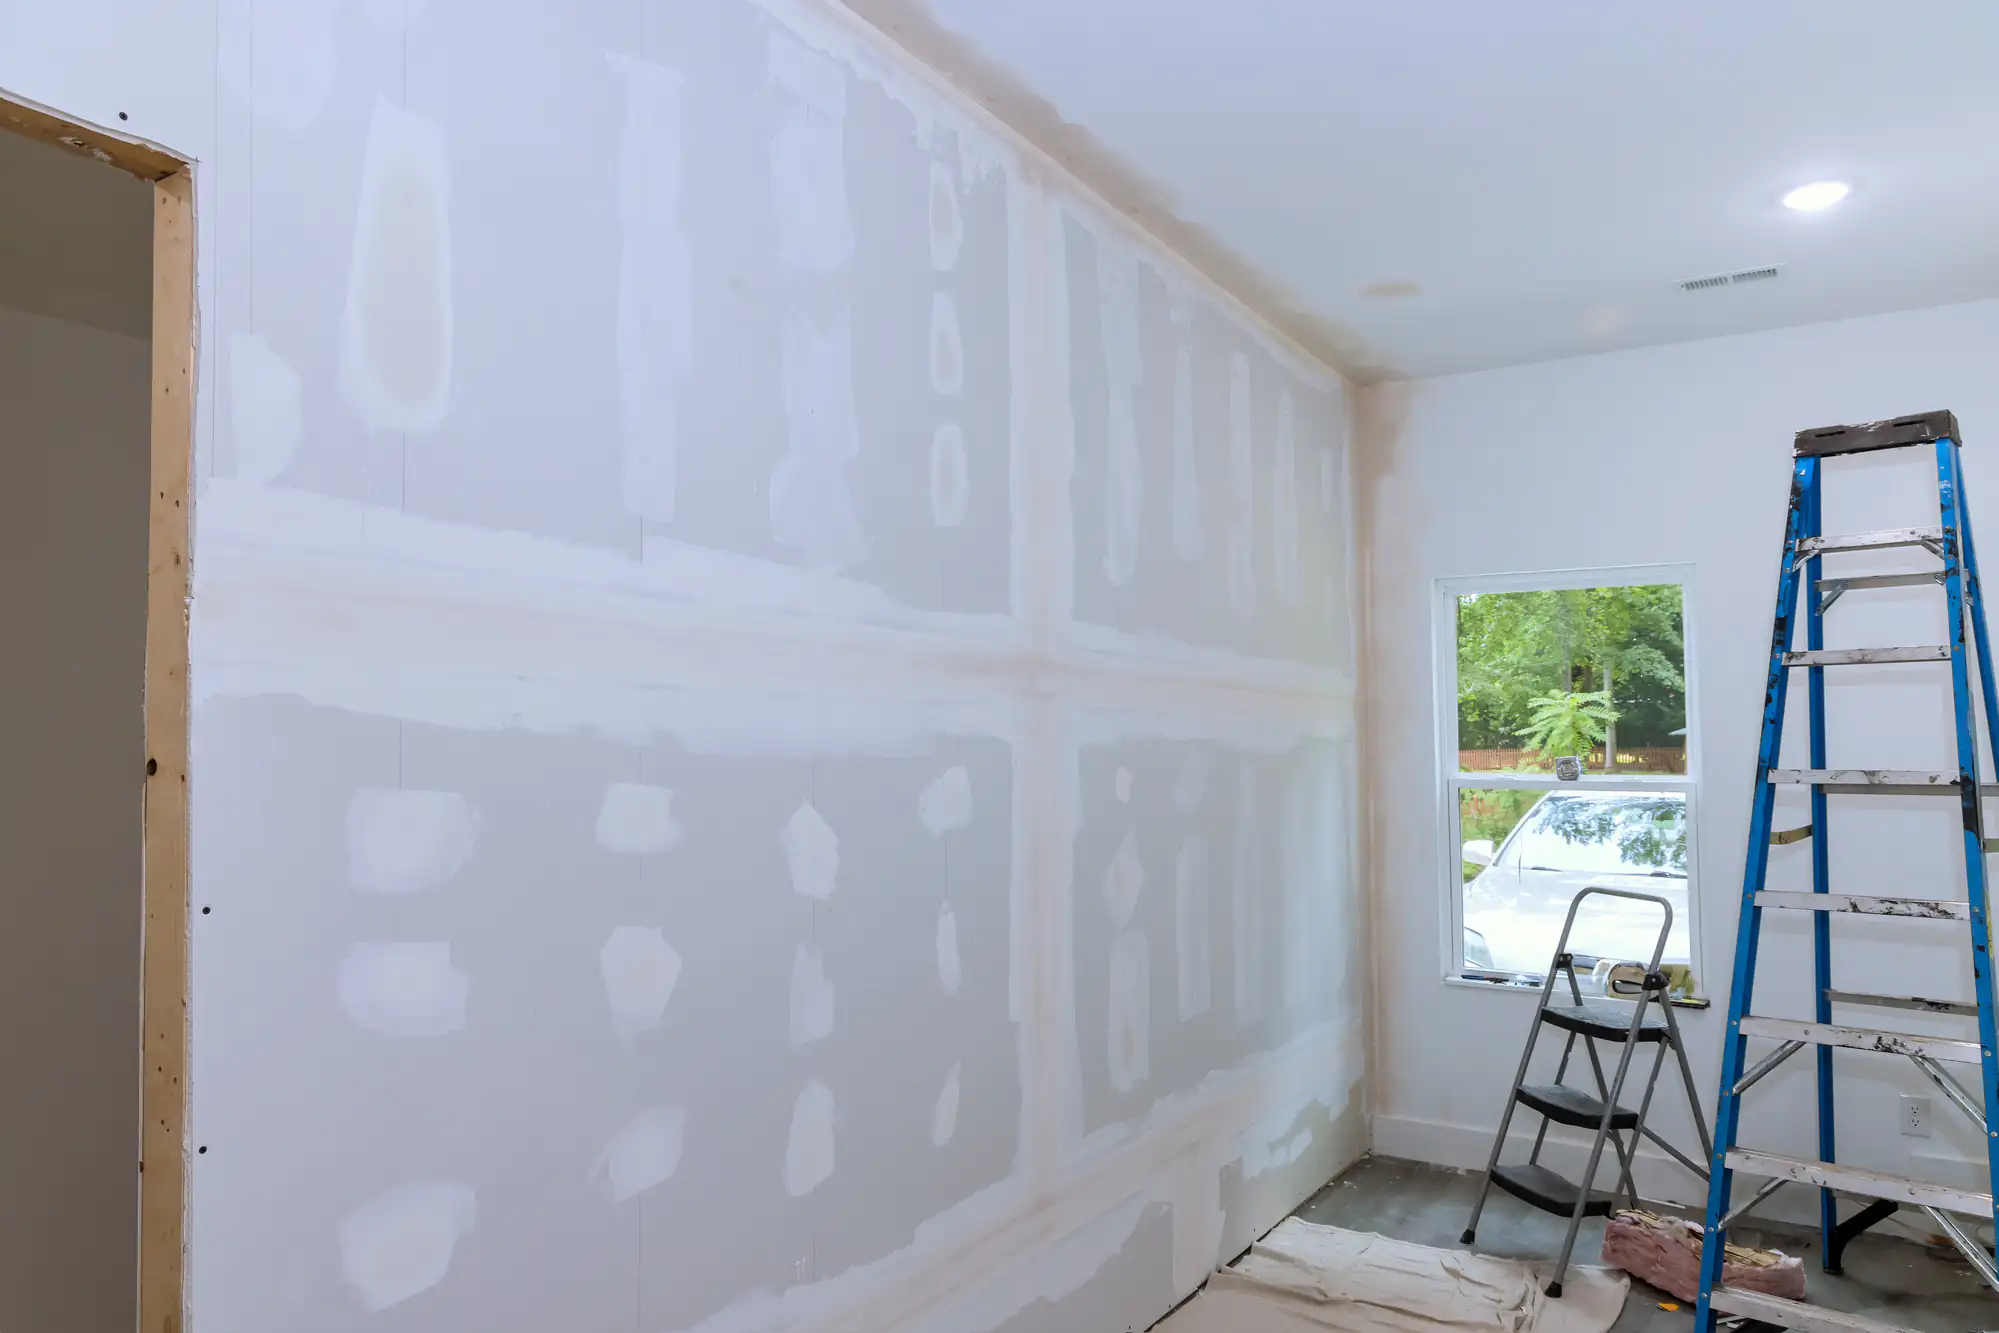
The actual repair depends on what we found. Small holes get filled and sanded smooth. Larger damaged sections get cut out and replaced with new sheetrock sheets. We use drywall taping compound on seams, then sand multiple times until the surface is completely level.
Texture matching comes next if your walls aren’t smooth. Then primer, then paint that actually matches your existing color. We don’t leave until the repair blends completely.
Cleanup happens daily, not just at the end. We’re not the crew that leaves drywall dust on your kitchen counters for a week.
Ready to get started?
You’re getting a full assessment, not just a patch job. That means we examine your roof line, gutters, windows, and moisture barriers if water damage is involved. Most drywall problems have a root cause that needs fixing or they’ll just come back.
The work itself covers everything from small repairs to full room installations. Holes, cracks, water damage, outdated popcorn ceiling removal, whole wall replacement. We handle commercial drywall installation too, though most of our Bayport work is residential.
Materials matter more than most homeowners realize. We use professional-grade drywall taping compound that doesn’t shrink as it dries. Our sheetrock sheets are moisture-resistant in bathrooms and basements. Paint is matched to your existing walls using actual samples, not guesswork.
Bayport’s coastal location means your walls face more moisture exposure than homes even ten miles inland. We account for that in product selection and installation technique. Corners get extra reinforcement. Seams are placed strategically to handle seasonal expansion and contraction.
You also get transparent communication throughout. If we find something unexpected, you hear about it before we proceed. No surprise charges on the final invoice.
Most sheetrock repairs in Bayport run between $400 and $2,000 depending on the size and complexity. A few small holes might cost $400-600. Water damage affecting multiple walls could reach $2,000 or more if we’re replacing large sections.
The price depends on several factors: how much wall needs replacing, whether there’s underlying damage we need to address first, accessibility of the area, and how much texture matching and paint work is involved. A patch in an open living room is simpler than repairing a ceiling in a finished basement with low clearance.
We give you a clear estimate before starting. That number doesn’t change unless you ask us to do additional work or we discover a serious issue like mold that needs remediation before we can safely proceed. You’ll know what you’re paying upfront, not after we’re already in your walls.
A single room usually takes two to three days from start to finish. That includes installation, taping, multiple rounds of sanding, texture matching, priming, and painting. Drywall taping compound needs time to dry between coats, which is why the work spans multiple days even if the actual labor is only a few hours.
Larger projects take longer. A whole-home installation after a gut renovation might take one to two weeks. Commercial drywall installation varies based on square footage and building access.
Weather affects the timeline too, especially in Bayport’s humid climate. High humidity slows drying time for joint compound and paint. We won’t rush the process and risk a poor finish just to meet an arbitrary deadline. You’re better off waiting an extra day for proper drying than dealing with cracks or peeling paint in a month.
Yes, and it’s one of the most important parts of making a repair invisible. Most Bayport homes have either smooth walls, orange peel texture, or knockdown texture. We can replicate all of them.
The process involves applying joint compound in a specific pattern, then using the right tools to create the texture before it dries. Orange peel requires a spray gun. Knockdown needs a trowel technique. Smooth walls need extra sanding to get perfectly level.
The hardest part is usually paint matching, not texture. Paint fades over time, especially in rooms with lots of sunlight. We take samples of your existing paint to get the closest match possible. Sometimes that means the new section looks slightly different until the whole wall gets repainted, which we can handle if you want the entire surface refreshed.
Cracks come from movement. Your house settles over time, especially in Bayport where soil conditions and proximity to water affect foundation stability. Seasonal temperature changes cause framing lumber to expand and contract. That movement transfers to your drywall.
Most cracks reappear if you just fill them without addressing why they formed. We look at the crack pattern to diagnose the cause. Vertical cracks near corners usually mean settling. Horizontal cracks might indicate a structural issue. Spiderweb patterns often point to impact damage or improper installation originally.
The fix depends on the cause. Minor settling cracks get reinforced with mesh tape and flexible compound that can handle small movements. Structural issues need to be corrected before we repair the cosmetic damage, or you’re wasting money on a temporary fix. We’ll tell you honestly if the crack signals a bigger problem that needs a structural engineer’s assessment.
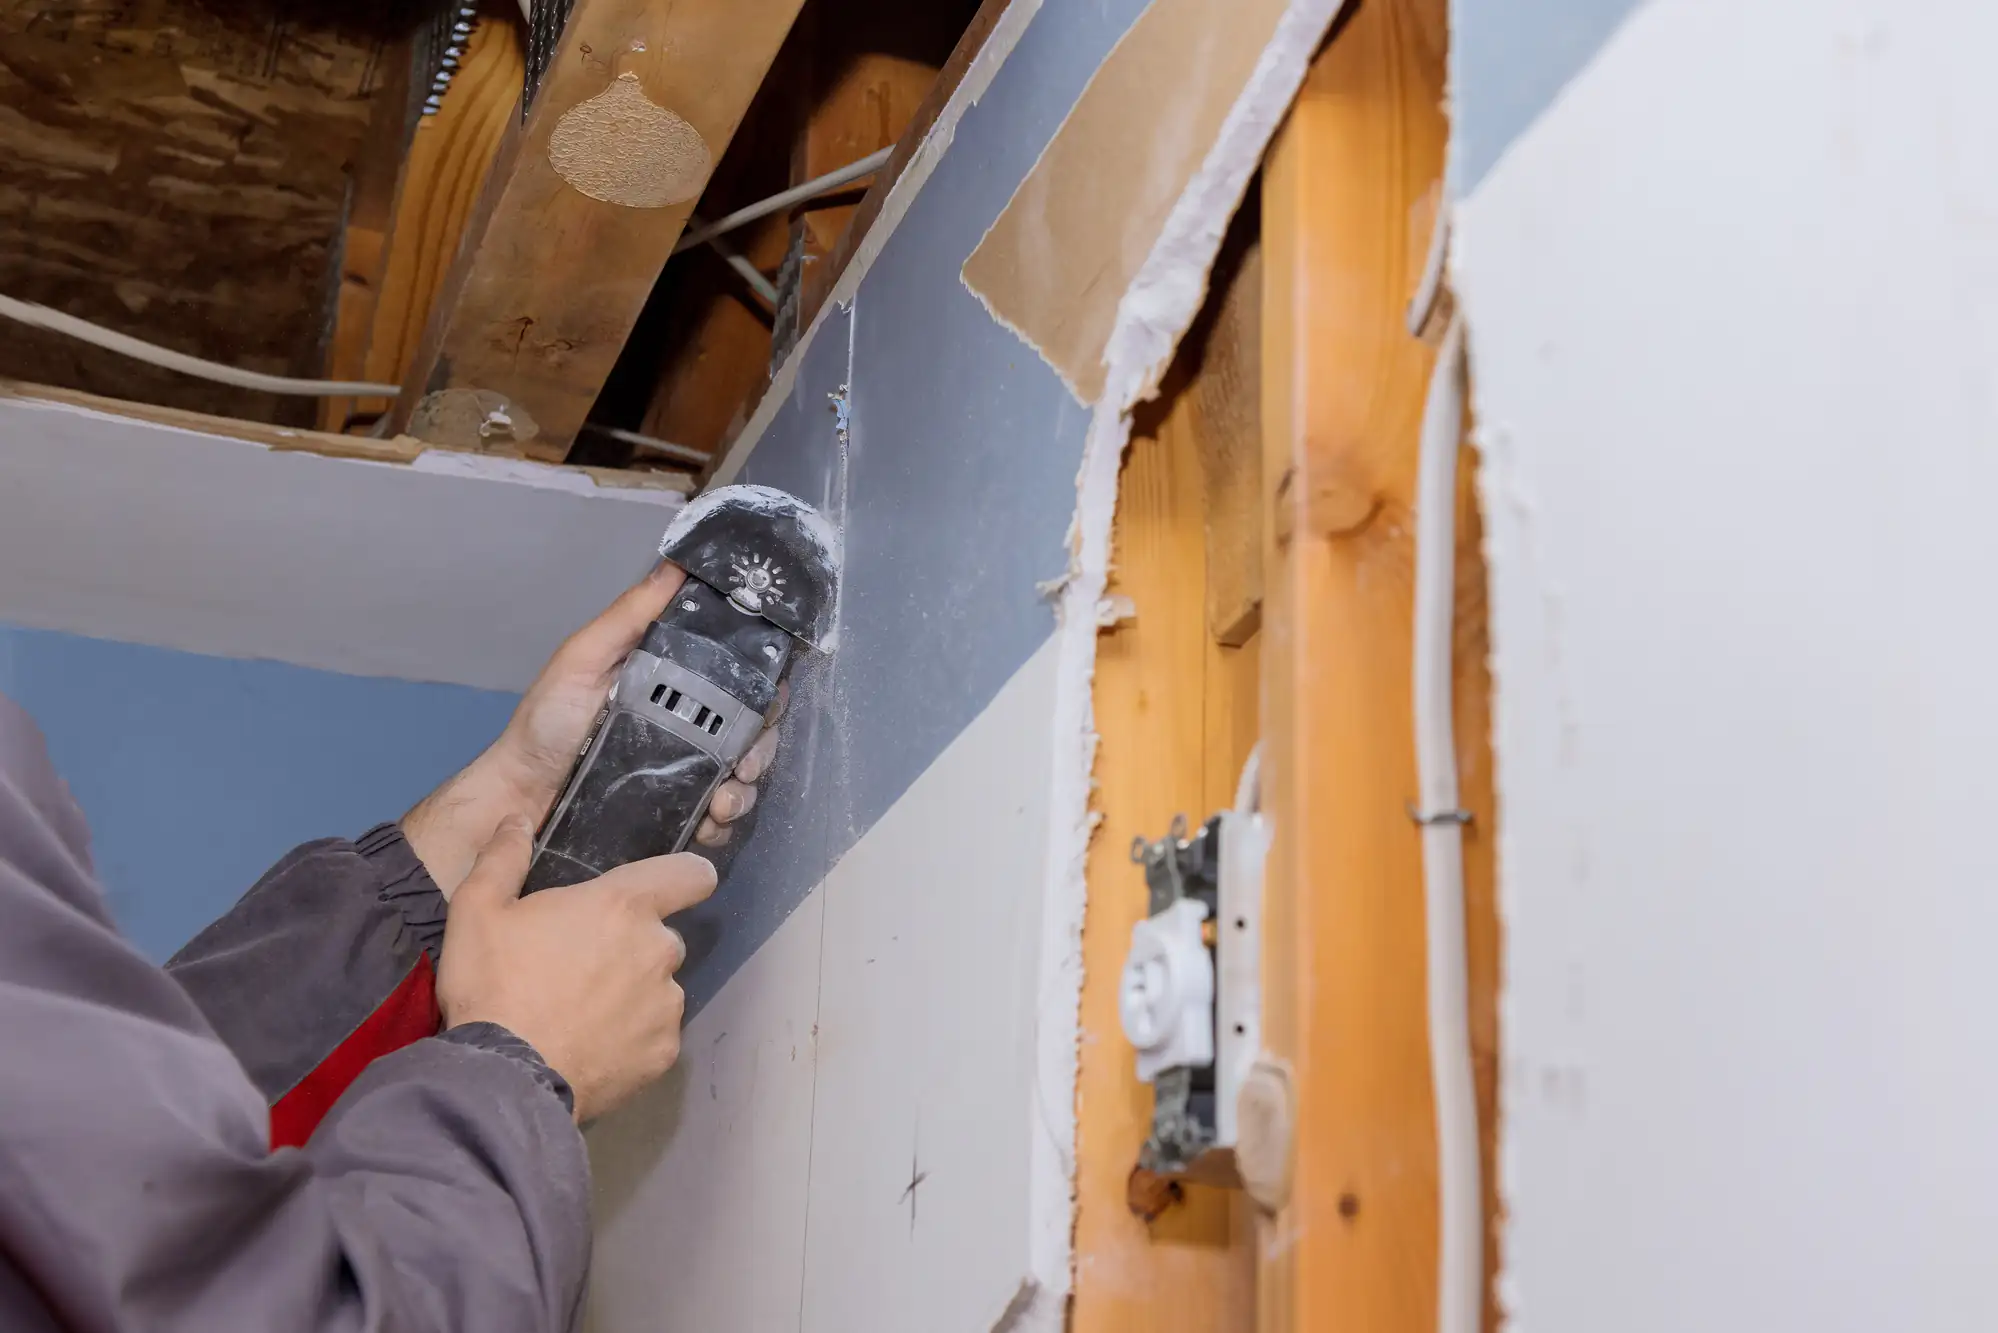
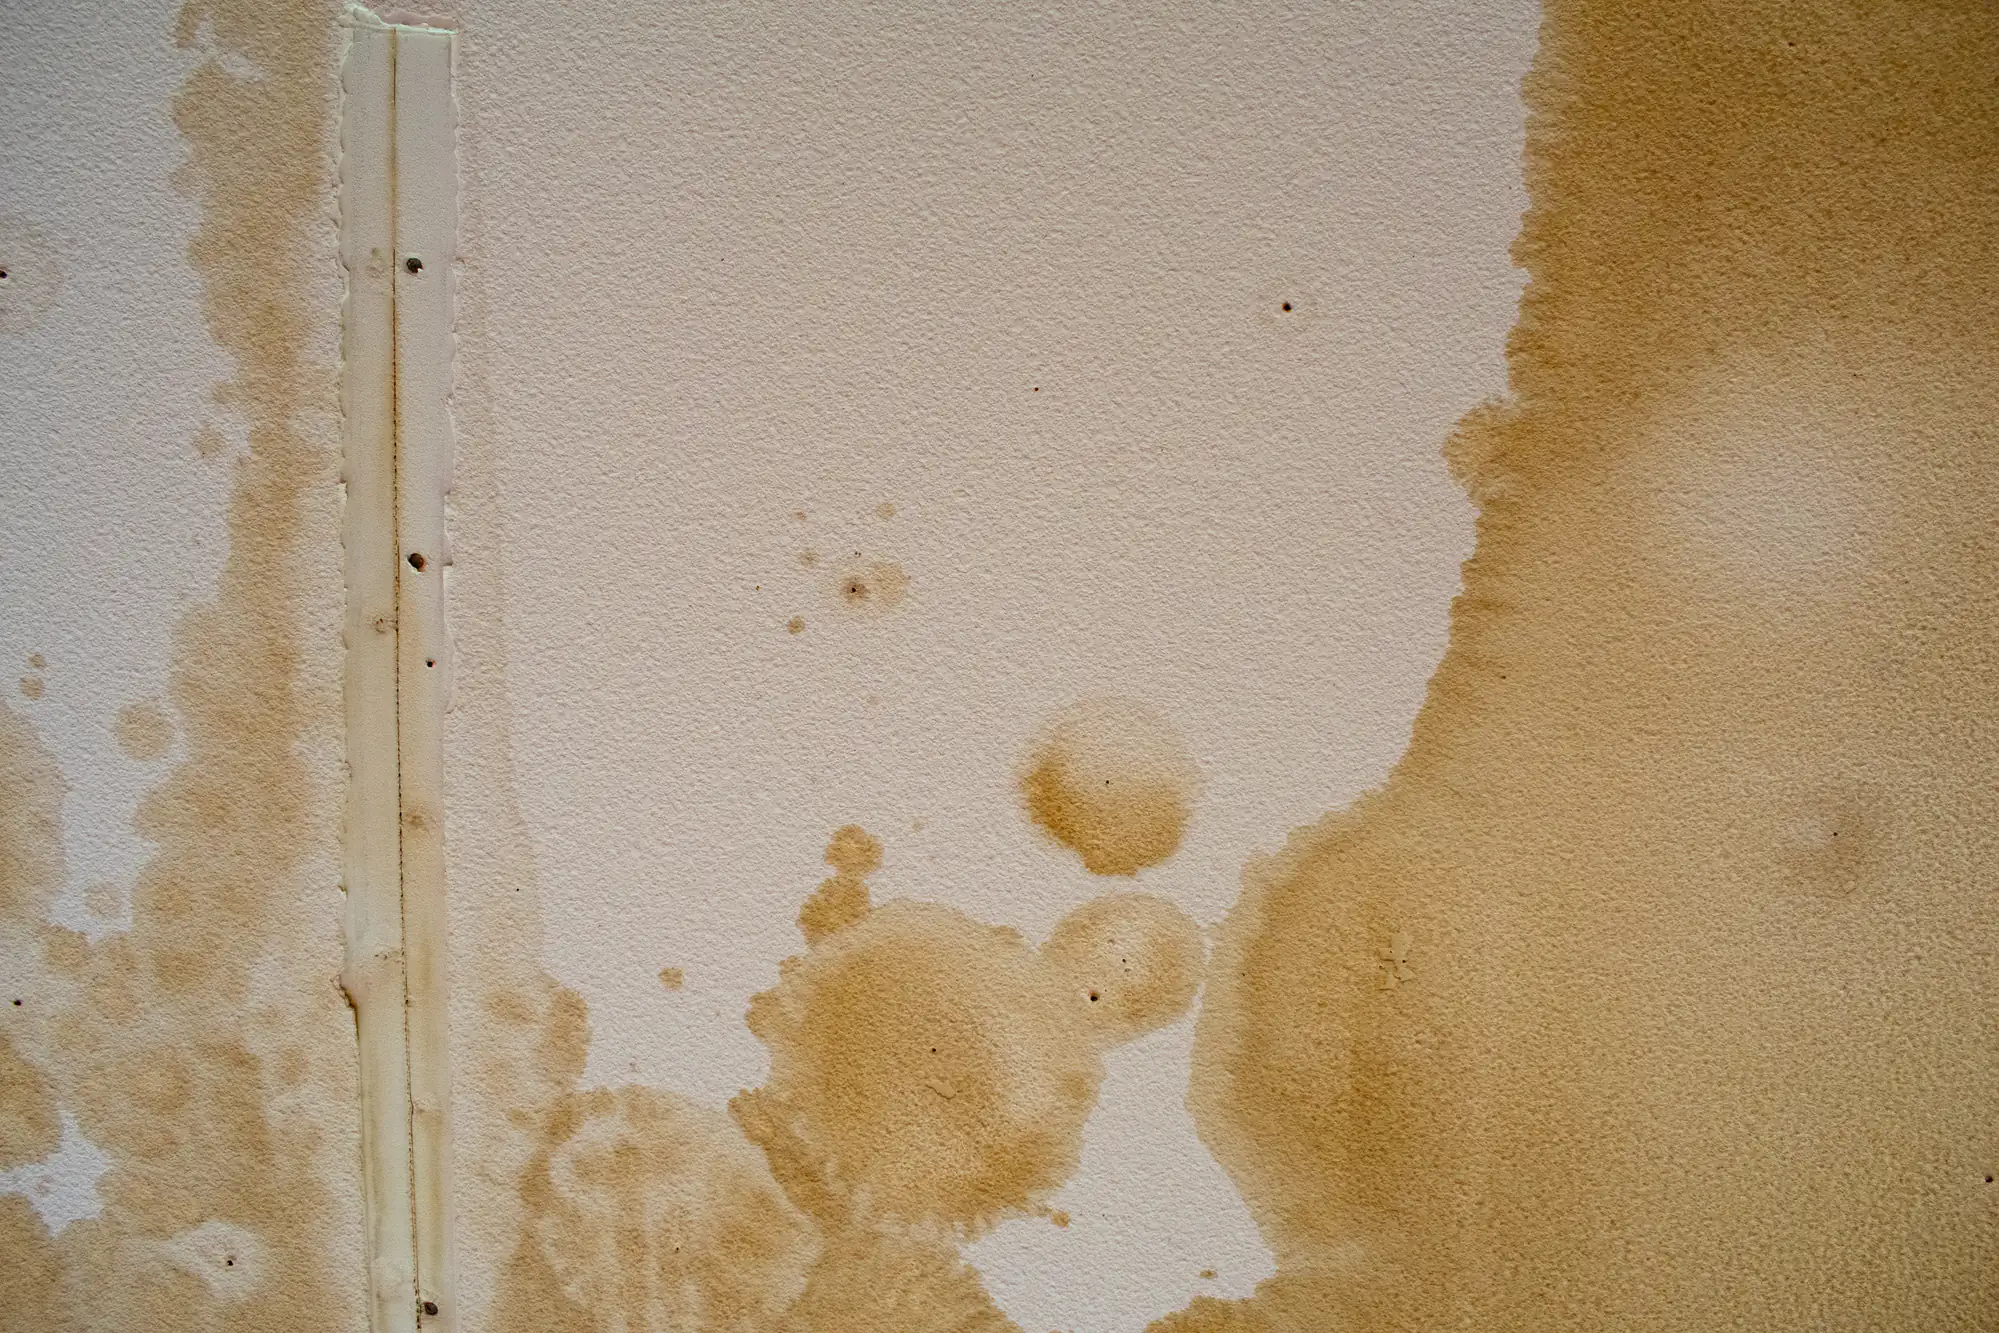
Yes, and it’s common here. Bayport’s coastal location means homes face humidity, occasional flooding, and roof leaks from storm damage. Water-damaged drywall needs to be cut out and replaced, not just dried and painted over.
Here’s why: once sheetrock gets soaked, it loses structural integrity even after it dries. The paper facing can harbor mold. The gypsum core becomes weak and crumbly. Painting over it might hide the stain temporarily, but the damage remains and often gets worse.
We remove all affected sections, check the framing and insulation behind it for moisture and mold, treat any issues we find, then install new moisture-resistant sheetrock. In bathrooms and basements, we use greenboard or cement board that handles humidity better than standard drywall. The key is fixing the water source first—whether that’s a leaky pipe, poor ventilation, or a roof issue—so the new installation doesn’t just get damaged again.
You can handle small repairs yourself if you have the time and tools. Spackling a nail hole doesn’t require a professional. But larger jobs get complicated fast, and mistakes are expensive to fix.
The biggest issue is getting a smooth, invisible finish. Taping and mudding seams takes practice. Too much compound and you’re sanding forever. Too little and the seam shows through paint. Most DIY attempts end up with visible ridges, uneven texture, or paint that doesn’t match.
Then there’s the mess. Drywall dust gets everywhere and it’s incredibly fine. Without proper containment and vacuum equipment, you’ll be cleaning it out of your HVAC system and off your belongings for months. We use dustless sanders and containment barriers that actually work.
You also risk missing underlying problems. That crack might seem cosmetic, but it could indicate a moisture issue or structural movement that’ll cause bigger damage if ignored. We’ve seen plenty of DIY repairs that covered up warning signs of serious problems, costing homeowners thousands more down the road than if they’d called a professional sheetrock contractor from the start.