
Hear from Our Customers
You know what bad sheetrock work looks like. Visible seams that catch the light. Uneven surfaces that show every imperfection once painted. Cracks that reappear six months later because someone rushed the job or skipped proper prep.
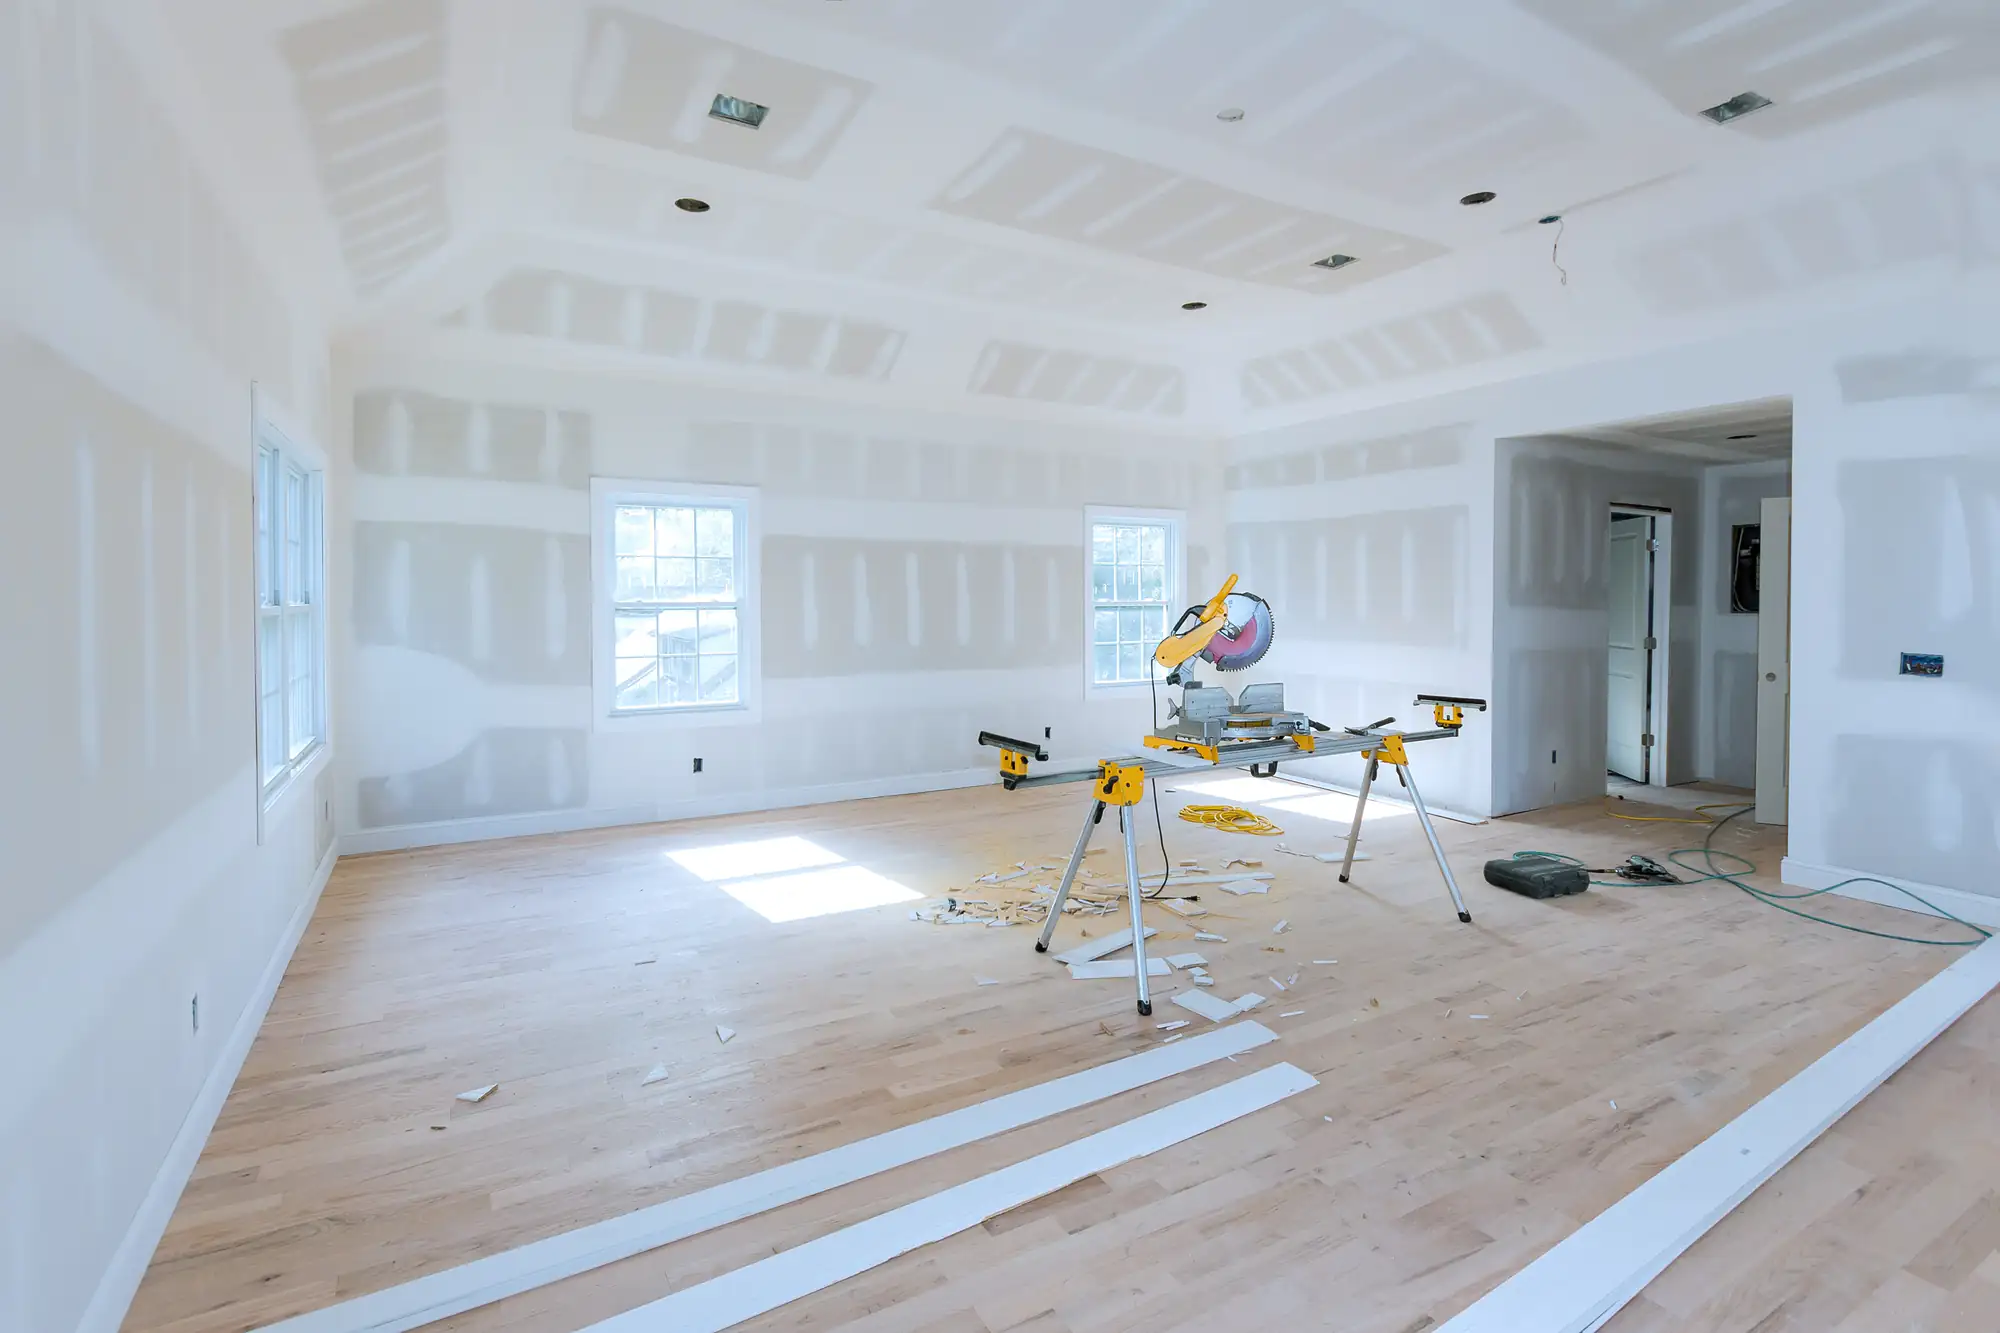
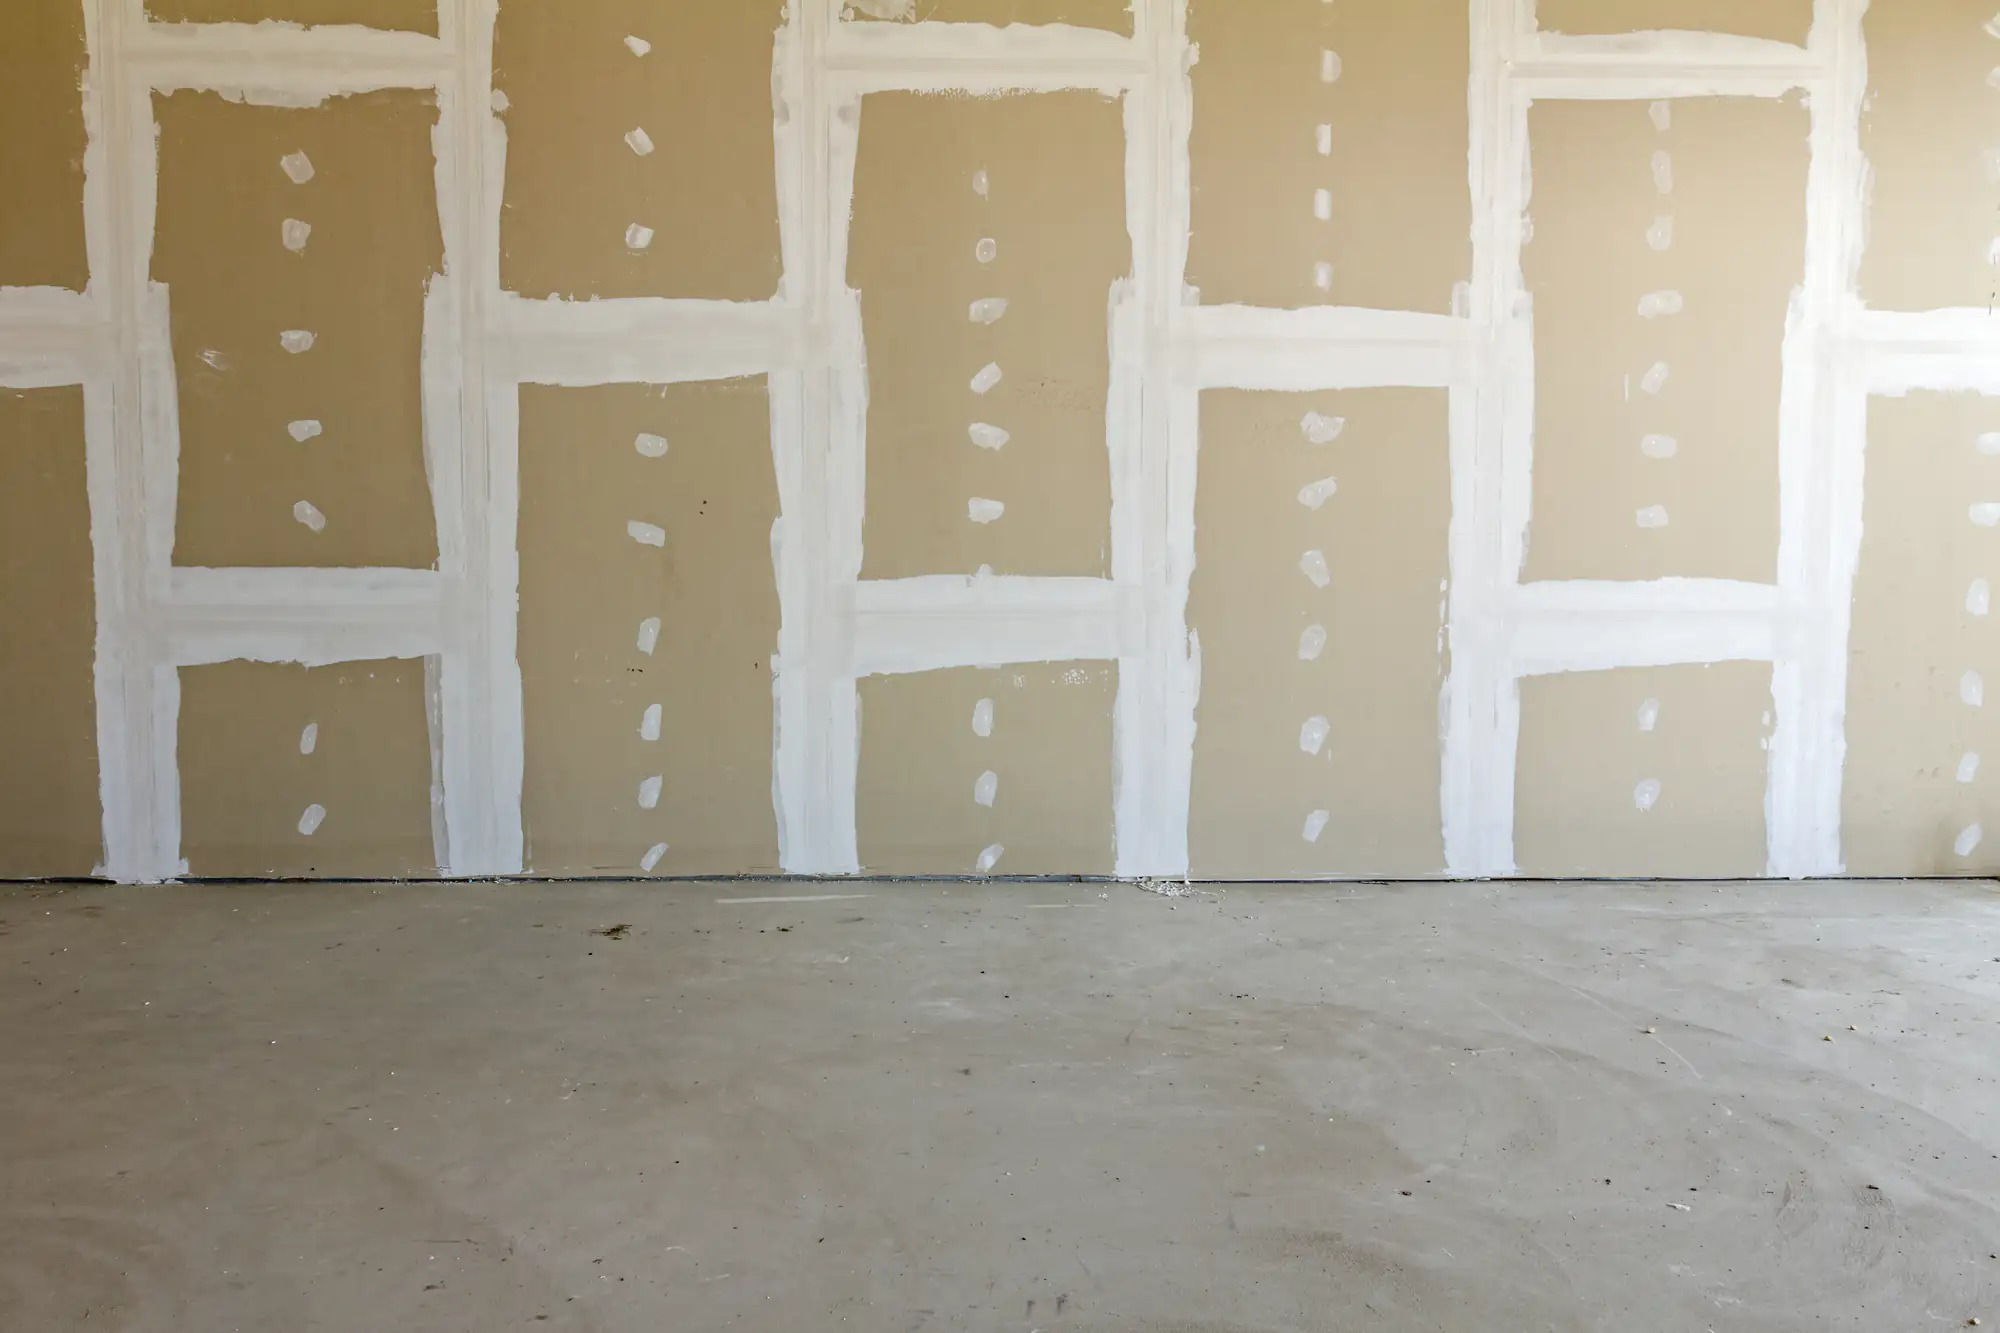
Good sheetrock work disappears. You don’t notice the seams, the corners, or the patches because everything sits flush and smooth. That’s what proper installation and finishing look like—walls that are ready for paint without needing another round of fixes.
When you’re updating a room, finishing a basement, or repairing water damage, the sheetrock sets the foundation for everything else. If it’s done right, your paint looks better, your trim sits cleaner, and your space actually feels finished. If it’s rushed or poorly executed, you’ll see the problems every single day.
We handle sheetrock installation and drywall repair the way it should be done—proper materials, correct techniques, and attention to the details that separate acceptable work from work that lasts.
We’ve spent close to ten years working on homes throughout Nesconset and the surrounding Suffolk County area. We’ve seen what happens when contractors cut corners, disappear mid-project, or tack on surprise charges after the estimate. That’s exactly why we built our business differently.
You get detailed written estimates that break down labor and materials before any work starts. You work with the same point of contact from consultation through completion. And you get honest communication about timelines, potential issues, and what your project actually requires—not an inflated scope designed to maximize our invoice.
Most of our work comes from referrals. Neighbors recommending us to neighbors because the job was done right, on schedule, and without the usual contractor headaches. That’s how we’ve built our reputation in Nesconset, and it’s how we plan to keep it.
We start with an on-site consultation to assess the space, measure accurately, and understand what you’re dealing with. If you’ve got water damage, structural concerns, or tricky angles, we identify those upfront—not halfway through the job when it’s too late to plan properly.
You receive a detailed written estimate that breaks down materials, labor, and any prep work required. No vague line items or surprise additions later. If something changes during the project, you know about it before we proceed.
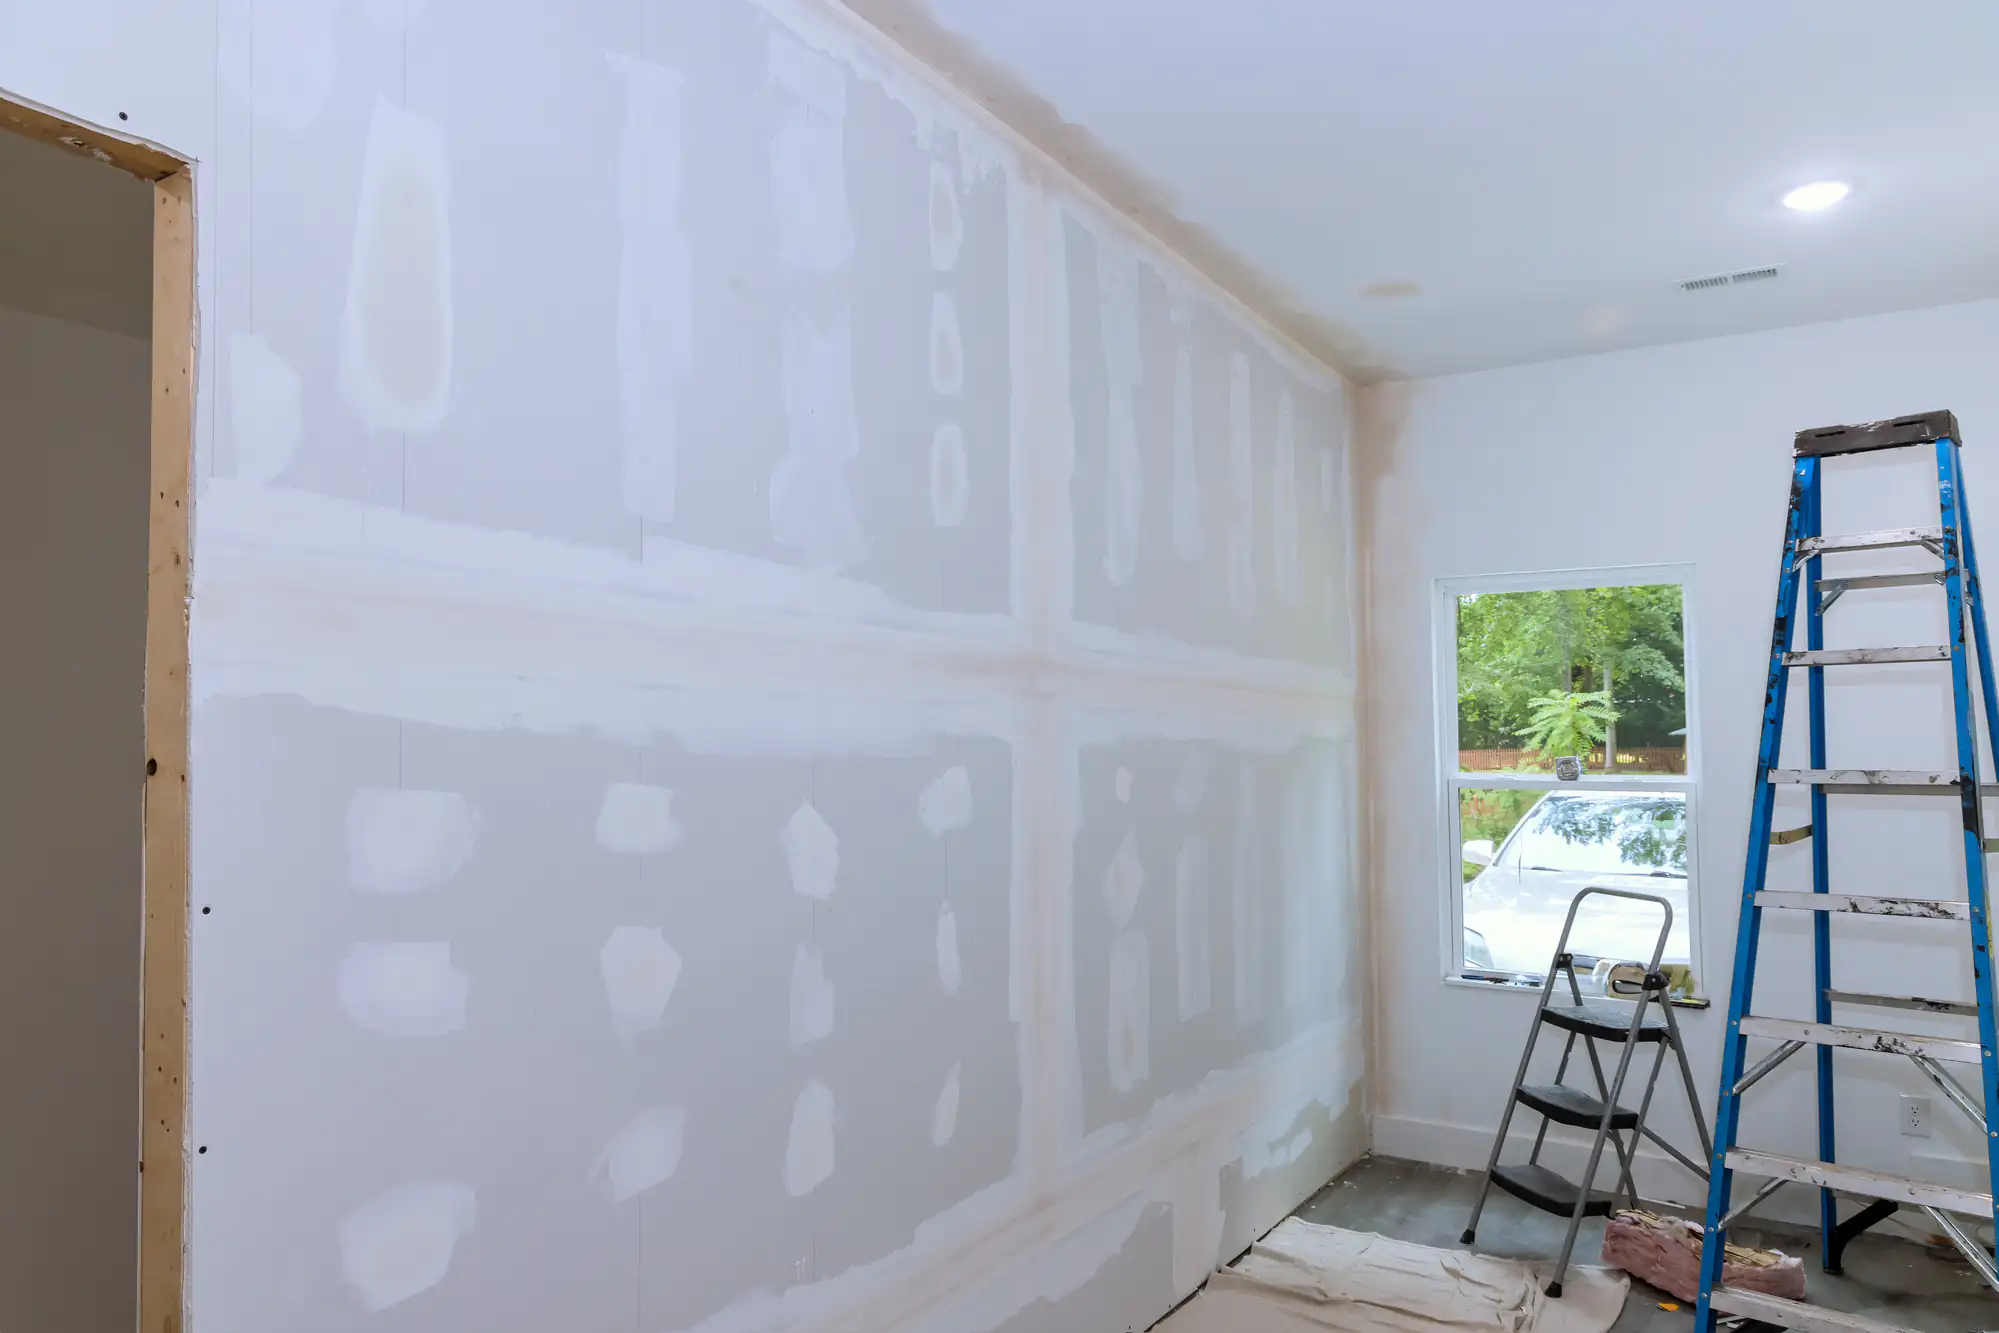
Once work begins, we prep the area to protect your floors and belongings, then handle demolition if you’re replacing existing sheetrock. Installation follows manufacturer specifications and local building codes. We’re talking proper fastener spacing, correct joint compound application, and multiple finishing coats—not the bare minimum to call it done.
Taping, mudding, and sanding happen in stages. Each coat needs to dry properly before the next goes on. Rushing this process shows up immediately once paint hits the wall, so we don’t rush it. After final sanding, you’re left with smooth, paint-ready surfaces that won’t need touch-ups in a few months.
We coordinate with electricians or plumbers if your project involves moving outlets, adding fixtures, or running new lines. You shouldn’t have to manage multiple contractors and conflicting schedules—that’s our job.
Ready to get started?
Sheetrock installation covers new construction, additions, basement finishing, and full room renovations. We measure, cut, hang, tape, mud, and sand to create smooth, level surfaces ready for your finish coat.
Drywall repair addresses cracks, holes, water damage, and failing seams. Nesconset homes—many built decades ago—deal with settling foundations, temperature fluctuations, and humidity changes that stress sheetrock over time. Small cracks turn into larger problems if ignored, and water damage spreads beyond what’s visible on the surface.
We also handle skim coating for textured walls you want smooth, ceiling repairs that match existing finishes, and corner bead replacement where damage occurs most frequently. If you’re dealing with mold or moisture issues, we address the source before installing new materials—covering up the problem just delays the inevitable failure.
Commercial drywall installation follows the same quality standards but accounts for higher traffic, stricter code requirements, and coordinated timelines with other trades. Whether it’s office build-outs, retail spaces, or multi-unit properties, the process requires planning and precision to avoid costly delays.
Long Island’s humidity and temperature swings mean materials need to acclimate before installation, and joint compound requires proper drying time between coats. Shortcuts here lead to cracking, bubbling, and premature failure—problems you’ll be staring at long after we’re gone.
A standard bedroom or living room typically takes three to five days from start to finish, but that timeline depends on several factors you should know upfront.
Hanging the sheetrock itself happens quickly—usually within a day for most rooms. The time-consuming part is finishing: taping seams, applying multiple coats of joint compound, and sanding between each coat. Each layer needs adequate drying time, and rushing this process shows up immediately once you paint.
If we’re working in a basement or dealing with high humidity, drying times extend. If the project involves removing old sheetrock, repairing framing, or coordinating with electricians and plumbers, add time for demolition and prep work. Water damage or structural issues discovered during demo can also affect the schedule.
We give you a realistic timeline during the estimate based on your specific project conditions. You’ll know what to expect before work starts, and if anything changes, you’ll hear about it immediately—not after you’ve already rearranged your schedule.
Repair makes sense for isolated damage—small holes, cracks, minor water stains, or damaged corners. We cut out the affected area, patch it with new material, blend the seams, and finish to match the surrounding wall. You save money and time compared to replacing entire sheets.
Full replacement becomes necessary when damage is widespread, the existing sheetrock is outdated or failing, or you’re dealing with significant water damage or mold. If more than 30-40% of a wall is compromised, replacement usually costs less than extensive repairs and delivers better long-term results.
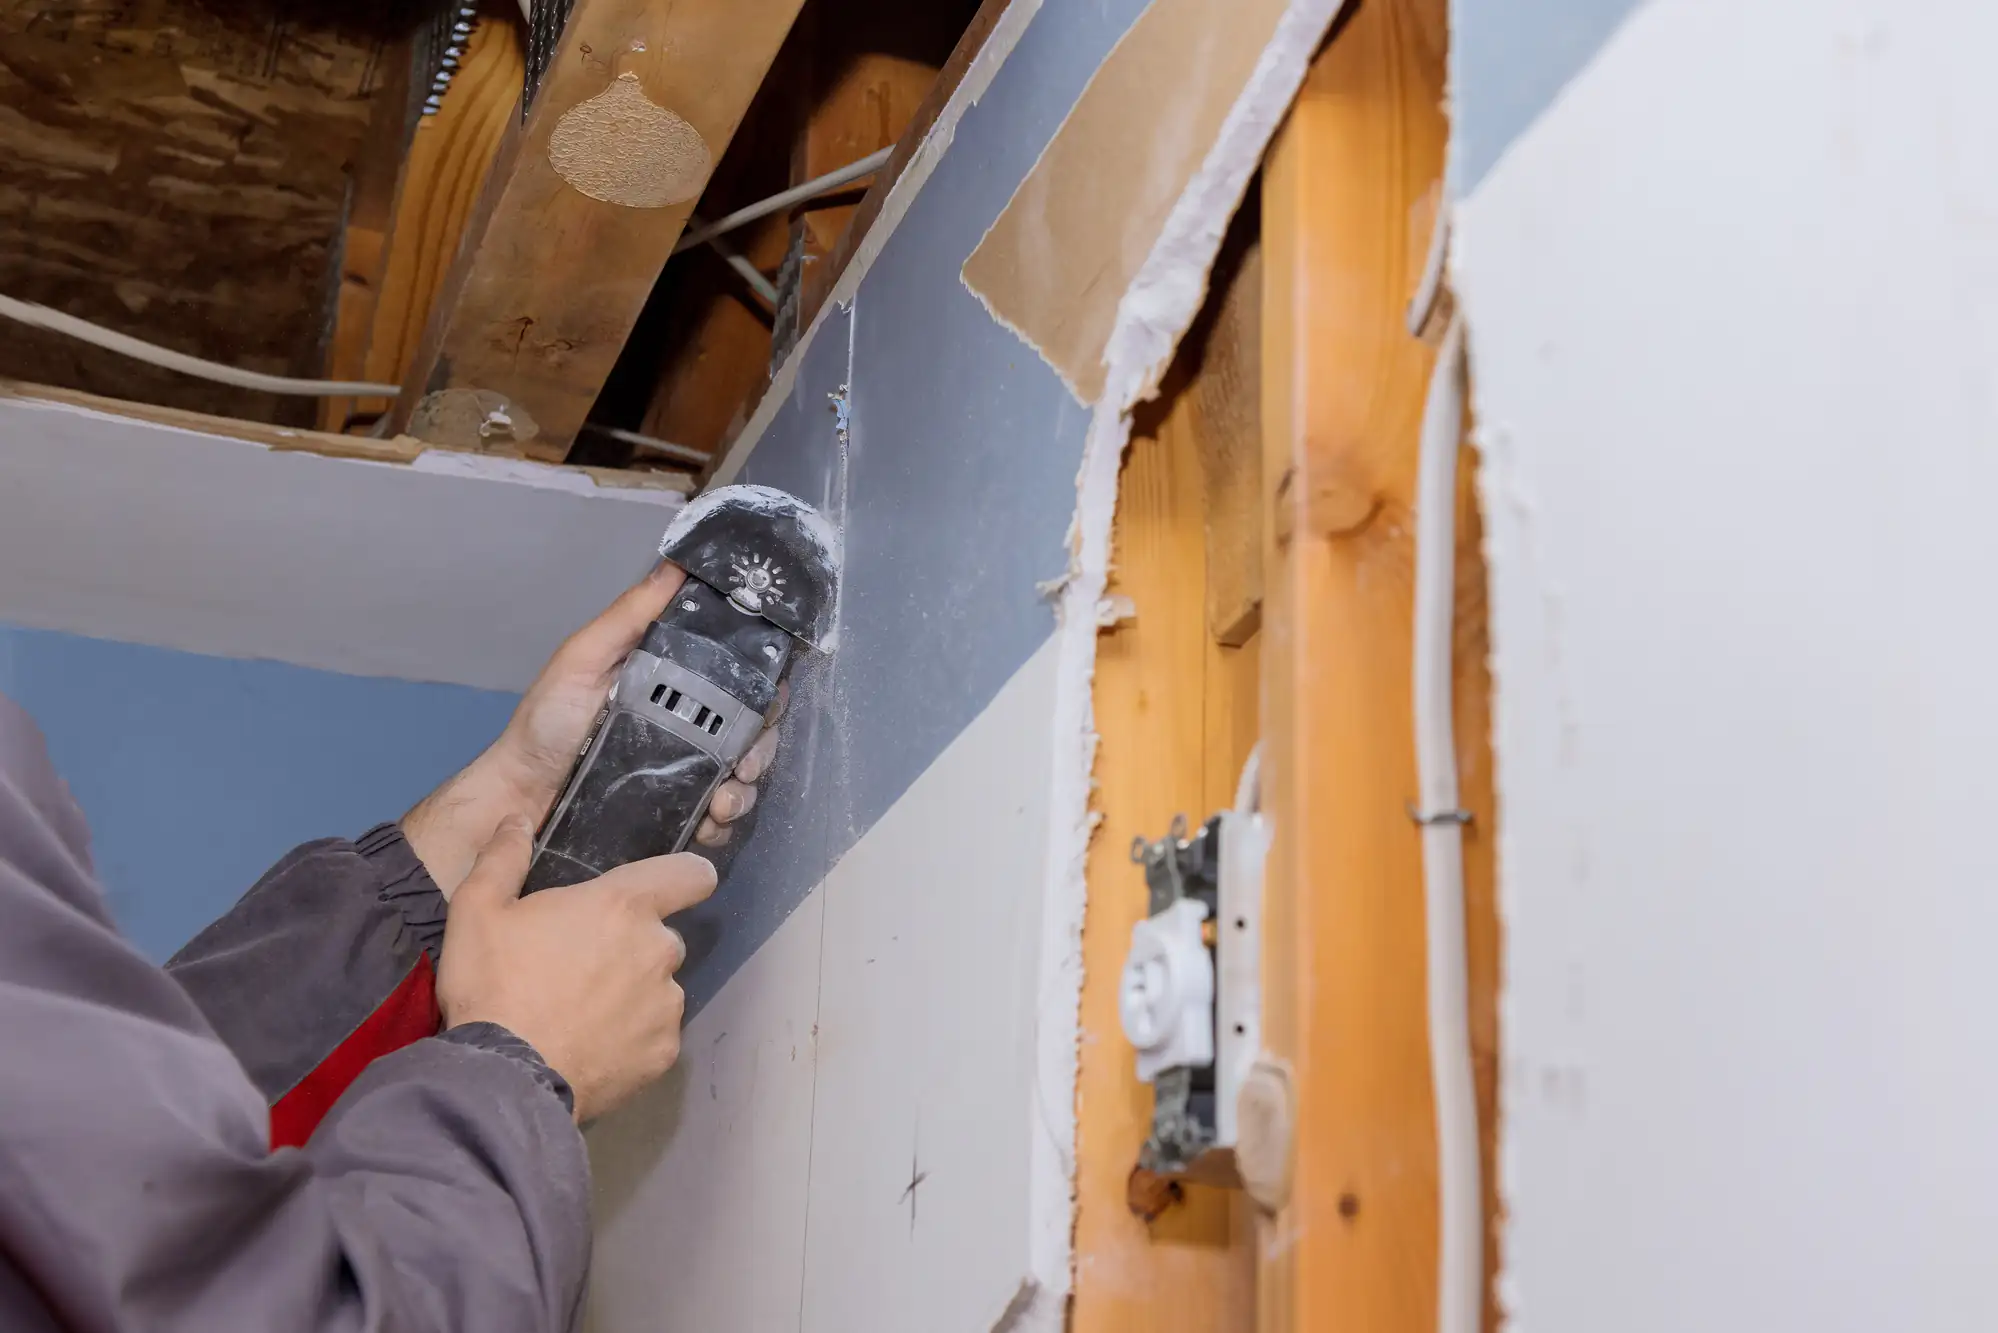
Here’s what most homeowners don’t realize: water damage spreads beyond what you see on the surface. That small stain on your ceiling might indicate soaked insulation and compromised framing above. Mold grows inside wall cavities where you can’t see it. Patching visible damage without addressing the source just delays the real fix.
We assess the full extent of damage before recommending repair or replacement. Sometimes that means removing a section of sheetrock to see what’s actually happening behind it. You deserve to know what you’re dealing with, not just what’s convenient to fix on the surface.
Yes, and this matters more than most homeowners realize when hiring a sheetrock contractor.
Finishing a basement, adding a room, or making structural changes typically requires permits in Nesconset. Sheetrock installation must meet current New York State building codes for fire resistance, moisture barriers, and proper fastening. Inspectors check this work, and failing inspection means tearing out and redoing sections that don’t comply.
We handle permit applications, ensure work meets code requirements, and coordinate inspections as part of your project. You’re not navigating town offices or deciphering building codes on your own.
Some contractors skip permits to save time or avoid scrutiny of their work. That creates problems when you sell your home and unpermitted work shows up during inspection, or if you file an insurance claim and the work doesn’t meet code standards. Proper permits protect your investment and ensure the work is done correctly from the start.
Fire-rated sheetrock is required in specific locations—garages, furnace rooms, between living spaces and attics. Moisture-resistant materials belong in bathrooms and basements. Using standard sheetrock in these areas violates code and leads to premature failure. We use the right materials in the right places, every time.
Most residential sheetrock projects in Nesconset range from $1,500 to $5,000 depending on room size, ceiling height, project complexity, and whether you need repair or full installation.
A single room with standard 8-foot ceilings, minimal cuts around windows and doors, and straightforward access typically falls on the lower end. Larger spaces, vaulted ceilings, extensive repairs, or projects requiring demolition and disposal of old materials cost more.
Here’s what affects your final price: the number of corners and angles (more seams mean more finishing work), ceiling texture matching, the condition of existing framing, and whether we’re working around obstacles like ductwork or built-ins. Water damage repair costs more than standard installation because we’re addressing underlying issues, not just hanging new sheets.
We provide detailed written estimates that break down materials, labor, prep work, and disposal costs. You’ll see exactly what you’re paying for before any work begins. If we discover additional issues during the project—damaged framing, mold, or electrical problems—we discuss options and costs before proceeding.
The cheapest estimate usually means someone’s cutting corners on materials, skipping proper prep, or planning to hit you with change orders once work starts. We price projects fairly based on doing the job right the first time, using quality materials, and delivering finished surfaces that last.
Yes, but texture matching requires skill and experience that separates professional sheetrock contractors from handymen trying to patch walls.
Common textures in Nesconset homes include orange peel, knockdown, skip trowel, and smooth finishes. Each requires specific techniques and tools to replicate accurately. Orange peel uses a hopper gun with the right tip size and air pressure. Knockdown involves timing—you spray texture, let it set briefly, then knock it down with a trowel at exactly the right moment.
The challenge isn’t just applying texture—it’s blending new texture into existing surfaces so you can’t see where the repair ends and the original wall begins. This means feathering edges, matching the pattern density, and sometimes texturing a larger area than just the repair to avoid obvious transitions.
Smooth finishes are actually harder than textured ones. Every imperfection shows once paint goes on, so the underlying sheetrock work must be flawless. We’re talking multiple coats of joint compound, careful sanding, and expert-level finishing techniques—what we call five-level spackling.
We test texture on scrap material before applying it to your wall. You see what it looks like, confirm it matches, and approve before we commit. If your existing texture is unusual or outdated, we discuss options—sometimes matching it perfectly costs more than re-texturing the entire wall for a uniform appearance.
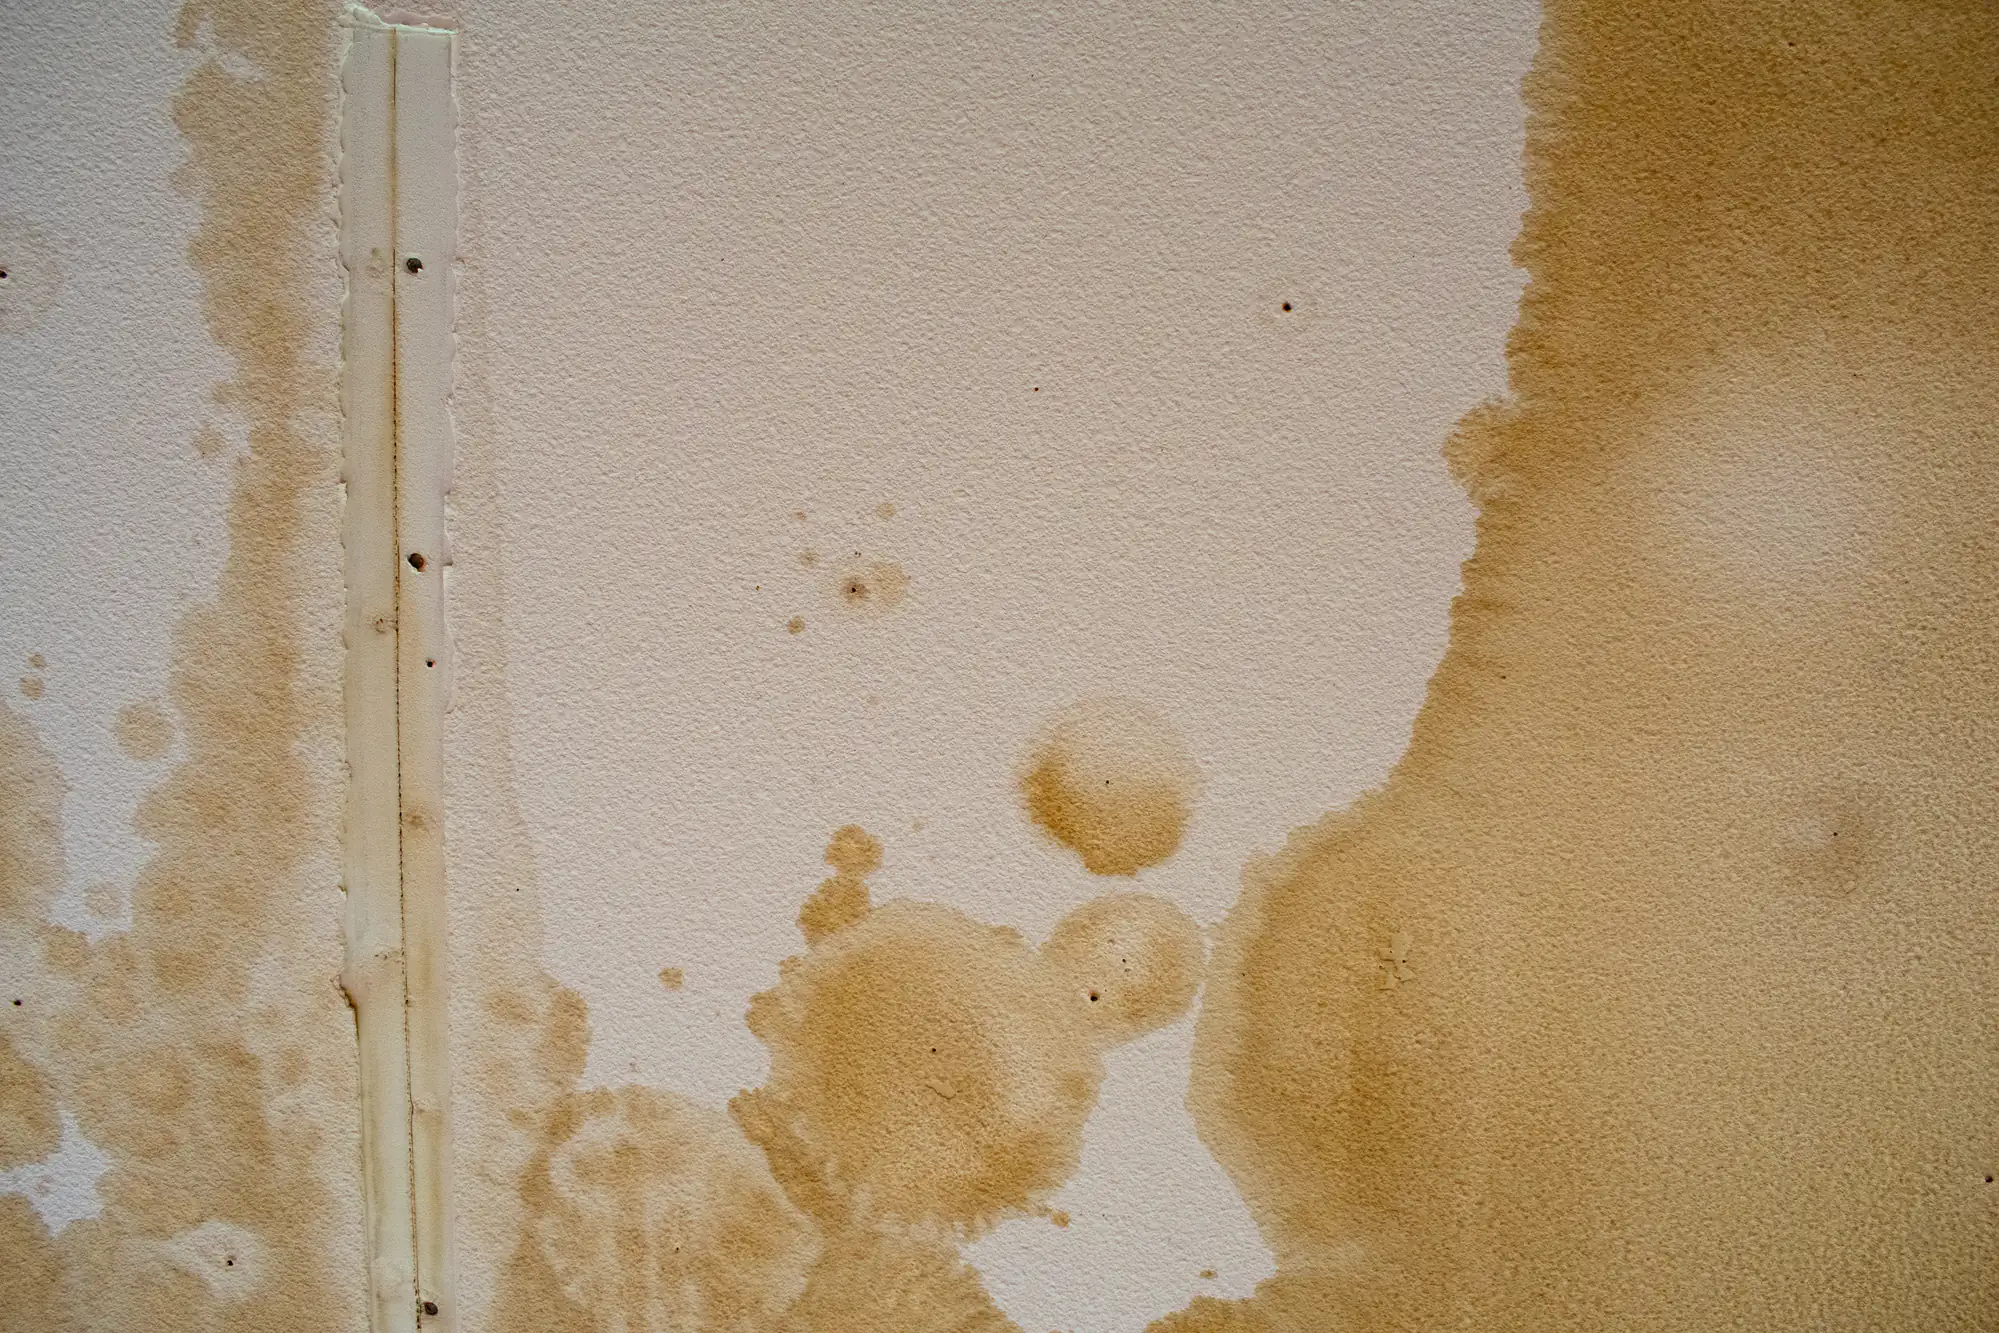
Address it immediately, because water damage gets worse the longer it sits—and the problem is usually bigger than what you see on the surface.
First, identify and stop the source. Roof leak, plumbing issue, condensation problem, or exterior water intrusion—fix that before repairing sheetrock. Patching walls while water continues entering just means you’ll be patching again in a few months, with more extensive damage.
Check for mold. If you see discoloration, smell mustiness, or notice the sheetrock is soft or crumbling, you’re likely dealing with mold growth inside the wall cavity. This requires proper remediation, not just covering it with new sheetrock. Mold spreads, affects air quality, and creates health issues if ignored.
Don’t wait to call someone. Water-damaged sheetrock loses structural integrity, and what starts as a small stain can lead to sagging ceilings, crumbling walls, and damaged framing. Insurance often covers water damage if you act quickly, but delayed claims raise questions about when damage actually occurred.
We assess the full extent of water damage, identify the source if it’s not obvious, and recommend the right fix—whether that’s targeted repair or full replacement. Sometimes that means bringing in a plumber or roofer before we touch the sheetrock. You need the complete solution, not just a patch that fails in six months.