Bad sheetrock work doesn't show itself until the paint goes on. Here's what a quality finish actually involves — and what to look for before you hire.
You’ve probably seen it before — fresh paint on a wall that somehow still looks wrong. There’s a ridge where the tape is. A bump where a screw was. A seam that catches the light at the wrong angle. The contractor is long gone, and now you’re left wondering what exactly you paid for.
That’s the reality of sheetrock work done in a hurry, with the wrong materials, or by someone who stopped caring after the hanging was done. We’ve been working in Suffolk County homes for nearly a decade, and we hear some version of this story more often than we should. What a great sheetrock job actually looks like — and how to make sure you get one — is worth understanding before you start.
Sheetrock and drywall are the same thing — Sheetrock is simply USG’s brand name for drywall, though the two terms get used interchangeably everywhere, especially here on Long Island. What matters more than the name is what happens after the boards go up.
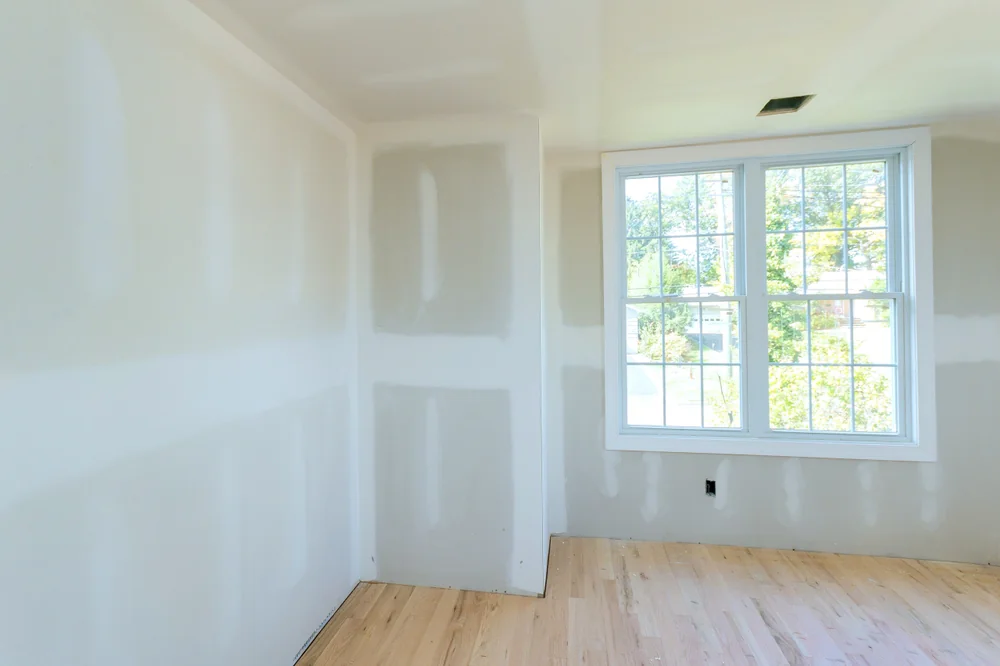
Hanging the panels is the straightforward part. The real skill is in the finishing — taping the seams, applying multiple coats of joint compound, sanding everything smooth, and matching any existing texture on surrounding walls. Done right, you can’t find where the work happened. Done poorly, you’ll see it every time the afternoon light hits the wall at an angle.

The drywall industry uses a standardized finish system that runs from Level 0 to Level 5. Most homeowners have never heard of it, but it directly determines what your walls look like after they’re painted.
Level 0 is bare board — no finish at all. Level 1 is tape only, used in attics or utility spaces nobody ever sees. Level 2 adds a thin coat of compound over the tape and screws, which is standard for garages or surfaces getting tiled. Level 3 adds a second coat and is appropriate for walls that will receive heavy texture. Level 4 is the conventional residential standard — three coats on everything, sanded smooth, and ready for most interior paint applications.
Level 5 is different. It involves applying a thin skim coat of joint compound over the entire surface, on top of the Level 4 work. Every square inch of the wall gets that final layer. The result is a completely uniform surface with no variation in porosity, no subtle ridges, and no inconsistencies that could telegraph through paint. It’s the finish you need when you’re using dark colors, high-gloss or semi-gloss paint, or when a room has strong directional lighting that would expose any imperfection.
We deliver Level 5 spackling as our standard — not as an upgrade you have to ask for. Most contractors in this area default to Level 3 or 4 and call it done. The difference is visible the moment you paint.
This is something most contractor websites won’t tell you, because it requires actually knowing the local market. Suffolk County is not a generic interior environment. You’re dealing with salt air, high ambient humidity, seasonal temperature swings, and in many neighborhoods — particularly around Lake Ronkonkoma, where the largest freshwater lake on Long Island sits — elevated moisture levels that affect everything inside a home’s walls.
Standard drywall deteriorates faster in these conditions. In bathrooms, kitchens, and basements, it’s not even a question — moisture-resistant board is the right call, and it’s what we use. It costs slightly more upfront. It saves you from mold, crumbling compound, and premature failure down the line. In areas close to the water or in homes that have dealt with storm intrusion, we assess whether standard moisture-resistant board is sufficient or whether a higher-performance option makes more sense.
The joint compound itself is also affected by humidity. Rushing the drying process — applying a second coat before the first has fully cured — is one of the most common causes of cracking and shrinkage. In Long Island’s humid summers, that curing time can be longer than the industry’s general 24-hour guideline. We account for that. A contractor who doesn’t is cutting a corner that won’t show up until months after they’ve cashed the check.
Suffolk County building codes also require fire-rated drywall in specific applications — between attached garages and living spaces, in boiler rooms, and in certain multi-family configurations. We stay current on those requirements so your project passes inspection and you’re not dealing with code violations after the work is done.
Want live answers?
Connect with a Jaguar Renovation expert for fast, friendly support.
Sheetrock work rarely exists on its own. A kitchen renovation means new walls after cabinet installation. A bathroom remodel requires moisture-resistant board before tile can go up. A finished basement starts with framing and sheetrock before any flooring, carpentry, or lighting gets added. The quality of the drywall work sets the foundation for everything that comes after it.
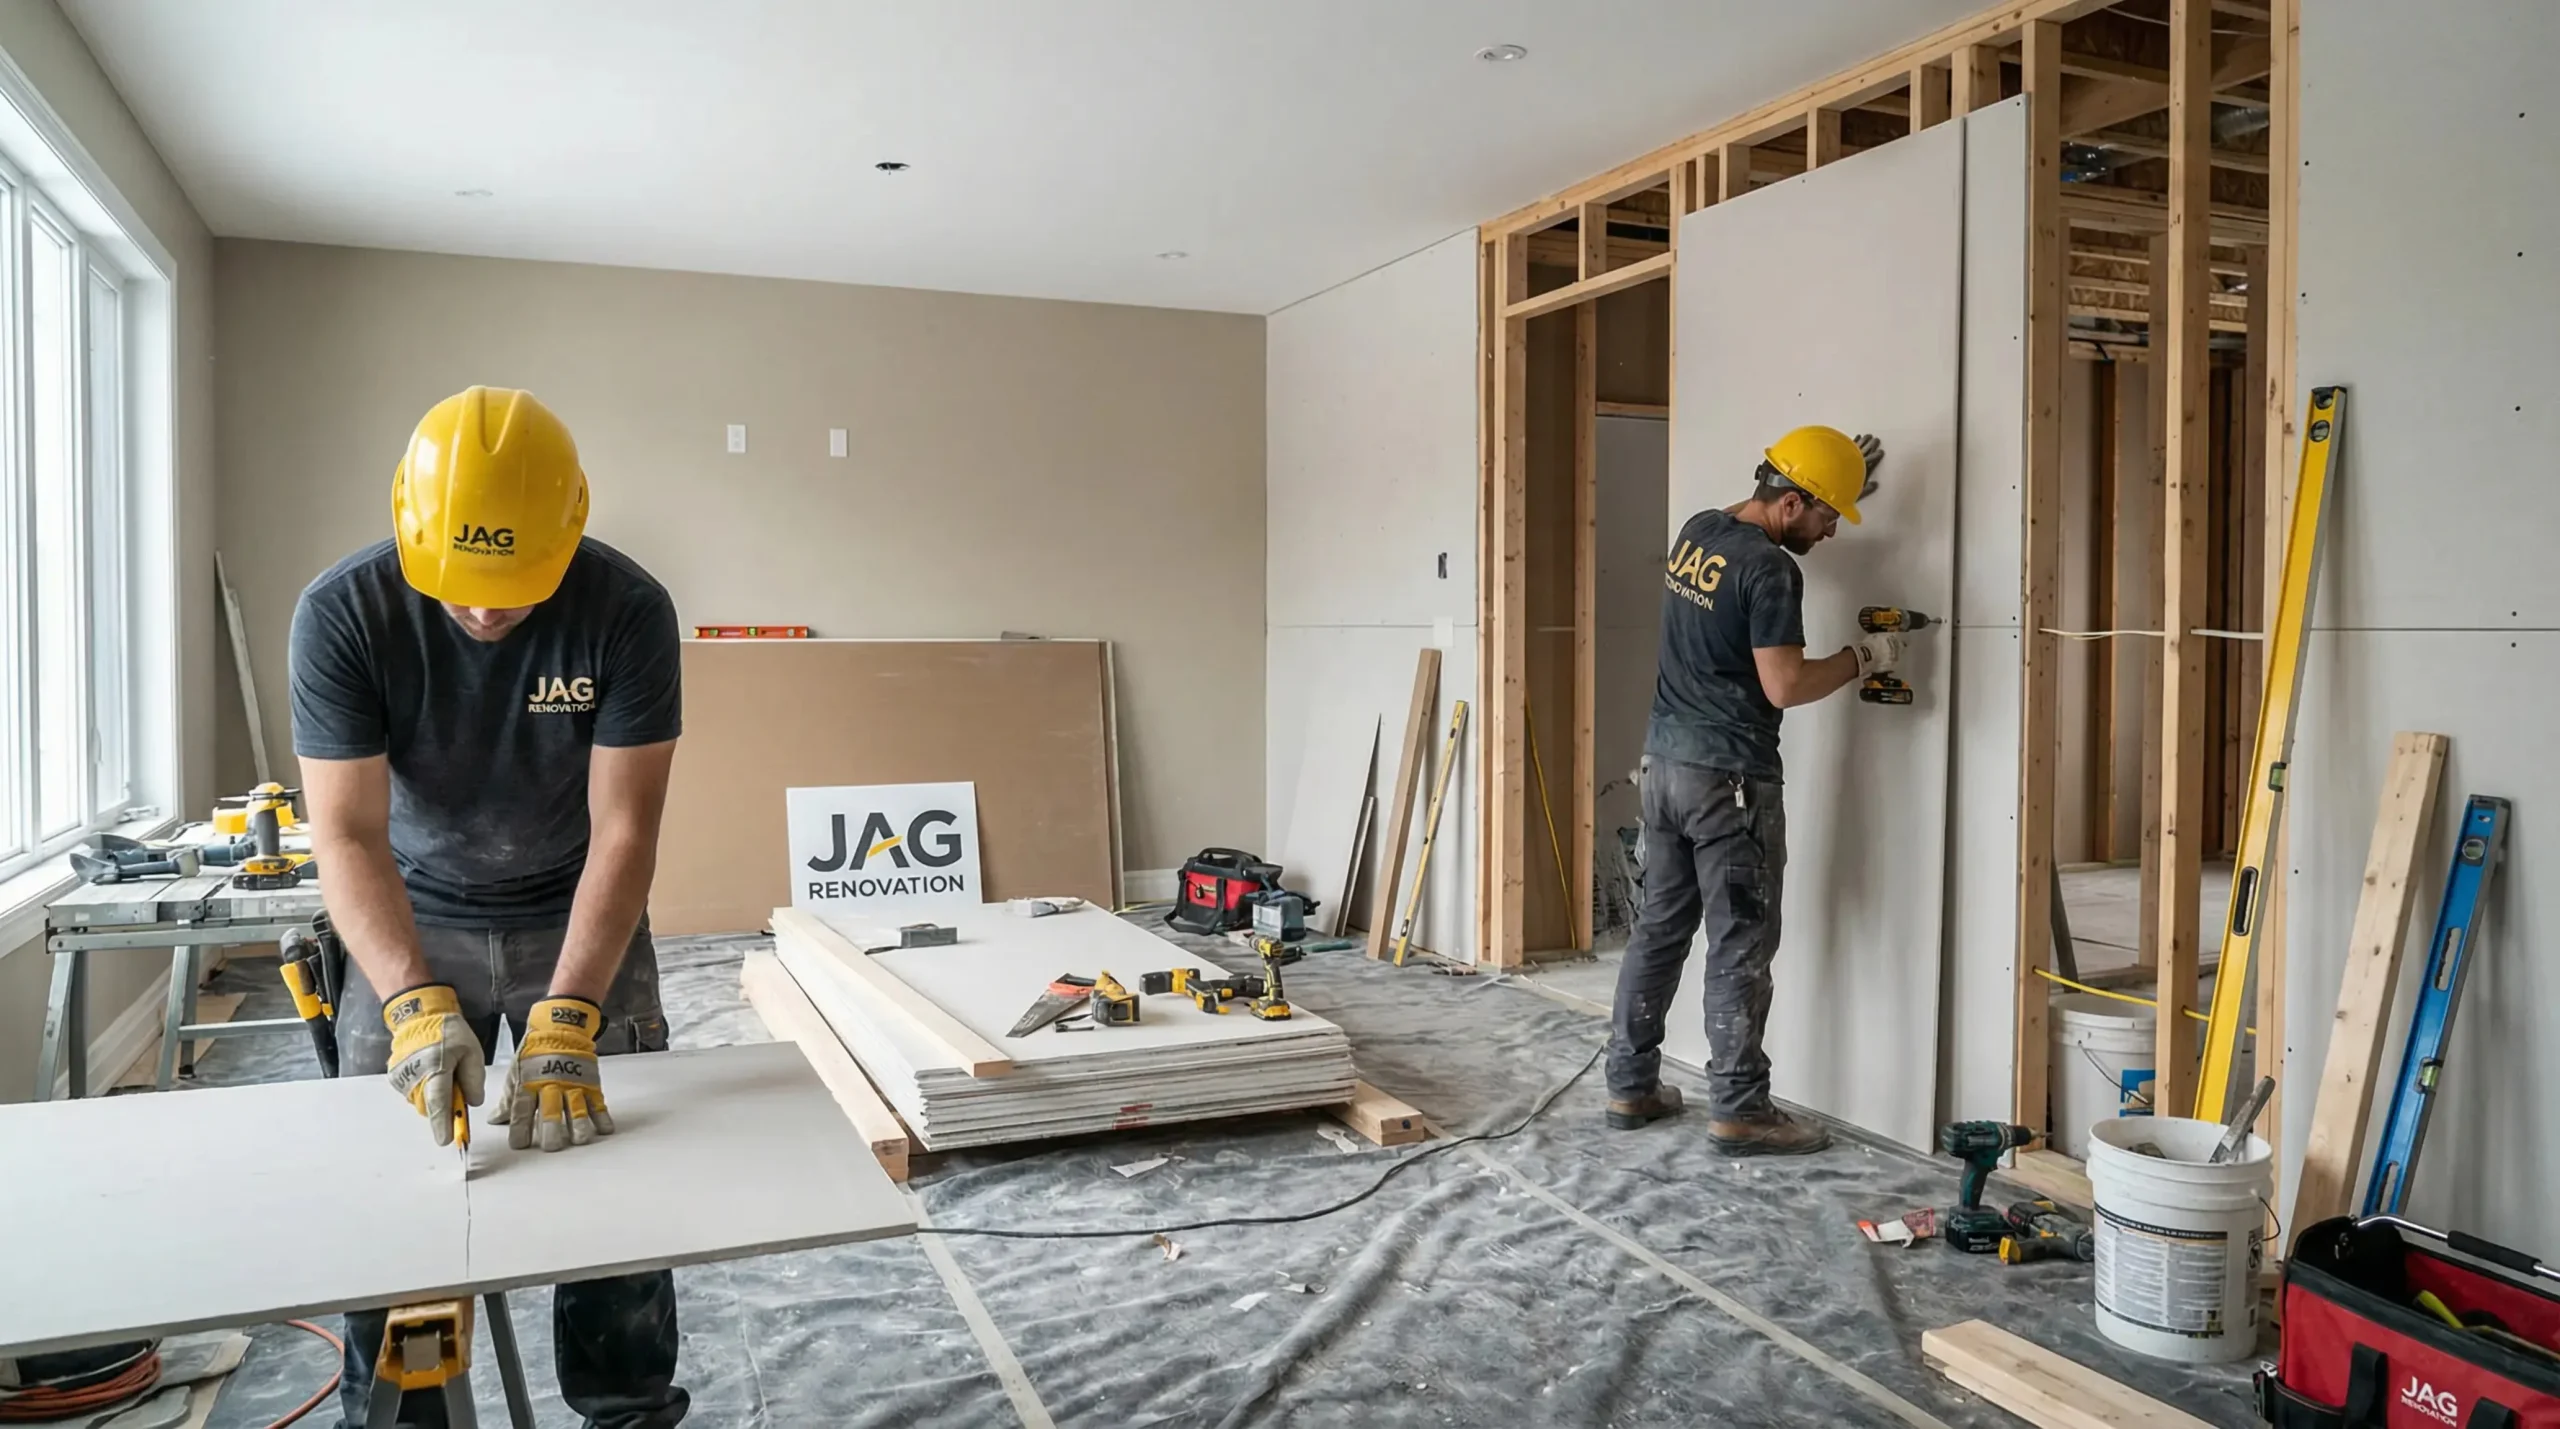
We handle the full scope — sheetrock, spackling, painting, flooring, carpentry, kitchen and bathroom remodels, and basement finishing — with the same in-house licensed crew from start to finish. No subcontractors, no scheduling gaps between trades, no one to blame when something doesn’t line up correctly. One team, one standard of work, one point of contact throughout.
This is one of the questions we get most often, and it deserves a straight answer rather than a sales pitch. Whether you need a repair or a full replacement depends on what caused the damage, how extensive it is, and what the wall material looks like underneath.
Small cracks in the middle of a wall — the kind that come from minor settling or seasonal movement — are typically cosmetic. They can be properly repaired with the right compound, proper technique, and enough coats to blend seamlessly with the surrounding surface. The key word is “properly.” A quick spackle-and-paint job on a crack that keeps returning is not a repair — it’s a delay.
Cracks above doorways and window headers are a different matter. These often indicate ongoing movement, whether from normal settling in an older home or from something structural. We assess the pattern and location before recommending a fix, because treating the symptom without understanding the cause just means you’ll be calling someone again in six months.
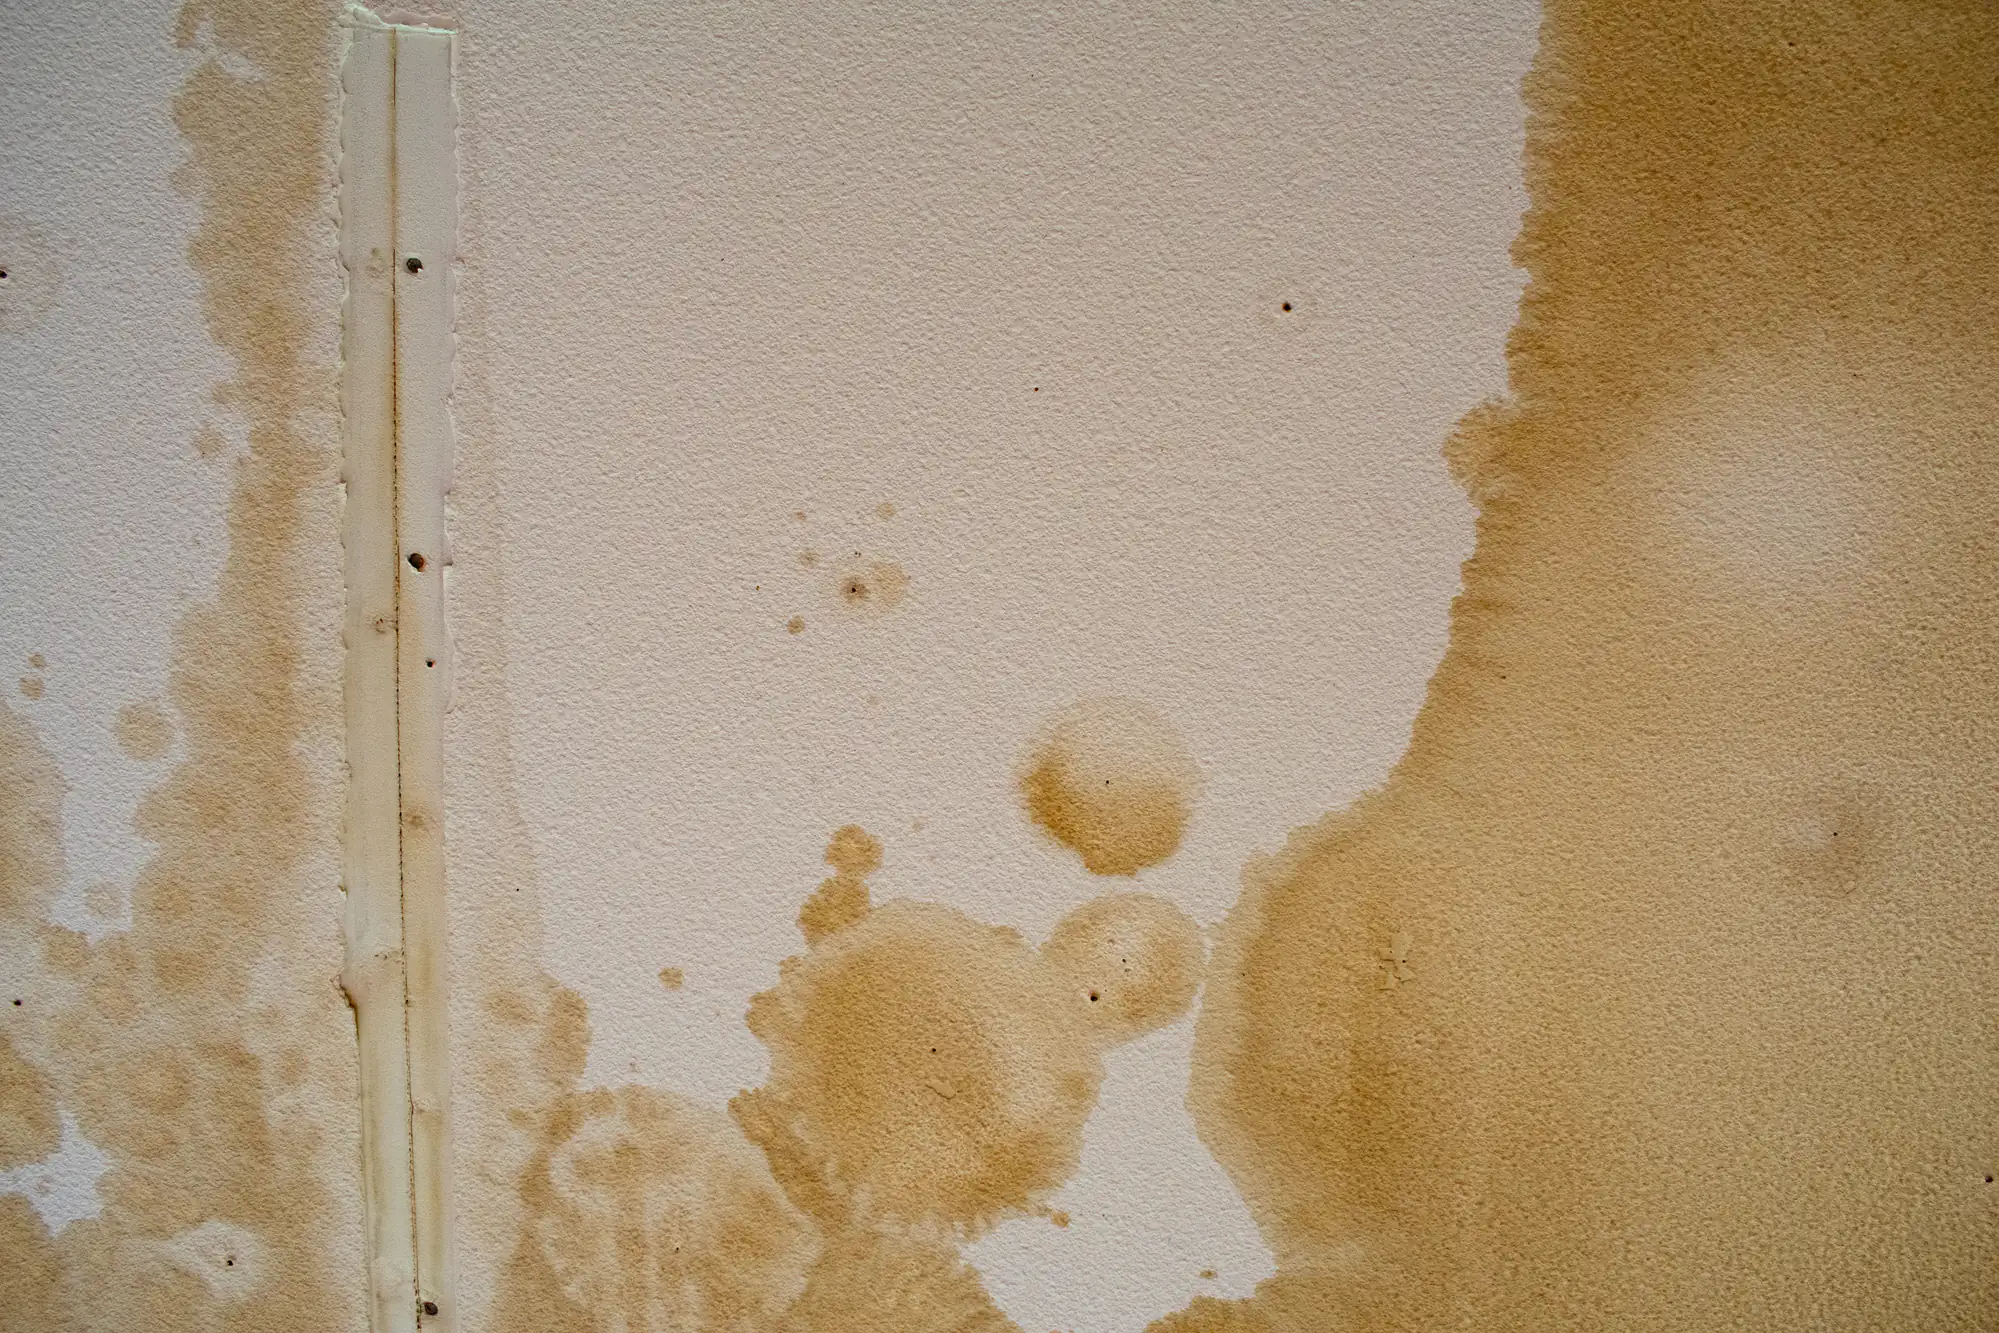
Water damage is the situation where full replacement is almost always the right call. In Ronkonkoma and Lake Ronkonkoma, where a significant portion of homes were built in the 1950s through 1970s, we frequently find walls that were patched after a leak or storm event but never fully addressed. The drywall looks fine from the surface. Behind it, there’s often mold, deteriorating paper facing, or compound that has lost its bond entirely. Covering that up is not a renovation — it’s a liability. We open it, assess it honestly, and replace what needs to be replaced.
For homeowners in Southold and along the North Fork, older homes with plaster-and-lath walls present their own set of considerations. Matching the texture and depth of original plaster on a repair is a skill that goes beyond standard drywall finishing. We’ve done this work in historic homes and understand what it takes to make a repair disappear into a wall that’s been there for a hundred years.
One question that comes up constantly: “Will I be able to tell where the repair is after it’s painted?” The honest answer is — not if the work is done correctly. Seamless texture matching, proper compound application, and a Level 5 finish mean the repaired section is indistinguishable from the original wall. If a contractor can’t give you a confident answer to that question, that’s useful information before you hire them.
Another common one: “Is sheetrock work going to make a mess of my whole house?” Drywall sanding produces extremely fine gypsum dust that gets into everything — cabinets, vents, furniture, air ducts. It’s one of the main reasons homeowners in Lake Ronkonkoma and throughout Suffolk County put off necessary sheetrock work. We use vacuum sanders that capture dust at the source, which is not standard practice in this industry. Your home stays cleaner, and you’re not spending two weeks wiping down every surface after the crew leaves.
Homeowners in Ronkonkoma and Southold also frequently ask about permits. For straightforward repairs and finish work, no permit is typically required. For structural changes — adding or removing walls, reconfiguring rooms — you’ll need a permit from the relevant town. In Ronkonkoma and Lake Ronkonkoma, that’s the Town of Brookhaven. In Southold, it’s the Town of Southold. We’re familiar with both jurisdictions and can walk you through what applies to your specific project.
And the question underneath all the other questions: “How do I know you’re actually going to do what you say?” That one we take seriously. We’re fully licensed and insured, BBB Accredited, and have been working in Suffolk County long enough that our reputation is built on repeat customers and referrals — not one-time transactions. We give you a written, itemized estimate before any work starts. No vague line items, no change orders invented after the fact. What we quote is what you pay.
The wall that looks fine right after the crew leaves is not always the wall you’ll have in six months. Good sheetrock work is invisible — no seams through the paint, no cracks returning above the doorway, no patches that catch the light wrong. Getting there requires the right materials for Long Island’s climate, the right number of coats, and enough patience to let each one cure before moving to the next.
Whether you’re repairing water damage in Ronkonkoma, finishing a basement in Lake Ronkonkoma, or restoring a historic home in Southold, the standard of work matters more than the speed of the quote.
When you’re ready to talk through what your project actually needs, reach out to us. We’ll give you a straight answer, a written estimate, and work that holds up — without the runaround.
Summary:

Share: