
Facing damaged sheetrock? Discover when simple repair works and when replacement saves you money long-term, with honest guidance from experienced Suffolk County contractors.
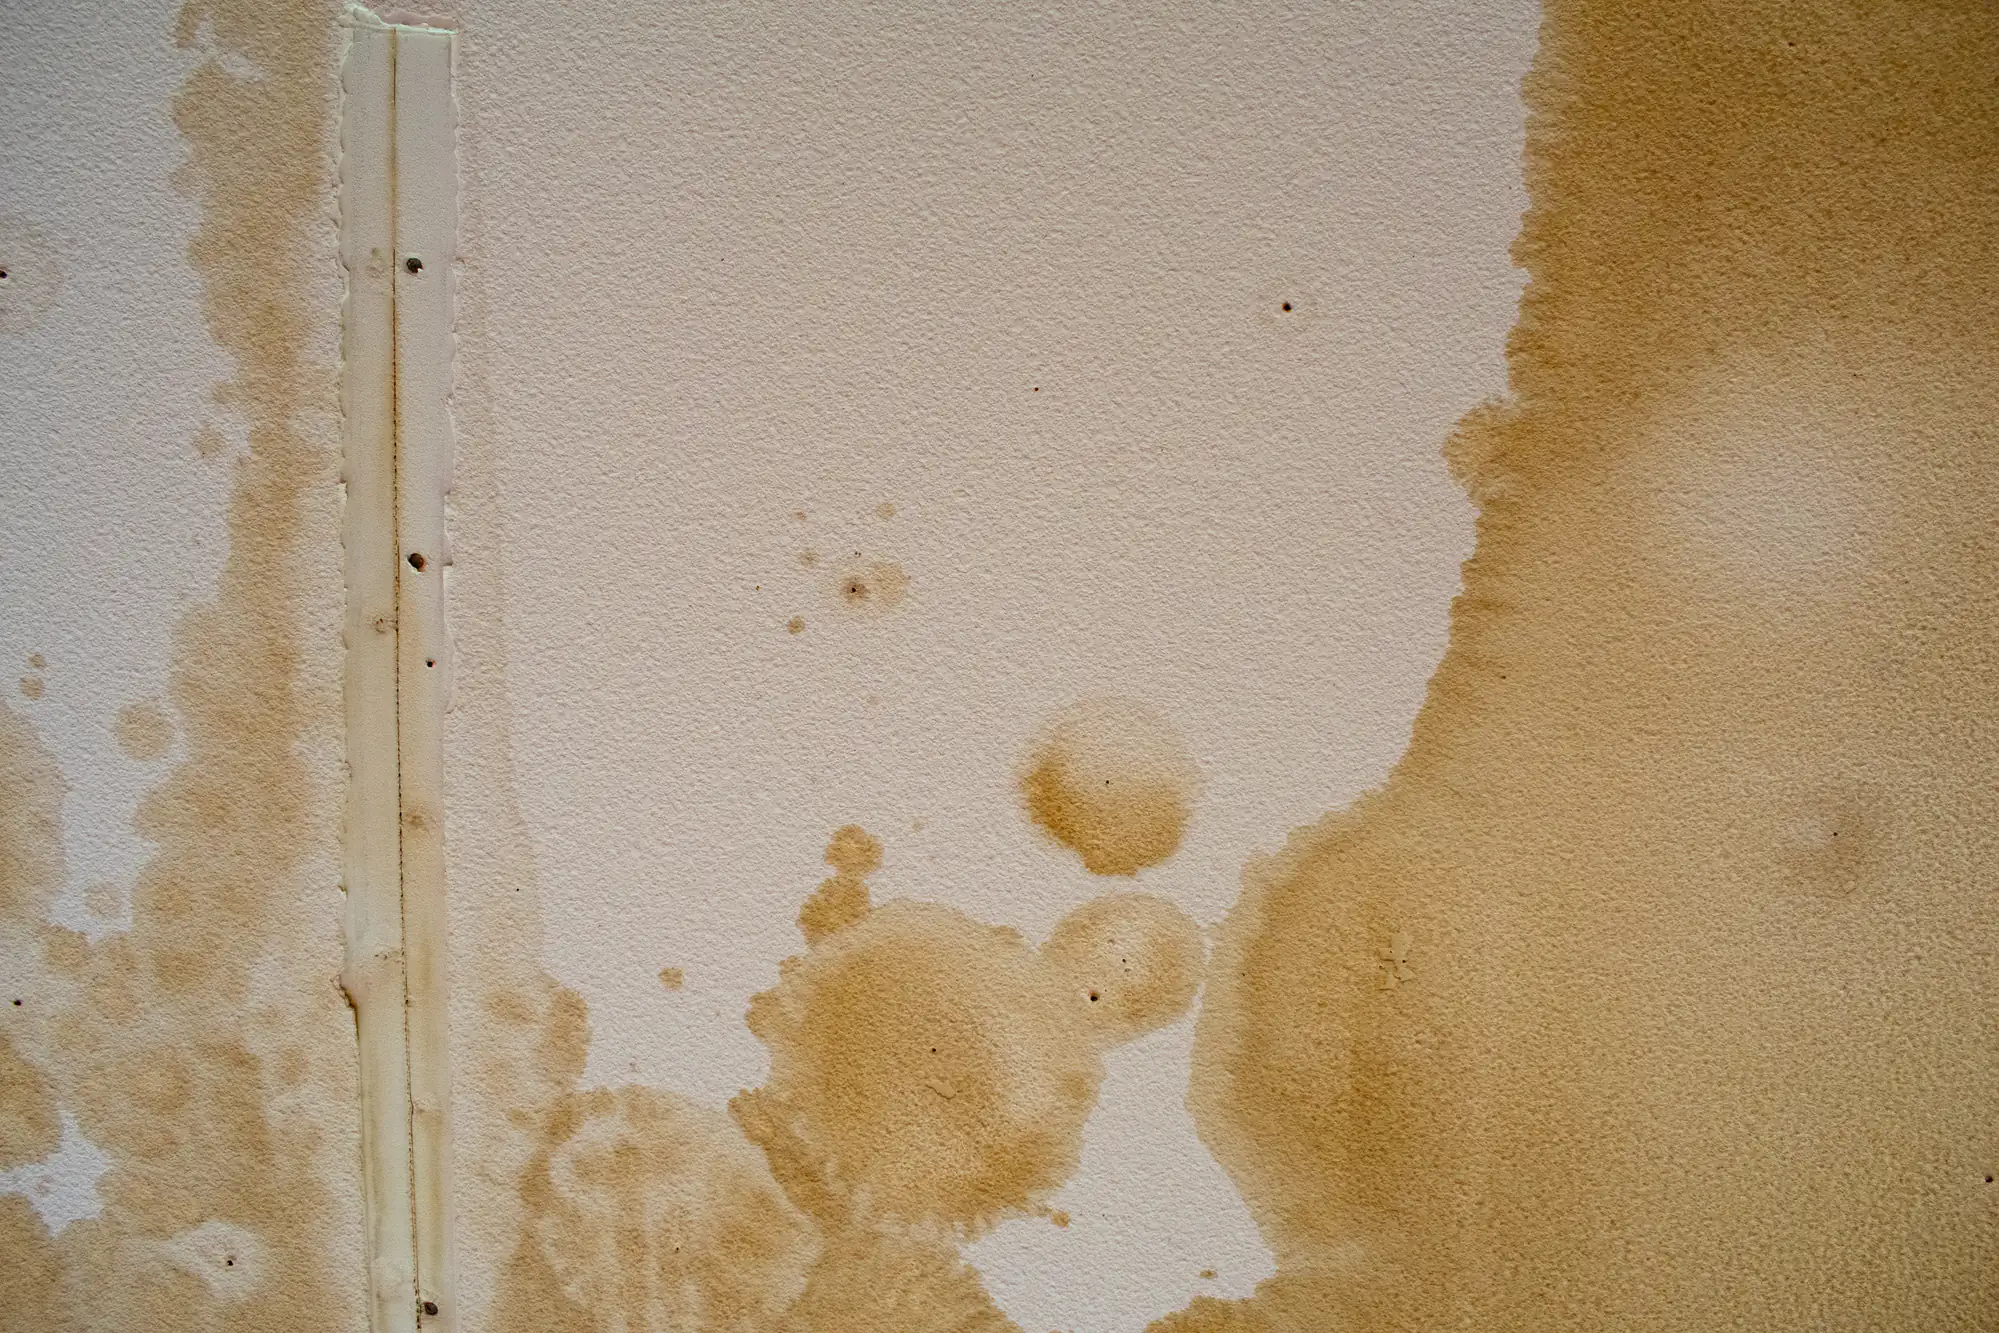
You’re staring at a section of damaged wall. Maybe it’s a water stain from that roof leak last month. Maybe it’s a doorknob-sized hole from moving furniture. Maybe it’s a crack that’s been growing for years and you’ve finally decided to deal with it.
The question is simple: can you patch it, or do you need to replace it?
It’s not always obvious. And if you’ve ever searched for answers online, you’ve probably found a confusing mix of advice ranging from “just slap some spackle on it” to “rip it all out immediately.” The truth usually sits somewhere in between, and it depends on what’s actually happening behind that damaged surface. Let’s walk through what matters.
Sheetrock and drywall are the same thing. Sheetrock is just a brand name that stuck, kind of like how people say “Kleenex” instead of tissue. Both refer to the gypsum board panels that make up most interior walls in homes built after the 1960s.
Repair means fixing the damaged area without removing the entire panel. You’re filling holes, patching cracks, or addressing surface-level problems using spackling compound, joint compound, or small drywall patches. Replacement means cutting out and removing a section (or the whole sheet) and installing new drywall in its place.
The decision between the two comes down to three things: the extent of the damage, what caused it, and whether the structural integrity of the material is compromised. A nail hole is a repair. A water-soaked, sagging ceiling is a replacement. Most situations fall somewhere in the middle, and that’s where homeowners in Suffolk County, NY get stuck trying to figure out the right call.

Repair is the go-to solution when the damage is isolated, cosmetic, and doesn’t involve moisture or structural issues. Think small to medium holes, minor cracks, dents from furniture, nail pops, or surface scratches. These are the everyday wear-and-tear problems that happen in any home, especially in older Suffolk County houses where settling and humidity take their toll over time.
Spackling works well for holes smaller than a quarter. It dries fast, doesn’t shrink much, and can be sanded smooth and painted over within a few hours. The compound is designed specifically for small repairs, with a consistency that makes it easy to apply and a formula that resists cracking once dry. For slightly larger holes (up to a few inches), you can use a patch kit with mesh backing and joint compound to create a stable repair that blends seamlessly with the surrounding wall.
Hairline cracks are another common repair scenario. They usually show up around door frames, windows, or ceiling corners as the house settles over time. This is especially common in Long Island homes where soil conditions and seasonal temperature swings cause minor foundation movement. As long as the crack isn’t widening, isn’t accompanied by sagging or bulging, and isn’t a sign of serious foundation issues, a simple fill-and-sand approach works fine.
Repair also makes sense when the drywall itself is still solid. Press on the damaged area. If it feels firm and doesn’t give or crumble, the gypsum core is intact. That’s a good sign the material hasn’t been compromised by moisture or age. If the paper facing is torn but the board behind it is dry and stable, you can skim over it with joint compound, feather it out, sand it smooth, and move on.
Cost is another factor that makes repair attractive. Small wall repair jobs typically run between $50 and $150 depending on the number of spots and the level of finish required. Medium repairs might cost $150 to $400. Compare that to replacement, which can easily hit $500 to $1,600 for a single wall section, and repair starts to look pretty appealing when it’s a viable option. For homeowners watching their renovation budget, knowing when repair is enough can save hundreds of dollars.
But here’s the thing: repair only works if you’re addressing both the symptom and the cause. If that crack keeps coming back, or if the dent is in an area that gets constant abuse, you’re just buying time. And if there’s any moisture involved, all bets are off.
Replacement becomes necessary when the damage goes beyond cosmetic, when the material has lost its integrity, or when the repair cost approaches the cost of just doing it right the first time. Knowing these warning signs can save you from wasting money on a patch job that won’t last.
Water damage is the biggest red flag. If your sheetrock has been wet for more than 24 to 48 hours, mold growth becomes likely. Even if you don’t see mold on the surface, it could be growing on the backside of the drywall where you can’t see it. This is a real concern in Suffolk County, NY, where coastal humidity and occasional flooding from storms create perfect conditions for mold. Water-damaged drywall often feels soft or spongy to the touch, may show brown or yellow staining, and can sag or bulge as the gypsum core breaks down. In these cases, cutting out the affected section and replacing it is the only safe move.
Large holes are another clear replacement scenario. Once a hole exceeds about six inches in diameter, patching becomes more labor-intensive than just cutting out a clean square and installing a new piece of drywall. You’ll get a better finish that’s stronger and more durable, and it’ll hold up longer without cracking or showing seams. This is especially true if the hole goes completely through the wall and there’s no solid backing to attach a patch to.
Extensive cracking is also a sign to replace rather than repair. If you’re seeing multiple cracks across a wall or ceiling, especially if they’re wide or recurring after previous repairs, it often points to a structural issue like foundation settling, roof truss movement, or framing that’s shifting. Patching over these cracks is like putting a Band-Aid on a broken bone. The crack will just come back. You need to address the underlying cause and then replace the damaged drywall so you’re starting with a clean slate.
Mold contamination is non-negotiable. If you see visible mold growth or smell that distinctive musty odor, that section of drywall needs to come out. Period. Mold remediation isn’t just about cleaning the surface or killing spores with bleach. It’s about removing the contaminated material entirely, treating the framing and insulation behind it, and ensuring the moisture source is fixed before new drywall goes in. Trying to save moldy drywall puts your family’s health at risk and guarantees the problem will return.
Ceiling damage often requires replacement simply because of the risk and complexity involved. Wet or damaged ceiling drywall can fall without warning, creating a safety hazard and causing damage to furniture and flooring below. The overhead work required to properly patch a ceiling is also more expensive and difficult than wall repairs, so replacement often makes more financial sense anyway. Ceilings also tend to show imperfections more easily because of how light hits them, so getting a seamless finish with a patch is harder than just replacing the section.
Here’s a helpful rule of thumb that we use: if the repair cost is going to exceed 40 to 50 percent of what it would cost to replace the section entirely, replacement is usually the smarter financial decision. You’re not just paying for the material. You’re paying for a long-term solution that won’t need to be revisited in six months or a year when the patch fails.
Want live answers?
Connect with a Jaguar Renovation expert for fast, friendly support.
Cost is one of the first questions homeowners ask, and for good reason. You want to know what you’re getting into before you commit to a project, especially when you’re trying to balance home maintenance with everything else on your plate.
For small repairs like nail holes, minor dents, or hairline cracks, expect to pay somewhere between $50 and $150. These are quick fixes that don’t require much material or labor. A contractor can usually knock out several small repairs in a single visit. Medium repairs, like patching a doorknob hole or fixing a larger crack, typically run $150 to $400 depending on the size and whether texture matching is involved. Larger repairs or partial replacements can range from $400 to over $1,000 depending on the size of the area, whether it’s ceiling or wall work, and whether any additional steps like mold remediation or insulation replacement are needed.
Full sheetrock replacement for a standard wall section usually falls between $500 and $1,600. That includes removing the old drywall, disposing of debris, installing new sheets, taping and mudding the seams, sanding everything smooth, and prepping the surface for paint. Keep in mind that painting is often a separate line item unless you’re working with a contractor who bundles services together.
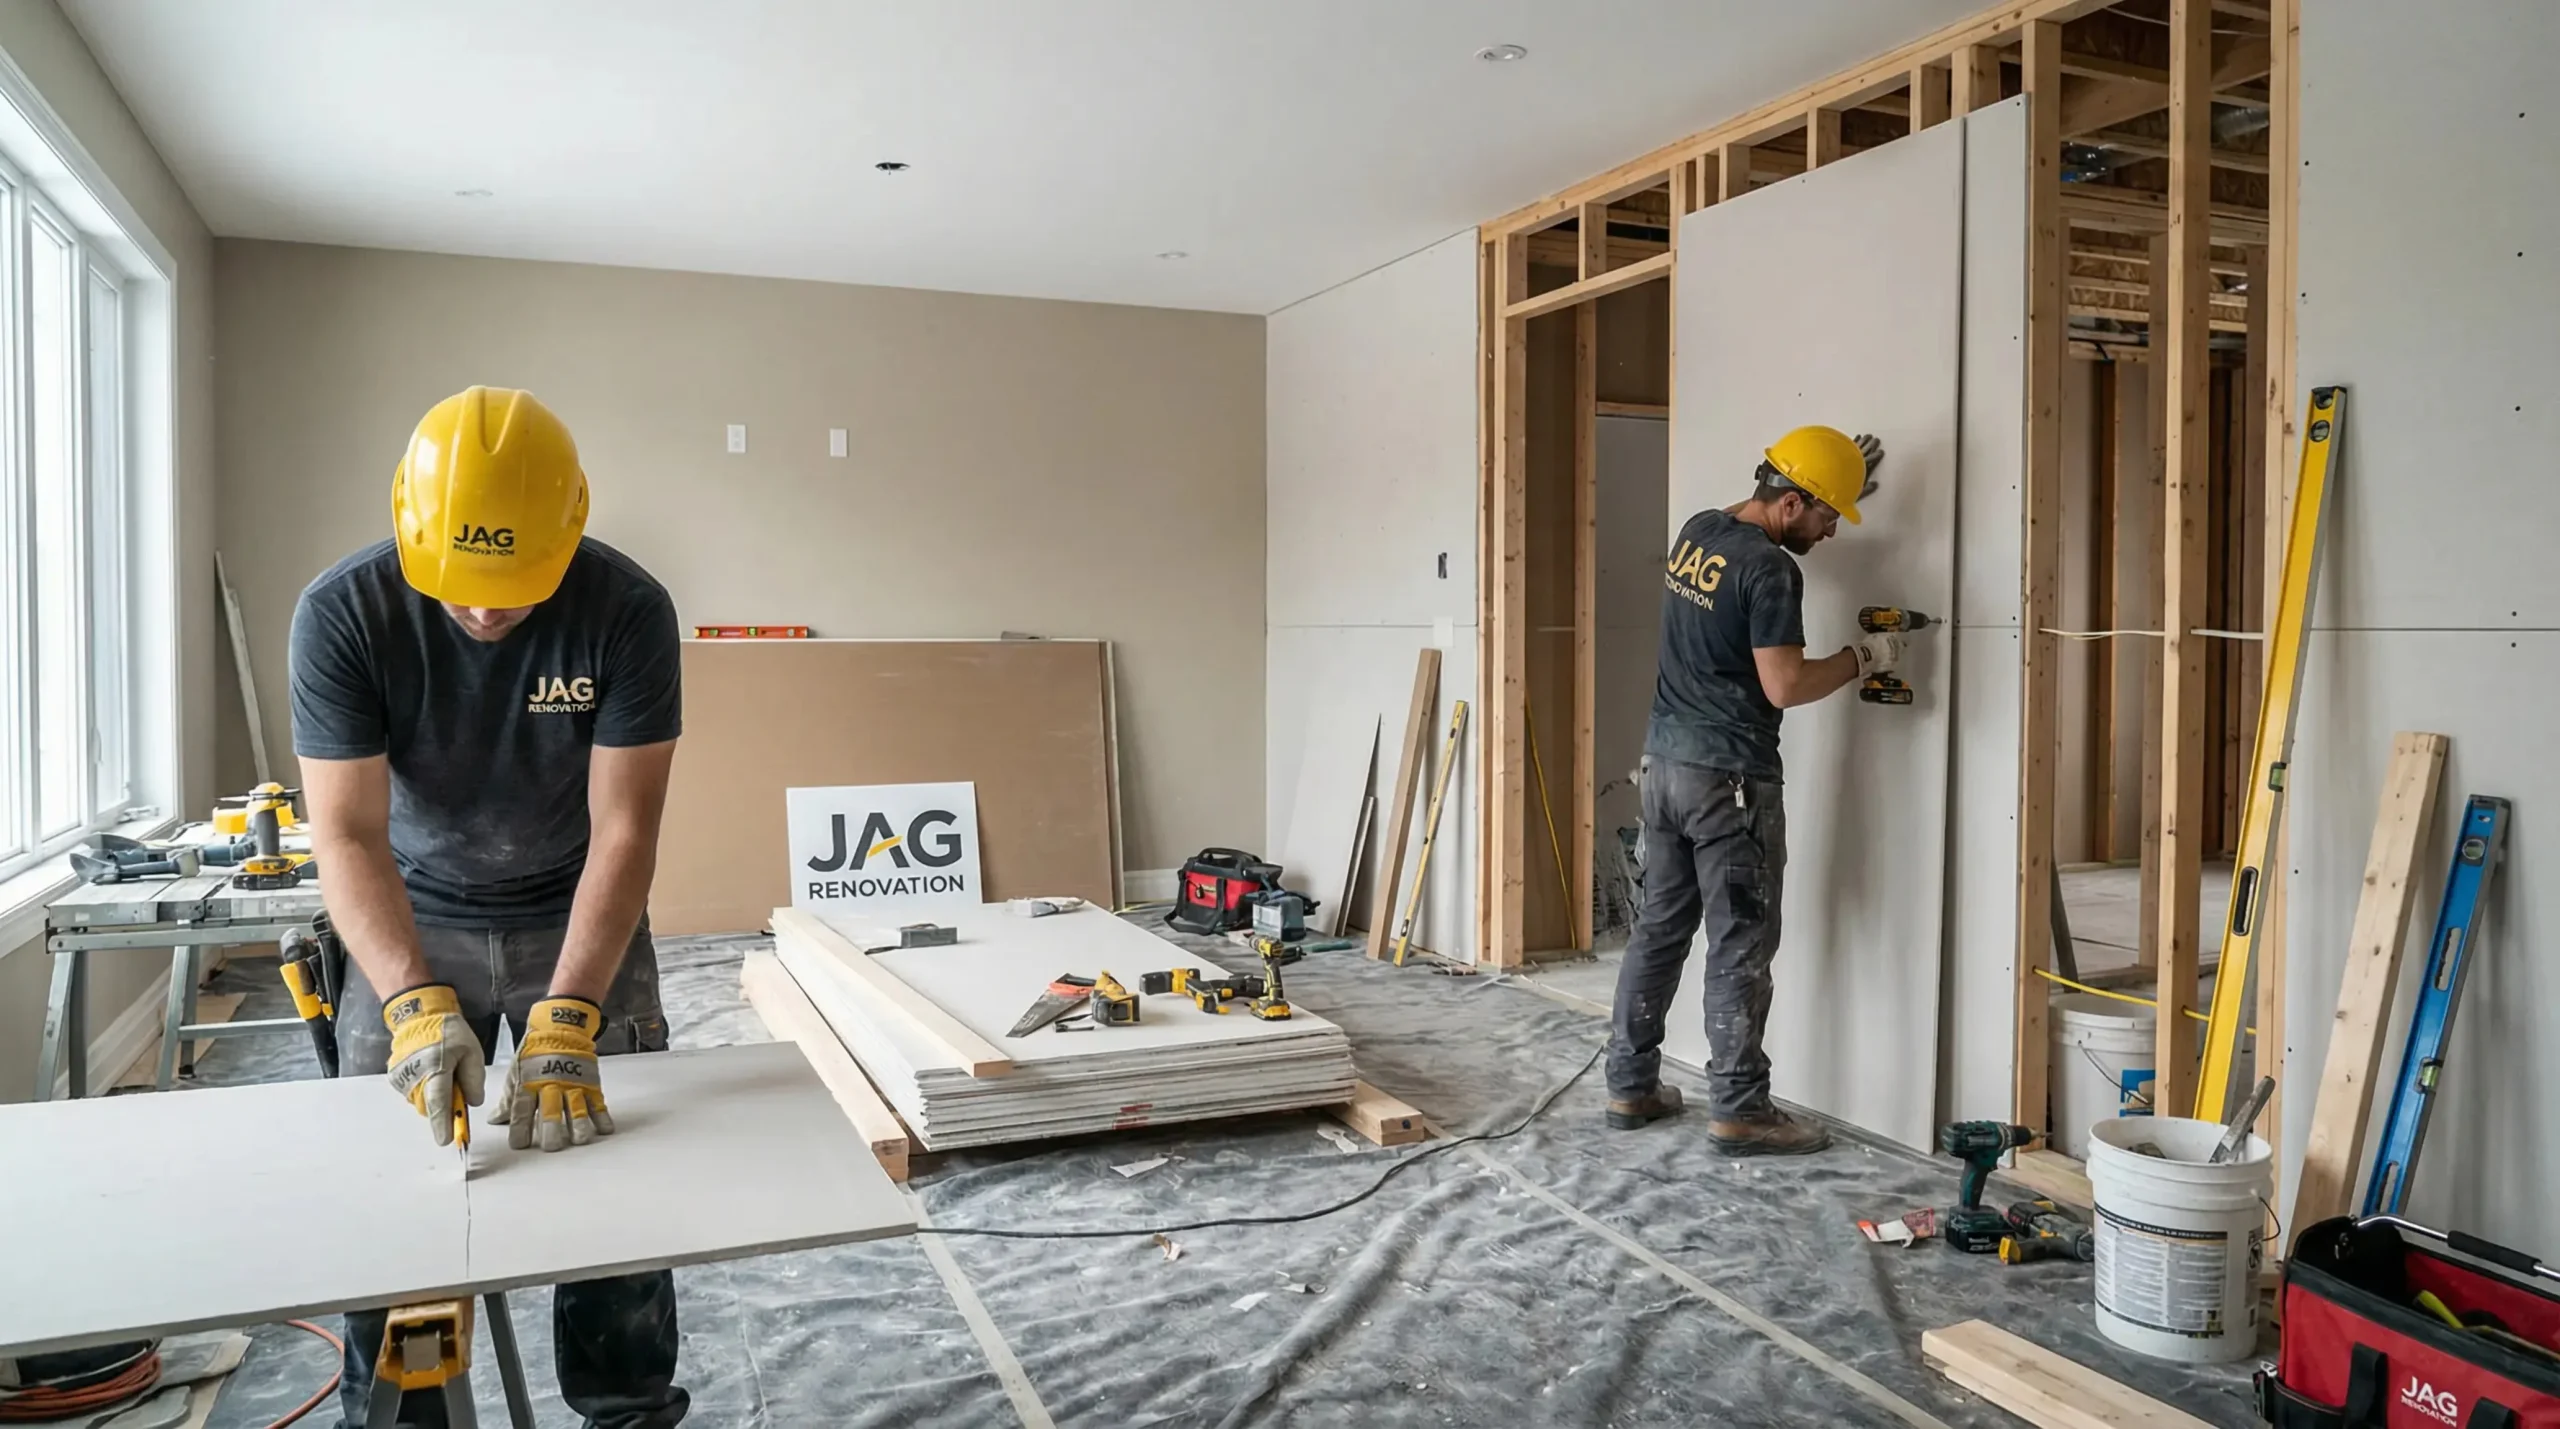
Several factors influence what you’ll actually pay for sheetrock repair or replacement, and understanding them helps you evaluate quotes more accurately and avoid surprises when the bill comes.
Damage size and complexity are the biggest cost drivers. A single nail hole takes five minutes and costs almost nothing. A water-damaged ceiling with insulation removal, structural drying, mold treatment, and full replacement is a multi-day project that can easily run into thousands of dollars. The scope of work determines everything else.
Location matters too. Ceiling work costs more than wall work because it’s harder to access, requires scaffolding or lifts, and takes longer to finish properly. Working overhead is physically demanding and slows down the process. High ceilings or vaulted ceilings add even more complexity and cost. Tight spaces like small bathrooms or closets can also increase labor time because there’s less room to maneuver.
Texture matching can add to the cost. If your walls have a knockdown, orange peel, or popcorn texture, we need to replicate that finish so the repair blends in seamlessly. That takes skill, experience, and sometimes trial and error to get right. Smooth walls are generally easier and less expensive to finish because there’s no texture to match, just a flat surface to sand and prime.
Labor rates vary by region and contractor experience. In Suffolk County, NY, you’re looking at anywhere from $60 to $100+ per hour depending on who you hire and what level of expertise the job requires. Some contractors charge by the square foot instead, typically $3 to $8 per square foot for repairs and $1.50 to $3.50 per square foot for full replacement and finishing. The per-square-foot method usually makes more sense for larger projects where hourly billing could get unpredictable.
Additional work like fixing the source of water damage, removing wet insulation, treating mold, or repairing damaged framing will add to the total. These aren’t upsells or optional extras. They’re necessary steps to make sure the problem doesn’t come back and cause even more expensive damage down the road. A good contractor will walk you through what’s required and why, and give you a detailed estimate that breaks out each part of the job so you can see exactly what you’re paying for.
Material quality also plays a role in the final cost. Standard drywall is the most affordable option and works fine for most interior walls. Moisture-resistant drywall (often called green board) or mold-resistant drywall costs a bit more but makes sense in bathrooms, basements, laundry rooms, or any area prone to humidity. If you’re in a high-moisture environment or have had water issues in the past, spending a little extra on the right material can save you a lot of headaches and repair bills down the road. In coastal Suffolk County where humidity is a fact of life, moisture-resistant materials are often worth the upgrade.
For very minor damage like small nail holes or tiny dings, DIY repair can work fine if you’re comfortable with basic home maintenance. You can pick up a tub of spackling compound and a putty knife for under $10 at any hardware store, fill the holes, let it dry for a couple hours, sand it smooth with fine-grit sandpaper, and touch up with matching paint. It’s a straightforward weekend project that doesn’t require much skill or experience, and it’s satisfying to knock out a bunch of small fixes in one afternoon.
But once you move beyond simple spackling, the difficulty ramps up quickly. Larger holes require cutting out damaged sections, installing backer boards or supports, securing a patch, taping the seams, applying multiple coats of joint compound, sanding between coats, and matching the texture. Each of those steps has a learning curve. If you’ve never done it before, your first attempt probably won’t look professional. You’ll end up with visible seams, uneven surfaces, or a texture that doesn’t quite match the rest of the wall. Then you’re stuck deciding whether to live with it or hire someone to fix your fix.
Water damage, mold, or structural issues should always be handled by a professional. These situations require proper assessment, moisture testing, containment to prevent mold spores from spreading, and often coordination with other trades like plumbers, electricians, or mold remediation specialists. Cutting corners or missing hidden damage can lead to serious problems including health risks from mold exposure, recurring water damage that spreads to other areas, and structural deterioration that costs far more to fix later. The money you save trying to DIY these repairs almost never justifies the risk.
Ceiling repairs are particularly tricky for DIYers. Working overhead is physically demanding and uncomfortable. You’re fighting gravity the entire time, which makes it harder to get joint compound smooth and even. Getting a professional-looking finish on a ceiling requires skill, the right tools, and a lot of patience. Most homeowners are better off hiring a pro for ceiling work, even if it’s a relatively small repair, just to avoid the frustration and the risk of a poor result that’s highly visible.
Hiring a professional doesn’t just get you a better-looking result. It also gets you an honest assessment of what’s actually wrong. An experienced drywall contractor can tell you whether that crack is cosmetic or structural, if that water stain indicates active moisture or just an old issue that’s been painted over, and whether repair or replacement is the smarter long-term move. You’re not just paying for labor and materials. You’re paying for expertise, diagnostic skills, and assurance that the job is done right.
In Suffolk County, NY, where homes face humidity from coastal weather and aging housing stock often has hidden issues behind the walls, having someone who knows what to look for can save you from expensive surprises down the road. A contractor with local experience understands common problems in the area and can spot warning signs that a homeowner might miss.
Deciding between sheetrock repair and replacement doesn’t have to be complicated once you know what to look for. Check the extent and cause of the damage, test whether the material is still structurally sound, and weigh the cost of a quick fix against the cost of doing it right the first time.
Small, isolated damage with no moisture involvement? Repair makes sense and saves you money. Water damage, mold, large holes, or extensive cracking? Replacement is the smarter move that protects your home and your family. When in doubt, get a professional assessment before you make a decision. It costs nothing to have someone take a look, and it can save you from making a choice you’ll regret six months from now.
At Jaguar Renovations, we’ve spent nearly a decade helping Suffolk County homeowners navigate these exact decisions. We’re not here to upsell you on work you don’t need or pressure you into the most expensive option. We’re here to give you an honest assessment, explain your options clearly, and deliver quality results whether it’s a simple spackling job or a full wall replacement. When you’re ready to move forward with confidence, reach out to us.
Summary:
Share: