
Hear from Our Customers
You’re dealing with damaged drywall that’s disrupting your home. Maybe it’s water stains from a roof leak, cracks that keep coming back, or outdated walls that need replacing. Whatever brought you here, you need someone who can make your walls look perfect again without turning your house into a disaster zone.
That’s where the difference shows. A professional sheetrock contractor doesn’t just patch and paint over problems. The work involves proper surface prep, expert taping and mudding, and finishing that blends seamlessly with your existing walls. You shouldn’t be able to tell where the repair ends and the original wall begins.
The outcome you’re looking for is simple: walls that look flawless, a home that stays clean during the work, and a timeline you can actually count on. No dust covering your furniture. No surprises in the final bill. Just quality work that’s ready for paint when we say it will be.
We’ve spent close to ten years handling interior renovations throughout Suffolk County, including right here in East Islip. We’ve worked in enough Long Island homes to understand what matters to homeowners in this area: quality work, transparent communication, and contractors who respect your space.
East Islip homeowners expect contractors who know local building codes, understand the architectural styles common in Nassau and Suffolk counties, and can deliver work that matches the quality of the neighborhood. We’ve built our reputation on doing exactly that, without the hidden fees or sales pressure that’s become standard in this industry.
When you’re looking for a local drywall contractor, you want someone who shows up when they say they will, communicates clearly about timelines and costs, and leaves your home cleaner than they found it. That’s not marketing talk—it’s how we’ve operated since day one.
First, we assess the damage or scope of installation. If it’s a repair, we determine whether patching makes sense or if replacement is more cost-effective. You’ll know upfront what the job requires and what it costs—no surprises later.
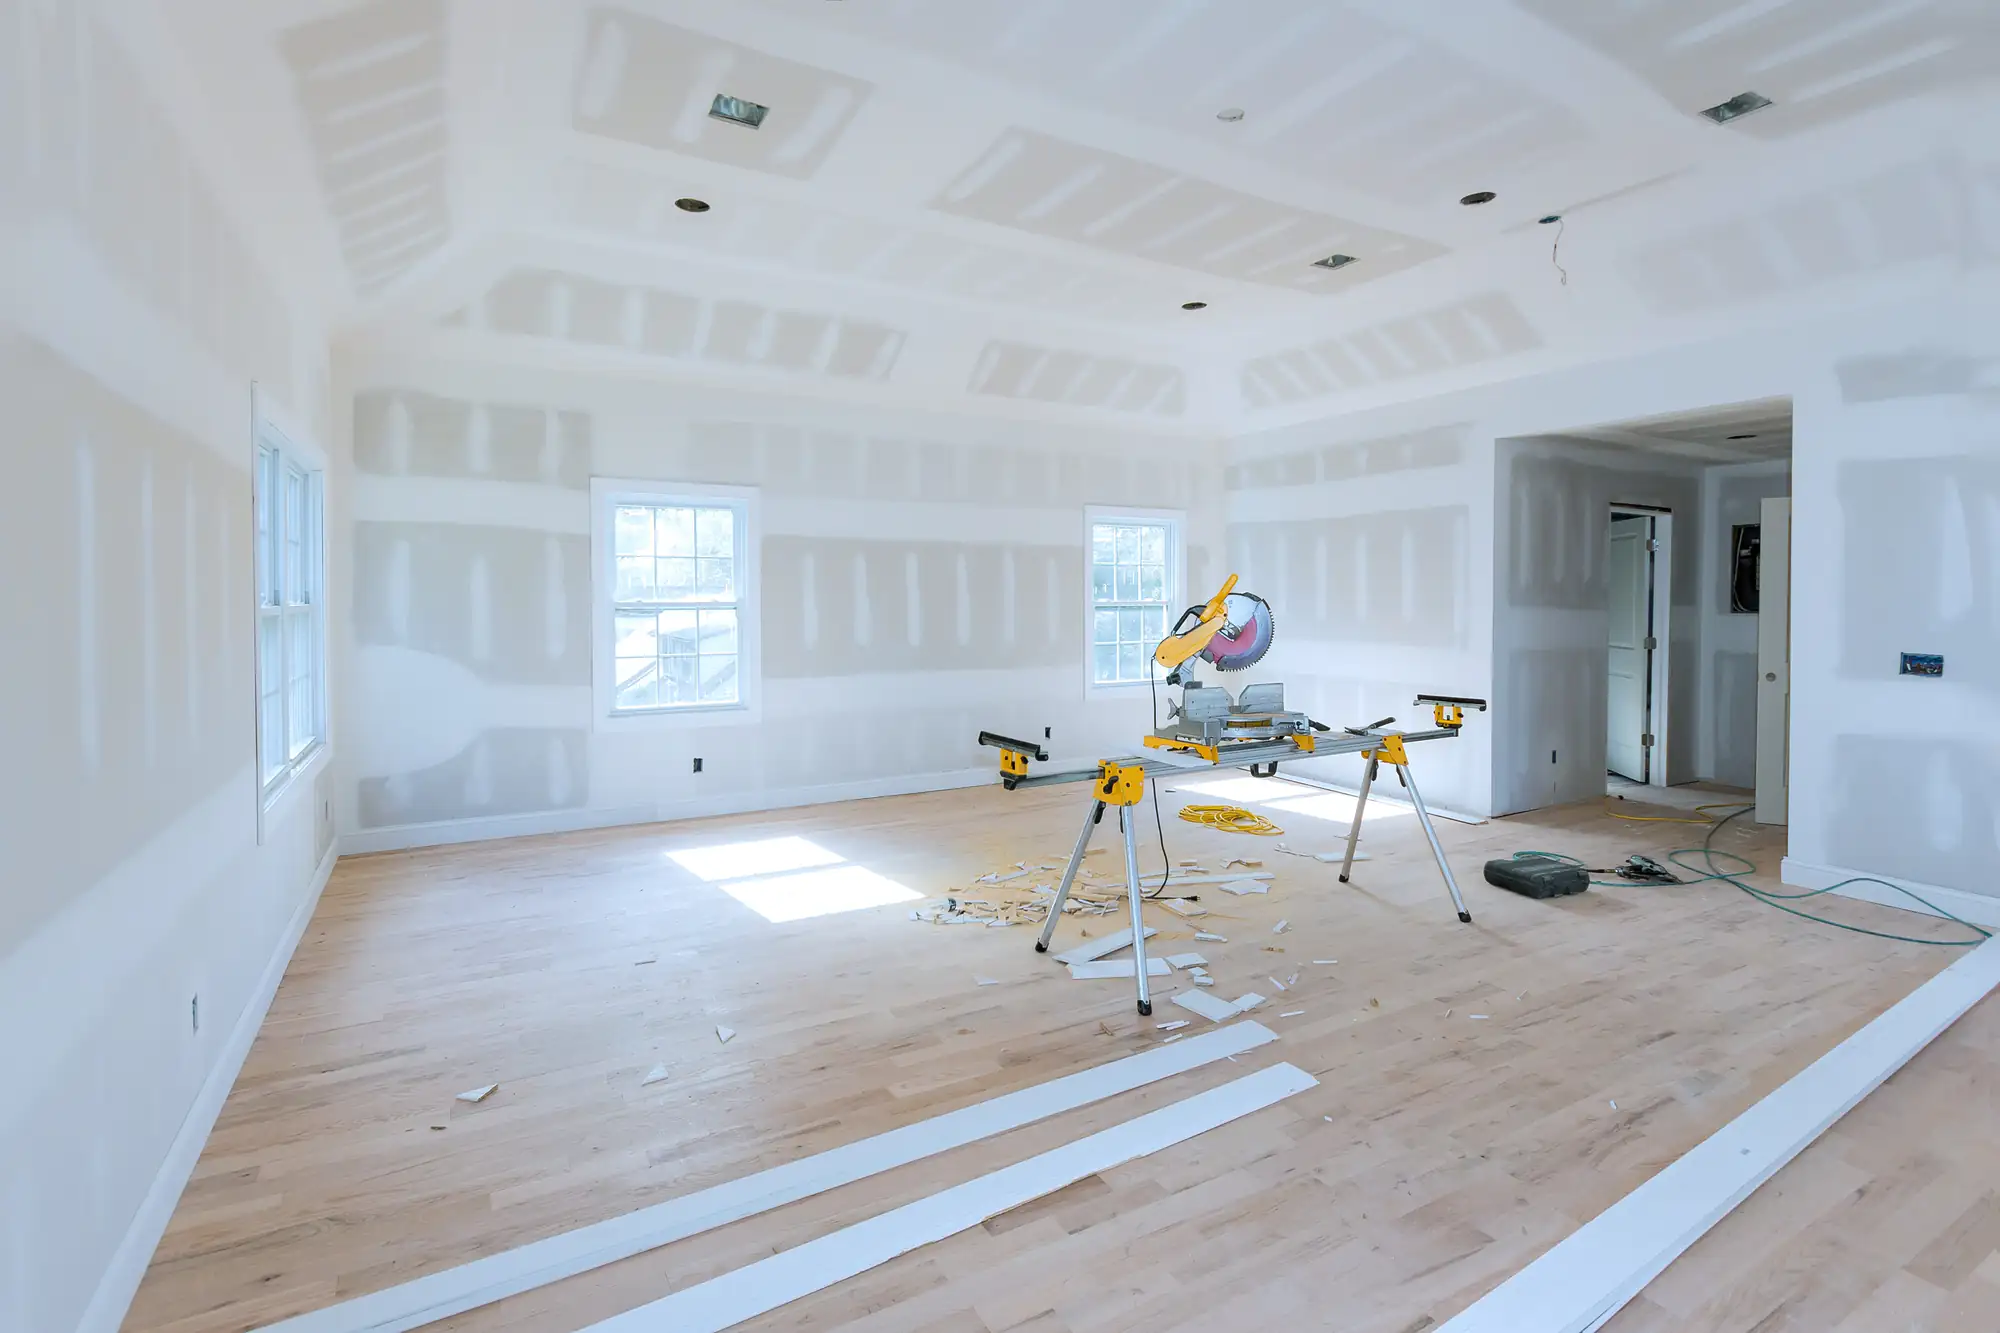
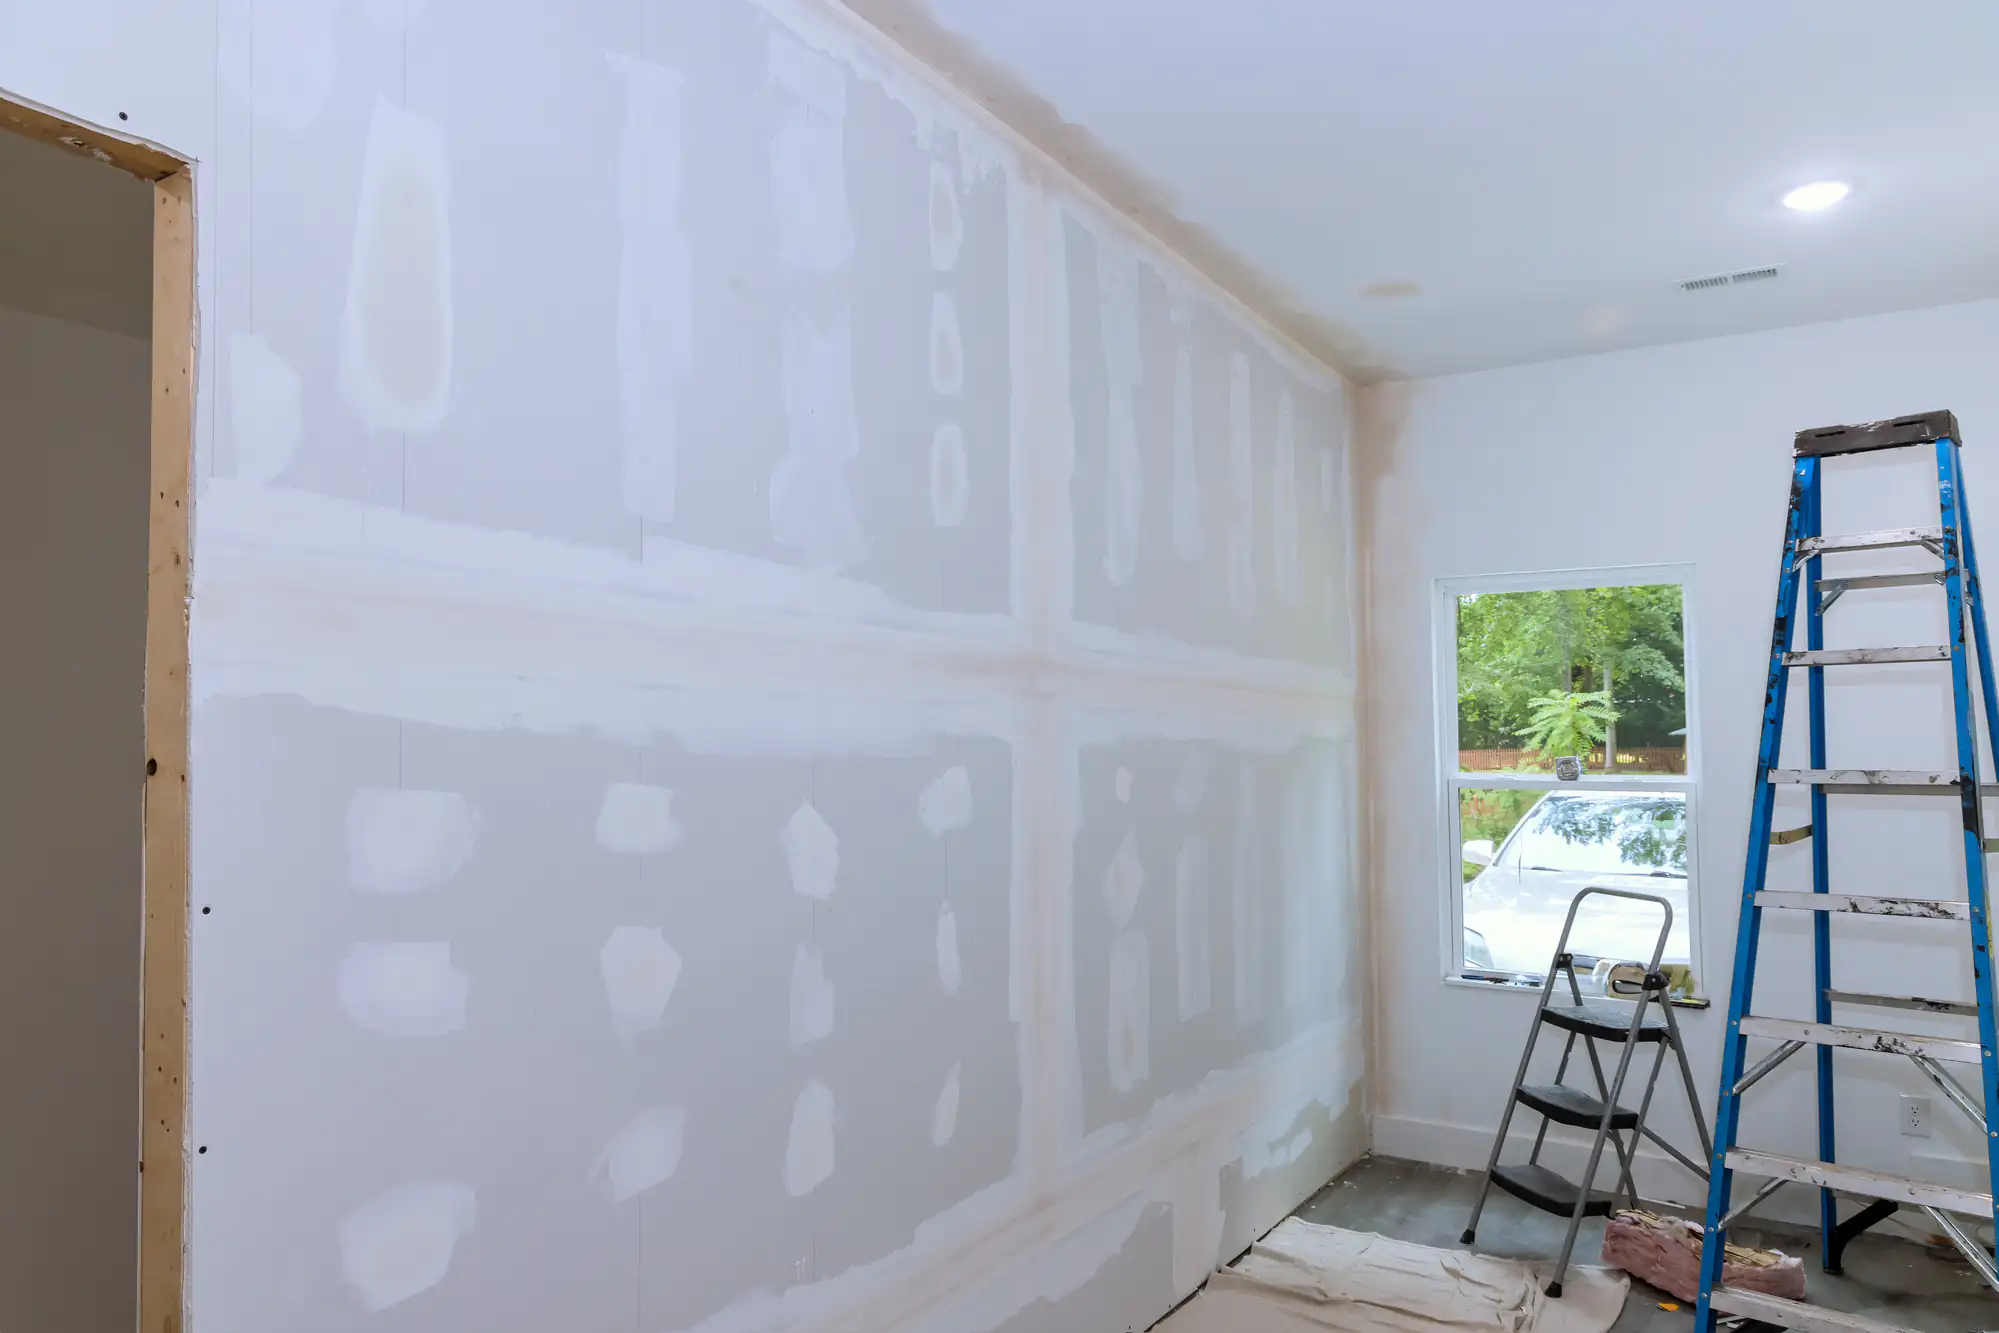
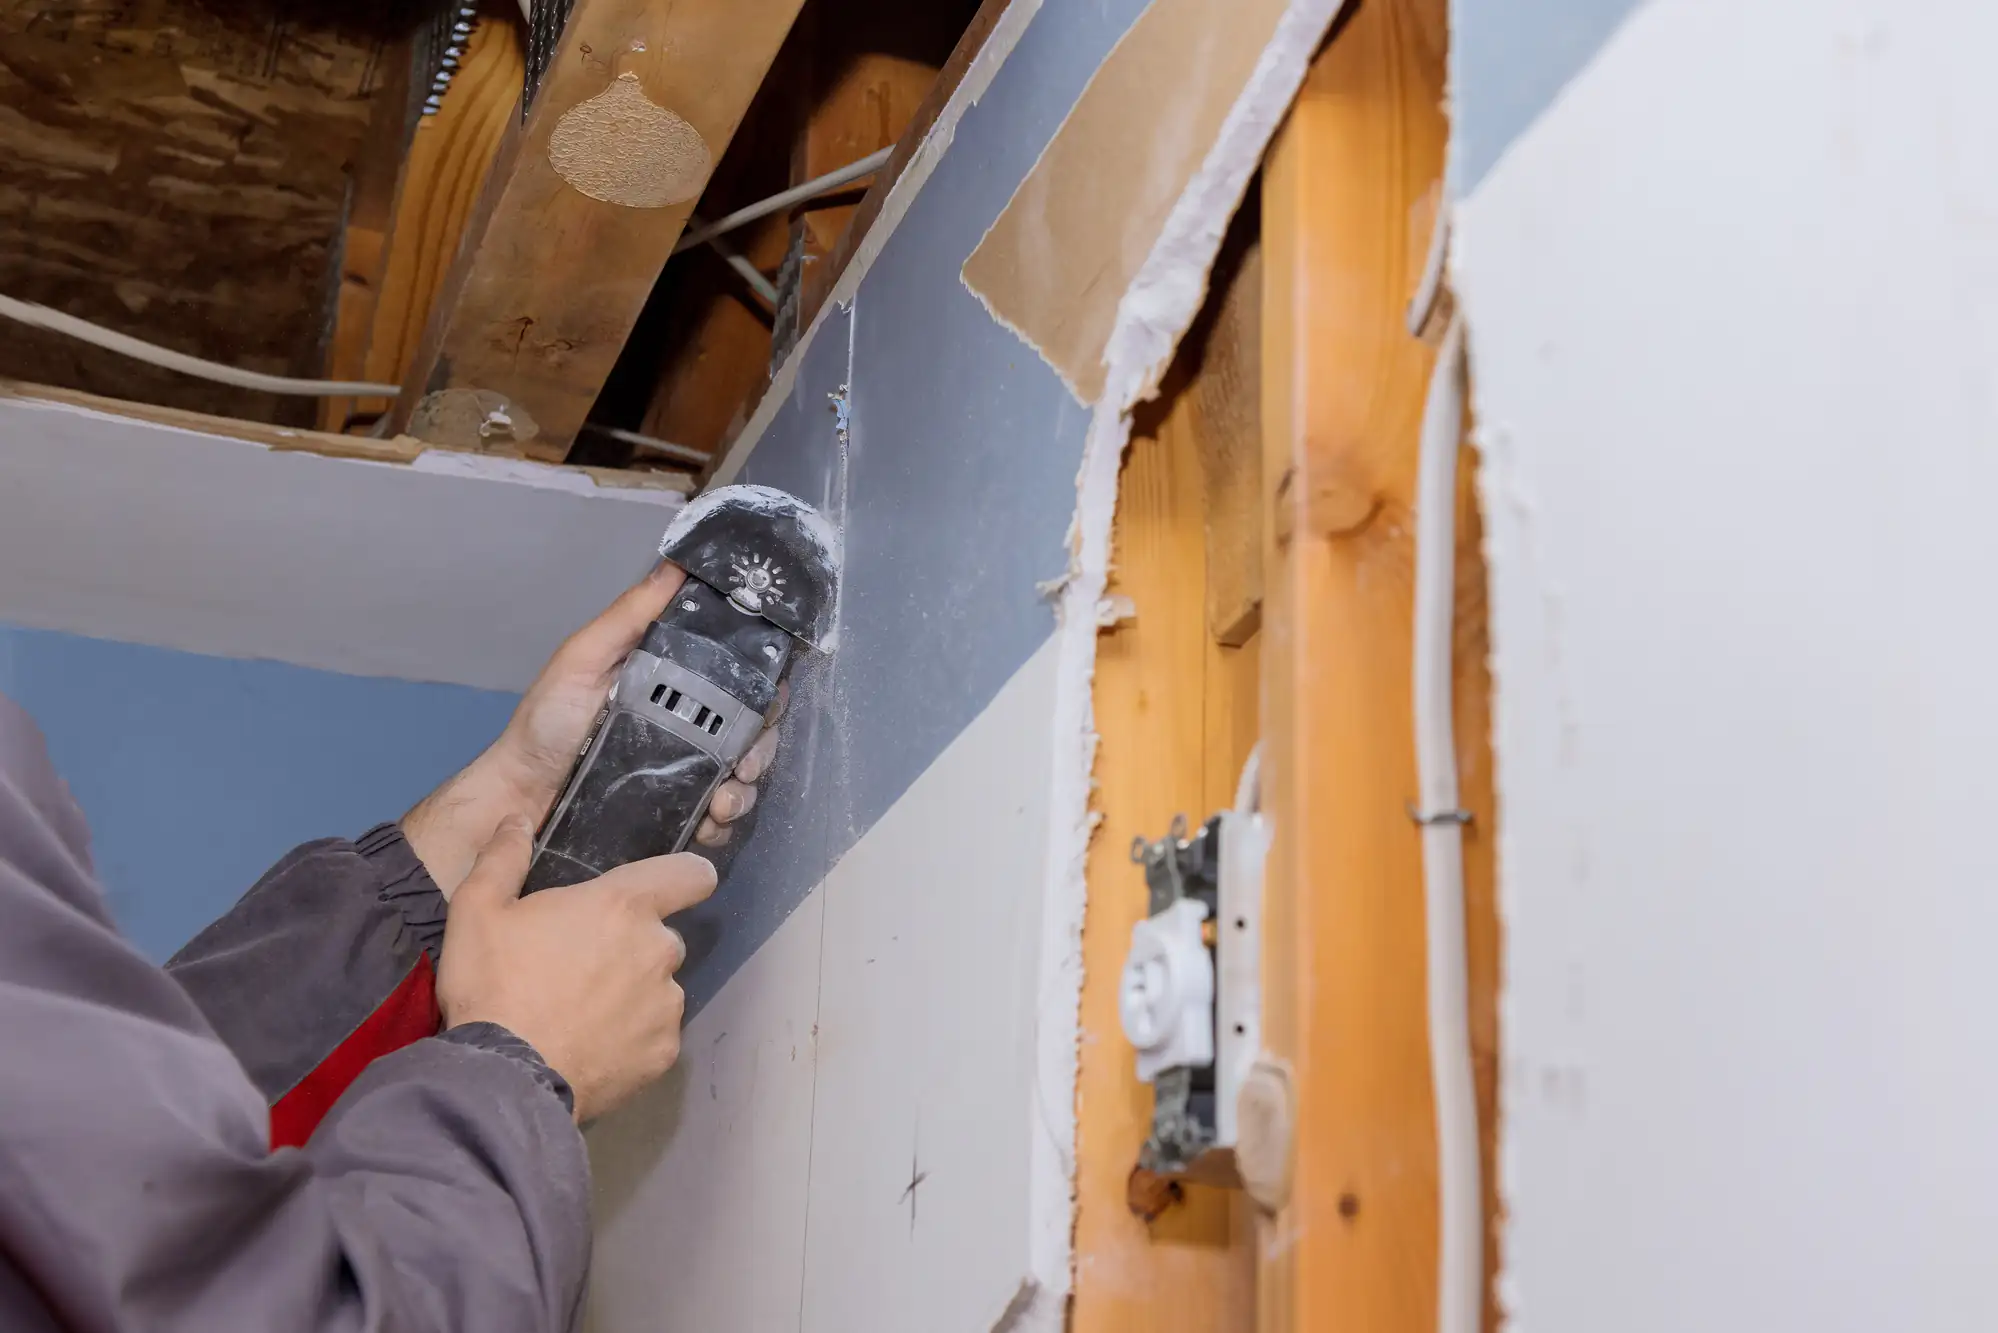
Next comes prep work. We protect your floors and furniture, then remove damaged material if needed. For installations, we measure and cut sheetrock sheets to fit your space precisely. Proper hanging technique matters here—sheets need to be secured correctly to prevent future cracks or sagging.
Then comes the finishing work that separates acceptable from excellent. We apply drywall taping compound in multiple coats, sanding between each layer to create a smooth surface. This is where experience shows. Rushed taping leaves visible seams and texture issues. Done right, you can’t tell where new work meets old.
Finally, we clean up completely. Drop cloths come up, dust gets vacuumed, and your space is left ready for paint. Most small repairs finish in a day. Larger installations depend on square footage and drying time between coats, but you’ll know the timeline before we start.
Ready to get started?
Professional sheetrock installation covers more than just hanging panels. You’re getting proper surface preparation, which means addressing any moisture issues, repairing framing if needed, and ensuring walls are ready for new material. In East Islip’s coastal climate, moisture management isn’t optional—it’s essential for preventing future damage.
The installation itself involves precise measurement and cutting, proper fastening techniques that meet Suffolk County building codes, and attention to details like outlet placement and corner reinforcement. For commercial drywall installation, fire rating and soundproofing requirements add another layer of complexity that requires specific materials and methods.
Finishing work includes multiple coats of joint compound, careful sanding to create smooth transitions, and texture matching if you’re blending new work with existing walls. This is skilled work that takes time to do correctly. Contractors who rush this phase leave you with visible seams, uneven surfaces, and a paint job that highlights every flaw instead of hiding them.
You also get protection for your home during the work. That means drop cloths, containment barriers for dust, daily cleanup, and respect for your living space. The difference between a contractor who cares and one who doesn’t shows up clearly in how your house looks at the end of each day.
Small repairs—like fixing a hole from a doorknob or patching a crack—typically finish in one day. That includes filling, sanding, and getting the surface ready for paint. You’re looking at a few hours of actual work, but drying time between coats of joint compound extends the timeline.
Larger repairs or full room installations take longer. A standard bedroom might need two to three days: one day for hanging sheets, another day or two for taping and multiple coats of mud, plus sanding time. The compound needs to dry completely between coats, and rushing this creates problems. Wet sanding causes tears in the paper. Insufficient drying leads to cracking later.
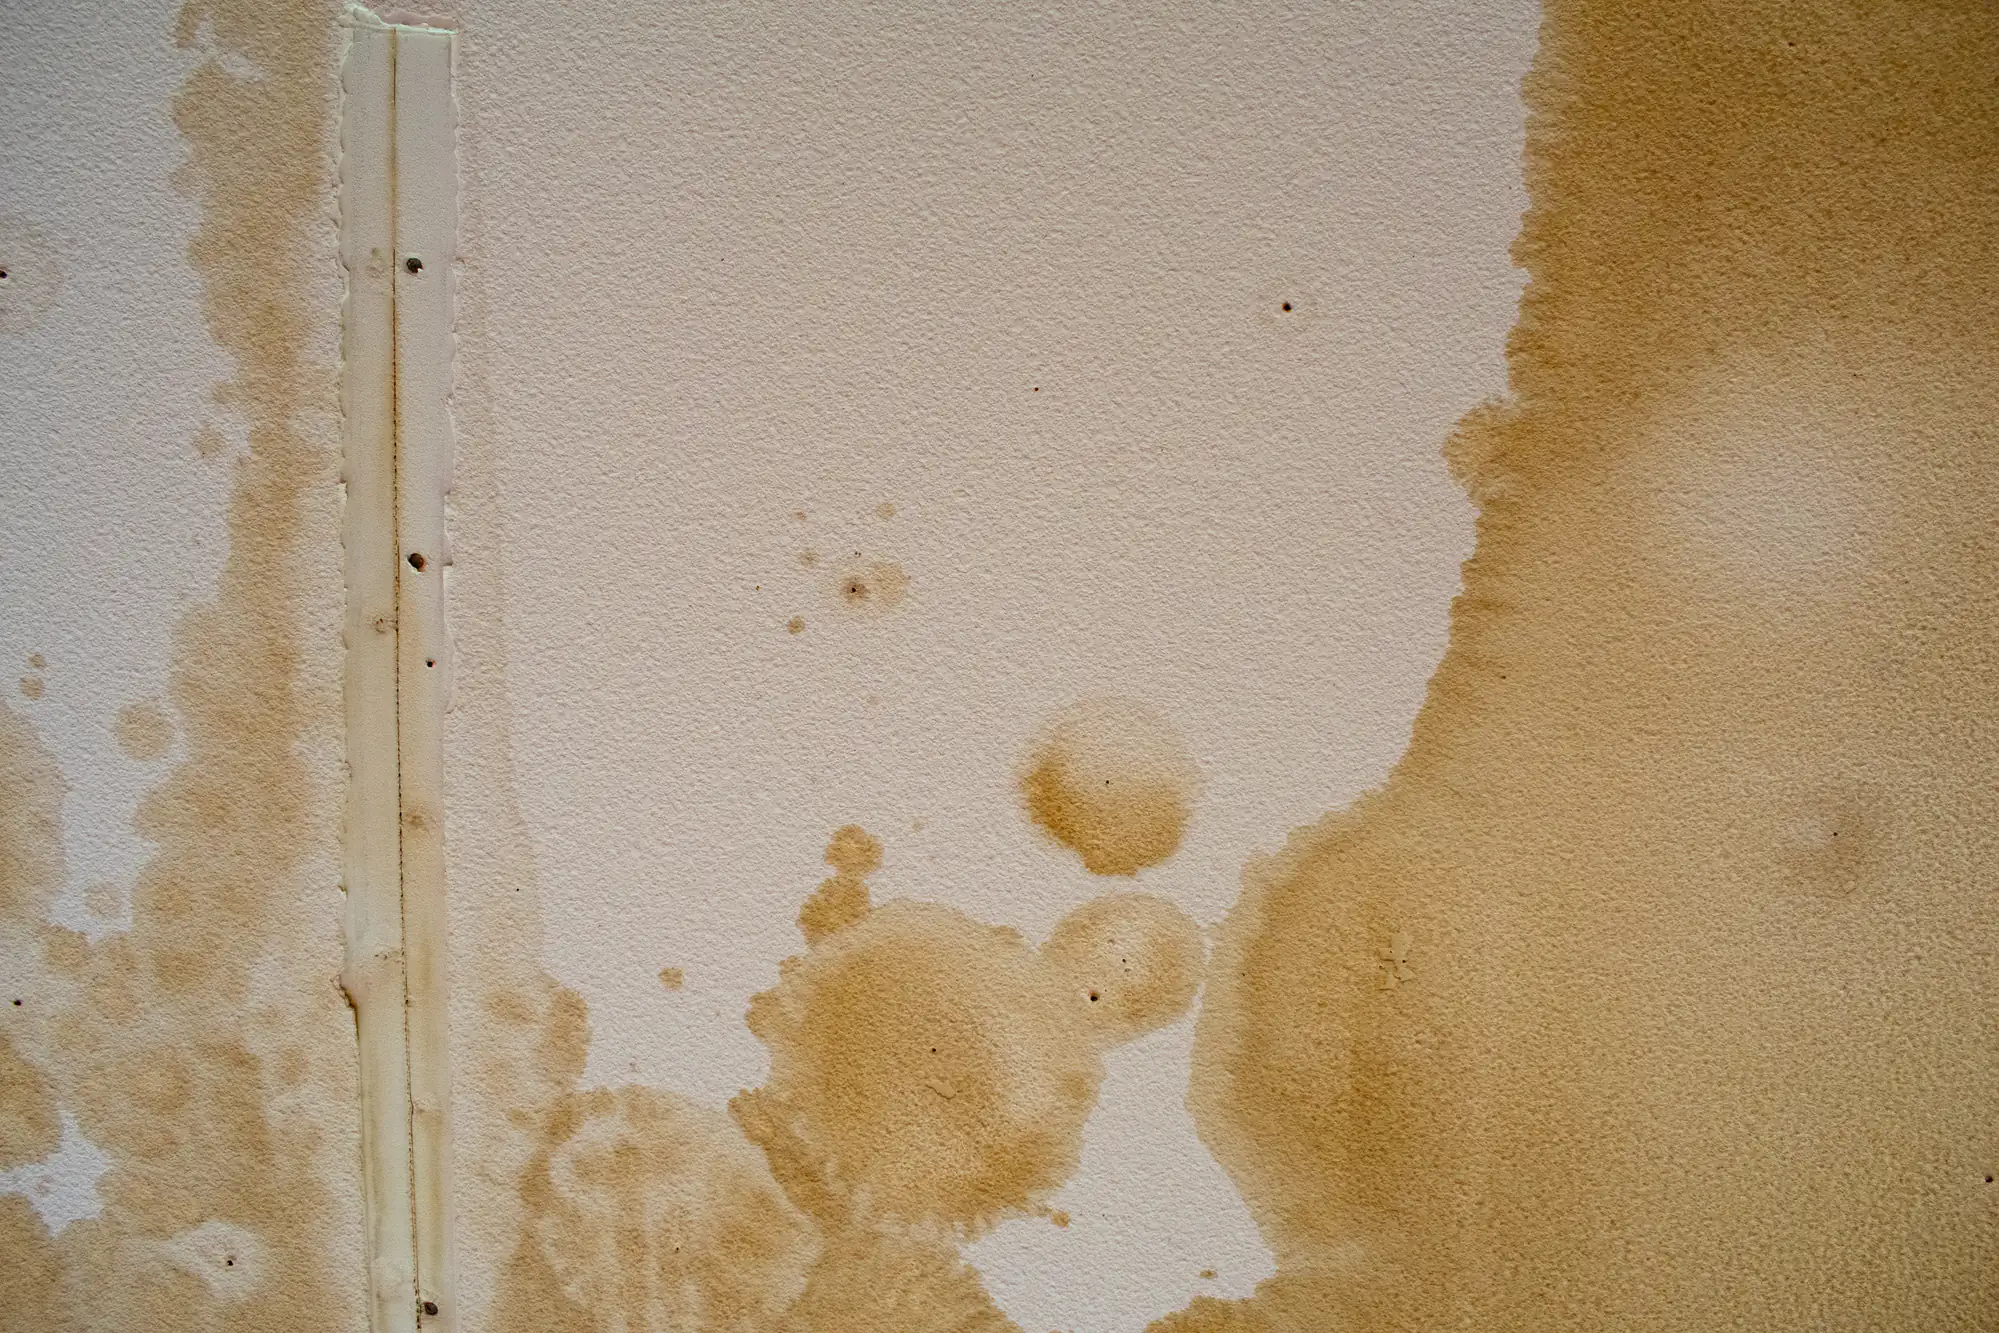
Water damage repairs add complexity because you’re not just fixing drywall—you’re addressing the source of moisture, checking for mold, and possibly replacing insulation or framing. These projects can take several days depending on extent of damage. We’ll assess the full scope before giving you a timeline, not just guess based on what’s visible.
Repair makes sense for small holes, minor cracks, or isolated damage. If the surrounding drywall is in good condition and the damaged area is contained, patching is faster and more cost-effective. You’re cutting out the damaged section, installing a patch, then taping and mudding to blend it seamlessly with the existing wall.
Replacement becomes necessary when damage is extensive, when you’re dealing with water damage that’s compromised a large area, or when the existing drywall is old and deteriorating. Sometimes trying to repair severely damaged sections costs more in labor than just replacing the entire sheet. You also get better results—no patched areas that might show through paint later.
In East Islip homes, water damage from roof leaks or plumbing issues often requires replacement rather than repair. Once drywall gets saturated, it loses structural integrity. Even if it dries out, you’re left with weakened material that’s prone to mold growth and future problems. We’ll tell you when replacement is the smarter choice, even if repair would be the easier sale.
Dust control starts with containment. Before any cutting or sanding begins, we seal off the work area with plastic barriers and close HVAC vents so dust doesn’t circulate through your whole house. Drop cloths cover floors and any furniture that can’t be moved. This prep work takes extra time but makes a massive difference in how clean your home stays.
Sanding creates the most dust, which is why dustless sanding systems matter. These attach directly to vacuums that capture particles as they’re created instead of letting them float through your house. It’s not completely dust-free, but it reduces airborne particles by about 90% compared to traditional sanding. You’ll still need to wipe down surfaces afterward, but you’re not dealing with a layer of fine white powder on everything you own.
Daily cleanup is the final piece. At the end of each work day, we vacuum the area, wipe down surfaces, and remove debris. Contractors who skip this leave you living in a construction zone. We understand that you’re still living in your home during the work—you shouldn’t have to deal with dust in your kitchen or bathroom because someone couldn’t be bothered to clean up properly.
Start with licensing and insurance. Any contractor working in Suffolk County should carry proper liability insurance and workers’ compensation. This protects you if someone gets injured on your property or if something gets damaged during the work. Ask to see proof—legitimate contractors have no problem providing documentation.
Experience matters more in sheetrock work than people realize. Hanging sheets isn’t complicated, but finishing work requires skill that only comes from repetition. Look for contractors with several years of hands-on experience, not just companies that subcontract the actual work to whoever’s available. Ask to see examples of completed projects, particularly repairs where they had to match existing texture.
Communication and transparency separate professionals from everyone else. You want a contractor who explains what needs to happen, provides a clear written estimate with no hidden fees, and stays in touch throughout the project. Red flags include pressure to sign immediately, vague pricing, or reluctance to answer questions about process or timeline. Trust your instincts—if something feels off during initial conversations, it probably won’t improve once work starts.
Small repairs typically run a few hundred dollars—you’re paying for a couple hours of skilled labor plus materials. Patching a hole, fixing a crack, or repairing minor water damage falls into this range. The exact cost depends on damage extent and whether any prep work is needed before the actual repair.
Full room installations vary widely based on square footage, ceiling height, and complexity. A standard bedroom might cost between $1,500 and $3,000 for complete drywall installation including finishing and prep for paint. Larger spaces, rooms with vaulted ceilings, or projects requiring special materials like moisture-resistant or fire-rated drywall cost more. Commercial drywall installation typically runs higher due to code requirements and project scope.
We provide detailed written estimates that break down labor and materials separately. You should see line items for drywall sheets, joint compound, tape, fasteners, and labor hours. Be skeptical of quotes that seem unusually low—they often mean corners will be cut or additional charges will appear later. Quality sheetrock work costs what it costs because proper finishing takes time and skill. The difference between a mediocre job and excellent work shows up clearly once you start painting.
Yes, but it requires experience and the right technique. Matching texture is one of the hardest parts of drywall repair because even small inconsistencies become obvious once paint goes on. The process involves identifying your existing texture type—knockdown, orange peel, skip trowel, or smooth—then replicating it on the repaired area.
Each texture type requires specific tools and application methods. Orange peel uses a hopper gun to spray joint compound in a particular pattern. Knockdown involves spraying or rolling compound, then lightly flattening the peaks with a trowel. Skip trowel is hand-applied with deliberate technique. Getting the pattern, depth, and consistency right takes practice. This is where contractor experience shows—someone who’s matched hundreds of textures can replicate yours. Someone learning on your wall probably can’t.
Sometimes perfect matching isn’t possible, especially with older textured walls where the original application method is unclear or the texture has aged and changed over time. In these cases, your options are texturing a larger area to create a natural transition point (like corner to corner) or re-texturing the entire wall for consistency. We’ll be upfront about what’s achievable before starting work, not promise perfect results then deliver something obviously patched.