
Hear from Our Customers
You can’t tell where the repair ends and your original wall begins. That’s the standard.
When water damage hits your home, or you’re opening up a space for renovation, the drywall work either disappears into the background or sticks out like a sore thumb. Texture matching matters. Paint blending matters. The difference between a patch job and professional sheetrock repair shows up every time you walk past that wall.
Your home in Mastic deserves better than visible seams and uneven finishes. With nearly a decade working on Long Island homes, we’ve learned how to match the specific textures and finishes common in Suffolk County properties. Orange peel, knockdown, smooth—whatever’s on your walls now, we replicate it so the repair blends completely.
You get rooms that are ready to use. No dust coating your furniture. No wondering if we’re coming back to fix what we missed. Just finished walls that let you move forward with your day.
We’ve been handling sheetrock installation and drywall repair in Mastic and throughout Suffolk County since 2015. That’s long enough to know which materials hold up in Long Island’s humid summers and which shortcuts cause callbacks.
Most of our work comes from referrals. Homeowners who had a good experience tell their neighbors, and those neighbors call us when they need walls fixed or rooms finished. That’s how we’ve built this business—one clean job at a time.
Mastic homeowners deal with specific challenges. Older homes with settled foundations. Water intrusion from coastal storms. Additions that don’t quite match the original construction. We’ve seen it all, and we know how to address it without creating new problems down the line.
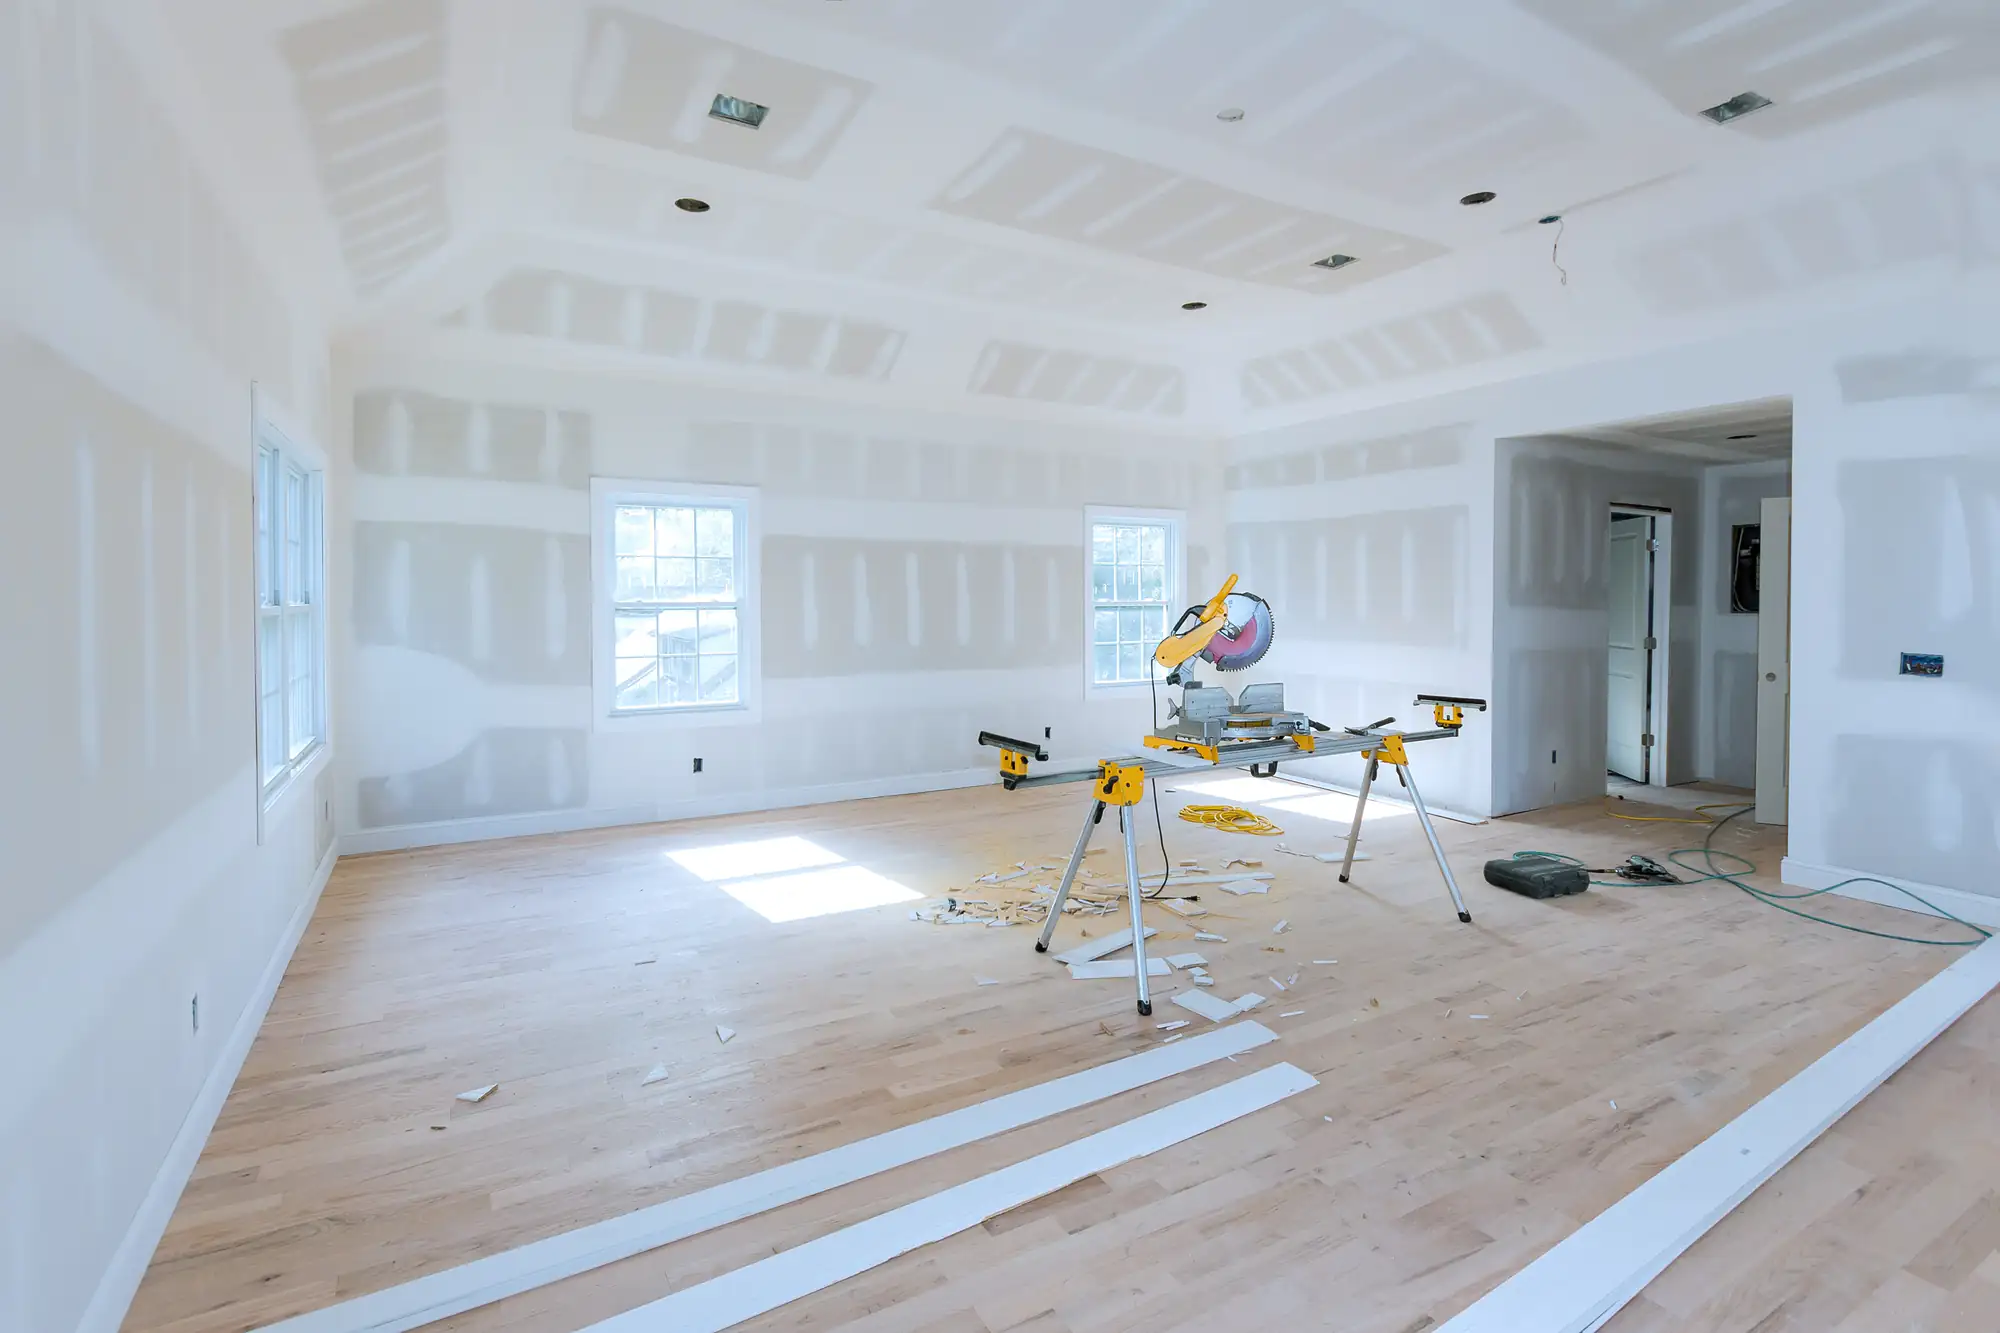
First, we assess what you’re dealing with. Water damage requires checking behind the drywall for mold or structural issues before we patch anything. New construction means measuring twice and planning the board layout to minimize seams. Every project starts with understanding what’s actually needed.
Then we prep the space. Drop cloths go down. Furniture gets covered or moved. Our vacuum sander connects directly to a HEPA filter, which means the dust stays contained instead of settling on everything you own.
The installation itself follows a specific sequence. Boards go up with proper fastener spacing. Seams get taped with the right compound for the application—not whatever’s cheapest. Each coat gets sanded smooth before the next one goes on. Corners get reinforced. Textures get matched to your existing walls.
Finally, we prime and paint to match your current color. The goal is for you to forget where we worked. When the repair disappears completely, we did our job right.
Ready to get started?
You’re not just getting drywall hung on studs. The complete service covers everything from the initial damage assessment through final paint.
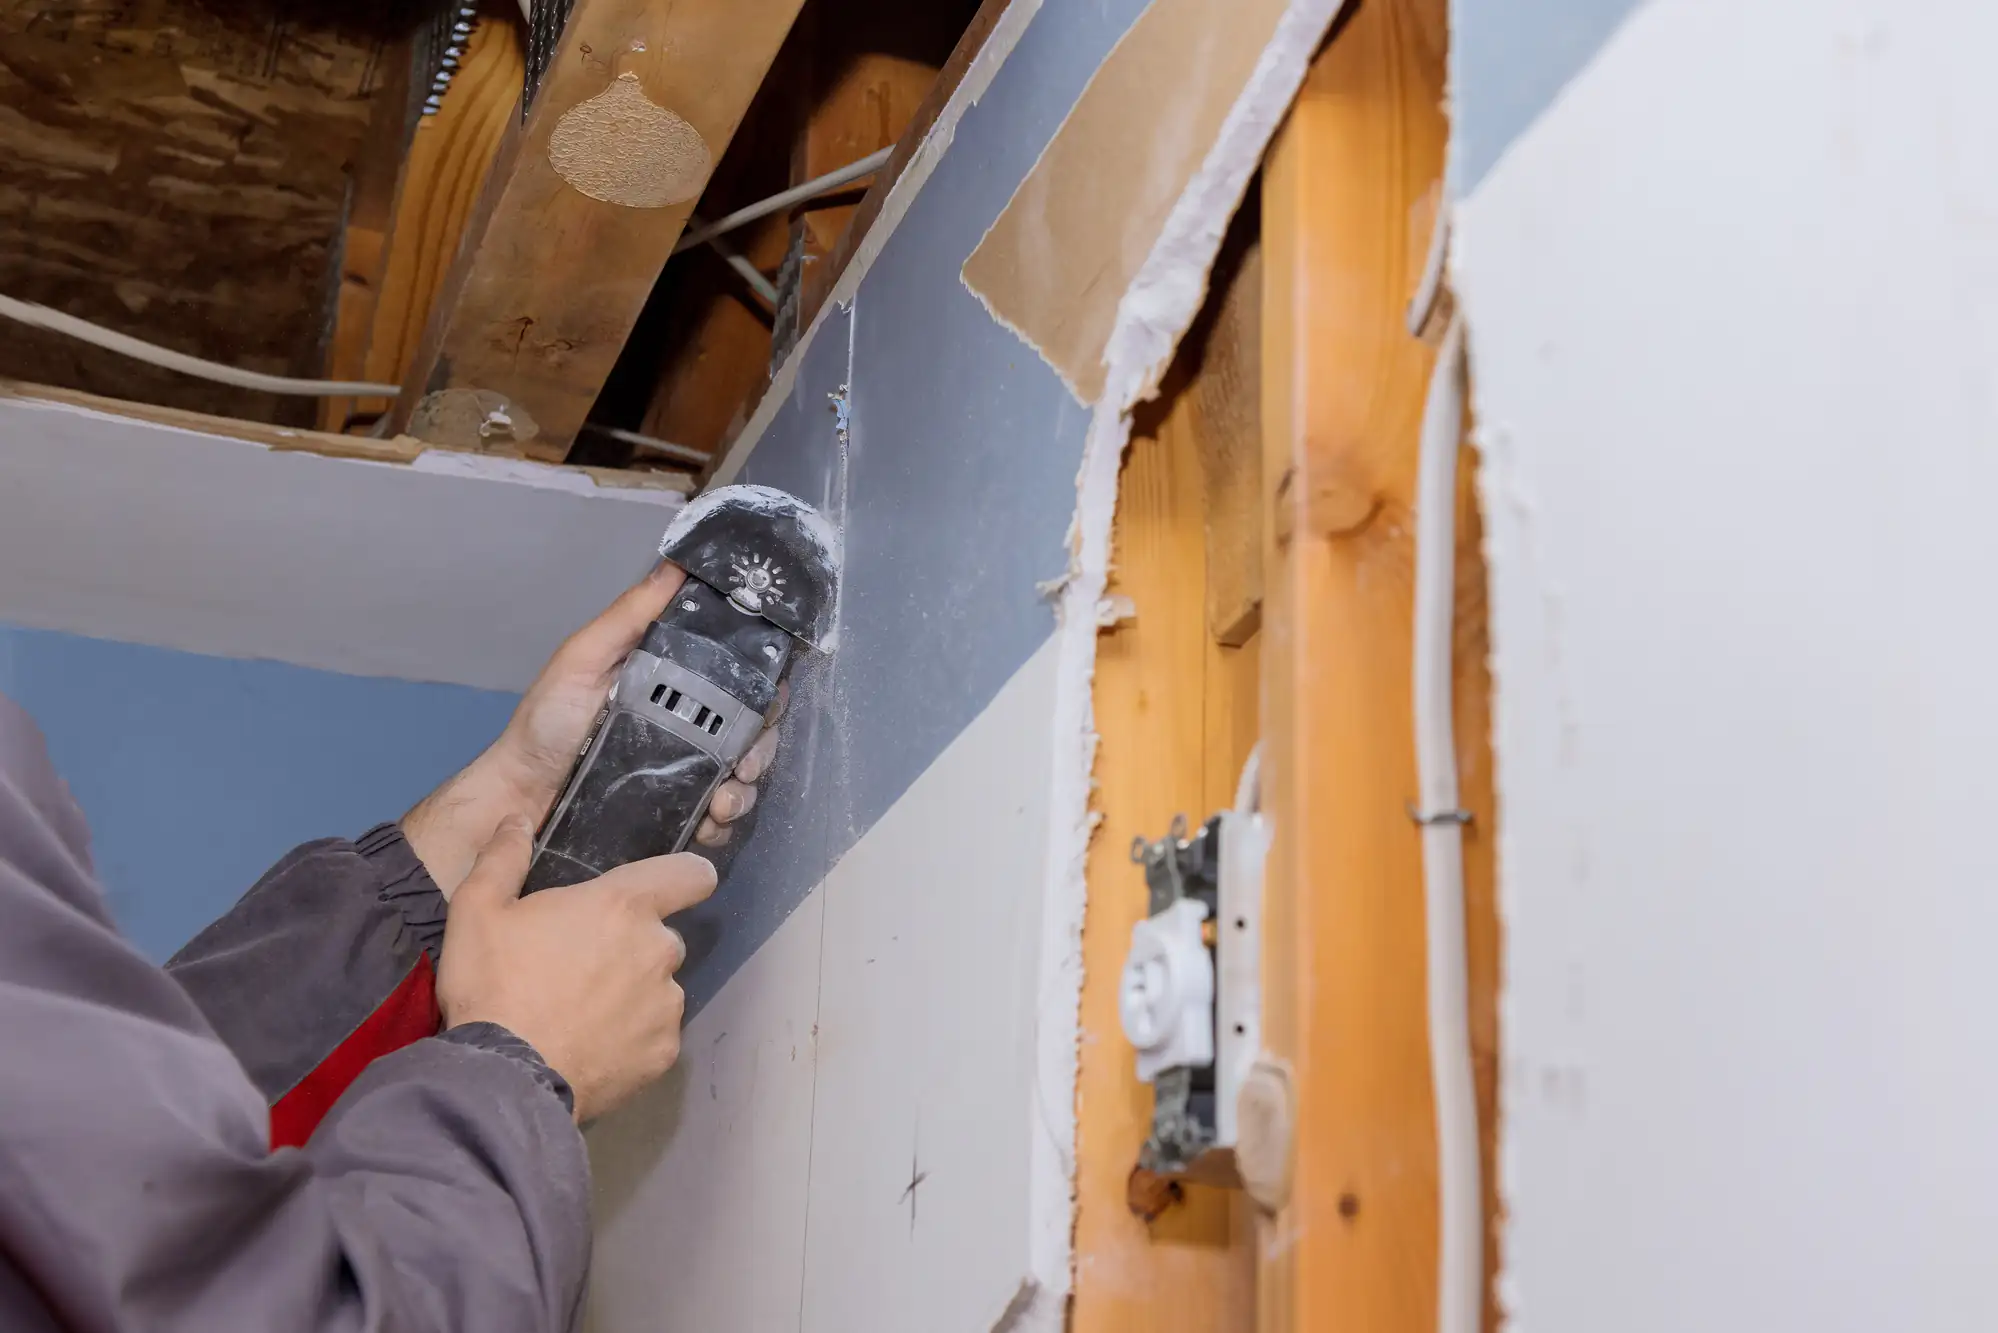
For water damage repairs in Mastic homes—which happens frequently given our proximity to the coast—we check the extent of the damage first. Drywall that’s been wet for more than 48 hours usually needs replacement, not just drying out. Mold starts growing fast in Long Island’s humidity, and covering it up creates bigger problems later. We cut out the damaged section, treat the studs if needed, and install new material that matches your wall thickness and texture.
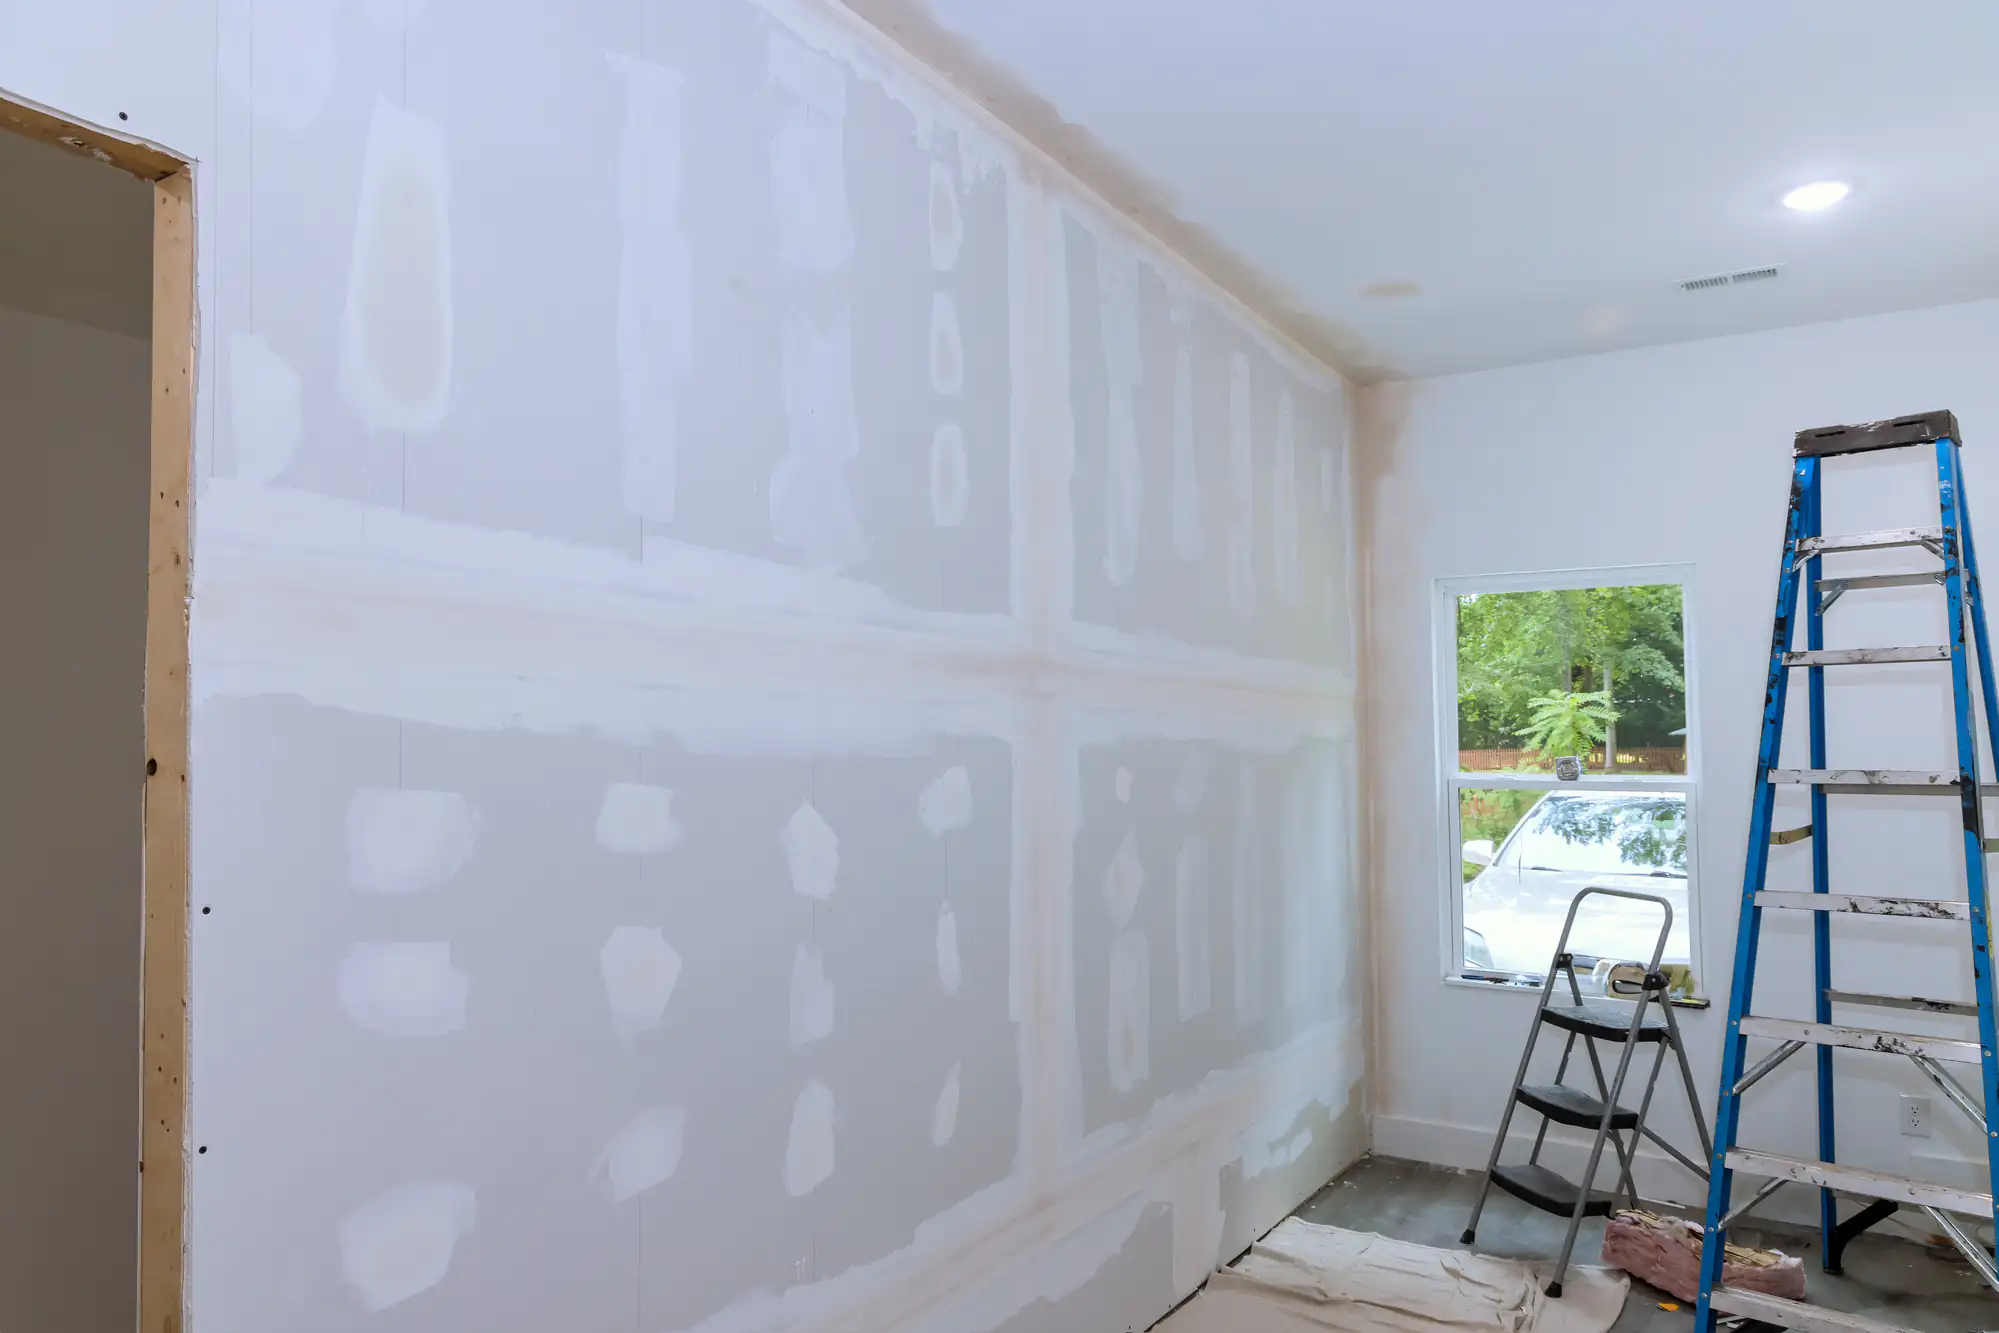
New construction or renovation projects get the same attention to detail. We calculate how many sheets you’ll need based on your room dimensions, then add 10% for cuts and waste. For a typical Mastic home addition of 300 square feet, that’s roughly 20 sheets of drywall plus materials for taping, mudding, and finishing. The boards go up with screws spaced every 12 inches on studs, which prevents sagging and popping down the road.
Texture matching is where experience shows. Many Mastic homes built in the 80s and 90s have orange peel or knockdown textures that require specific techniques to replicate. We keep samples of common local textures and test the match on scrap pieces before touching your actual walls.
Small repairs—a single wall section from a leaky pipe—usually take one day once the area is completely dry. We cut out the damaged drywall, check the studs and insulation, install the new section, and do the first coat of joint compound. Then we come back the next day for additional coats and sanding, and a third visit for texture matching and paint.
Larger water damage projects take longer because drying time matters more than repair time. If your basement flooded or a pipe burst and soaked multiple rooms, the studs and insulation need 3-5 days to dry completely before we install new drywall. Rushing this step traps moisture behind your walls and creates mold problems within weeks.
The actual installation moves quickly. An experienced drywall contractor can hang and tape a standard bedroom in a day. But the finishing work—multiple coats of compound, sanding between coats, texture application, priming, and painting—adds several more days. Most homeowners are surprised that finishing takes longer than installation, but that’s where quality shows up.
A patch job uses mesh tape and spackle to cover a hole. It’s fast and cheap, and it shows. The repair is visible because the texture doesn’t match, the paint is slightly off, or the patch sinks over time as the compound shrinks.
Proper sheetrock repair means cutting back to the nearest studs, installing a new piece of drywall that’s the same thickness as your existing walls, taping the seams with paper tape and the right joint compound, applying multiple coats with proper drying time between each one, sanding smooth, matching your wall texture exactly, and painting with the same sheen and color.
The difference shows up in two places: immediately and six months later. Immediately, you shouldn’t be able to find the repair without looking hard for it. Six months later, a patch job will have shrunk, cracked, or become more visible as the house settles. A proper repair still looks perfect because it was done right the first time with materials that don’t shrink or crack.
For a typical 12×15 room addition in Mastic—which is common for sunrooms or extra bedrooms—you’re looking at roughly $2,500 to $3,500 for complete drywall installation including taping, mudding, sanding, and primer. That covers about 700 square feet of wall and ceiling surface.
The cost breaks down to materials and labor. Drywall sheets run $15-20 each depending on thickness and type. A room that size needs about 18-20 sheets. Joint compound, tape, corner bead, screws, and primer add another $200-300. The rest is labor—hanging the boards level and secure, taping every seam properly, applying three coats of compound with sanding between each coat, and getting everything ready for paint.
What changes the price? Ceiling height over 8 feet costs more because it requires scaffolding and makes hanging boards harder. Textured finishes cost more than smooth walls. Water-resistant drywall for bathrooms costs more than standard boards. Removing old drywall and disposing of it adds to the total. Get a clear estimate upfront that specifies exactly what’s included so you’re not surprised by add-ons later.
Yes, and it’s one of the most important parts of quality drywall repair. Mastic homes have a mix of wall textures depending on when they were built—smooth walls in newer construction, orange peel and knockdown textures in homes from the 80s and 90s, and sometimes heavier textures in older properties.
Matching texture requires the right tools and technique for each style. Orange peel texture uses a hopper gun with specific air pressure and nozzle settings. Knockdown texture gets sprayed on, then partially flattened with a trowel at exactly the right time—too soon and it’s too flat, too late and it doesn’t knock down properly. Smooth walls require multiple thin coats of compound and careful sanding to eliminate any imperfections.
We test the texture match on scrap drywall first, adjust the technique until it matches your walls, then apply it to the actual repair. After it dries, we prime and paint with the same sheen as your existing walls. The goal is for you to forget where we worked within a few weeks as the new paint fully cures and blends with the surrounding area.
Stop the water source first—turn off the supply line if it’s a pipe leak, or address the roof leak or window intrusion point. Then remove any furniture or belongings from the affected area to prevent further damage and allow air circulation.
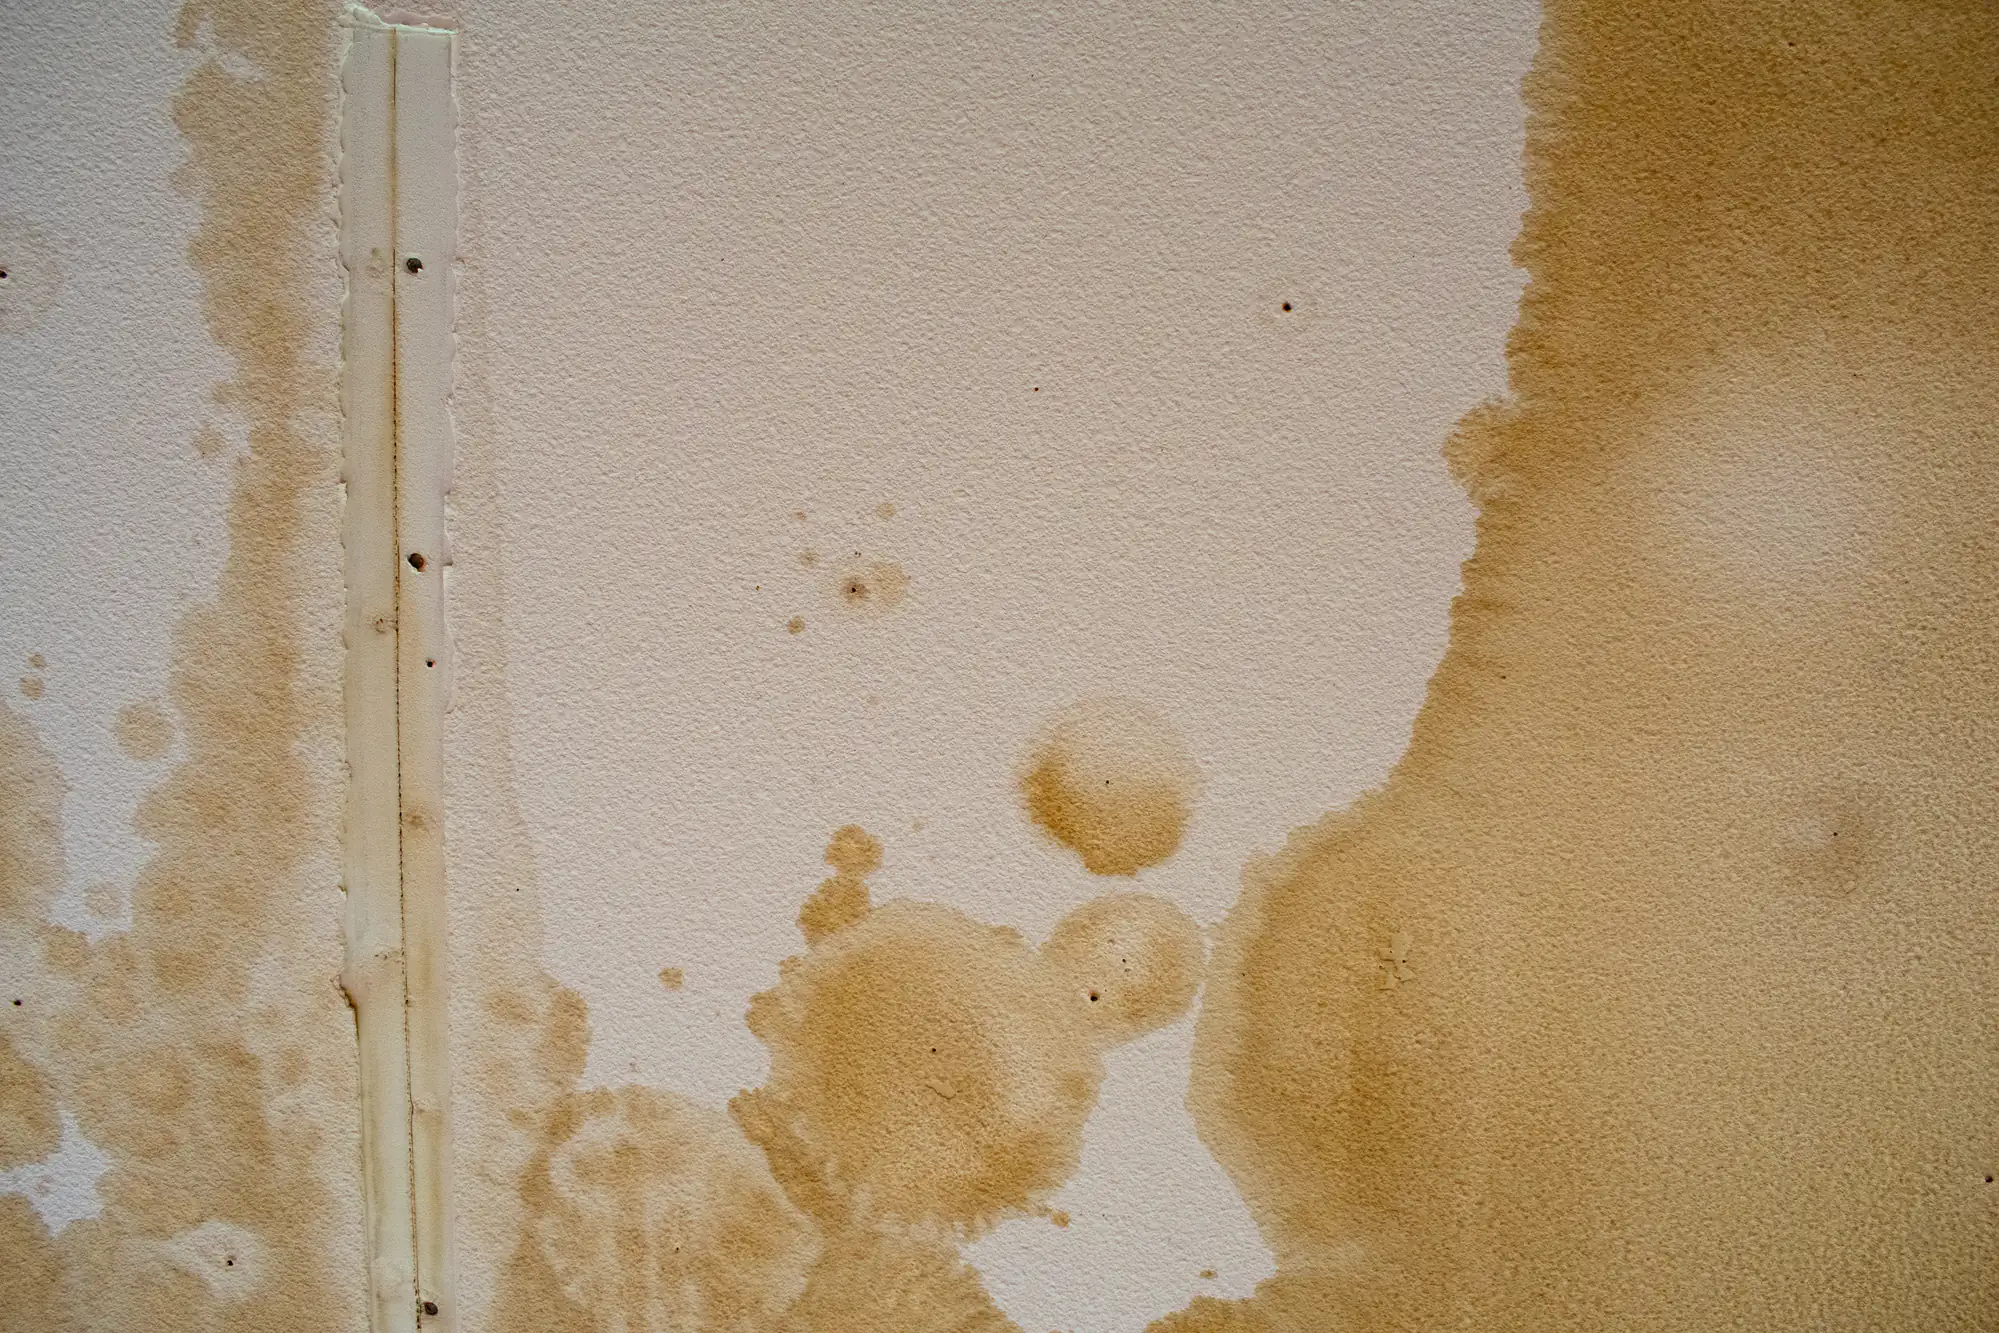
Don’t wait to call a professional. Drywall that stays wet for more than 24-48 hours starts growing mold, especially in Long Island’s humid climate. Even if the surface looks dry, moisture trapped inside the wall cavity creates perfect conditions for mold growth. You might not see it, but you’ll smell it within a week or two.
While you’re waiting for repairs, increase air circulation with fans and dehumidifiers if you have them. Don’t try to dry out the drywall and reuse it—water-damaged drywall loses structural integrity and needs replacement. The paper facing on drywall acts like a sponge, and once it’s saturated, it becomes a mold magnet even after it dries. Cutting out the damaged section and installing new material costs less than dealing with mold remediation later.
Yes. Small repairs are often more urgent—a hole from moving furniture, damage from a plumbing leak, or cracks from settling that need fixing before they get worse. Many of these repairs get completed in a single day, especially if they’re limited to one wall section.
Full room installations are common for basement finishing, room additions, or whole-home renovations. These projects take several days because each step needs proper drying time. We hang all the drywall first, then tape the seams, apply multiple coats of joint compound over several days, sand everything smooth, match your texture, and prime before painting.
The approach is the same regardless of project size: proper preparation, quality materials, attention to detail, and cleaning up completely when we’re done. A small repair gets the same care as a full basement because your walls should look right whether we fixed two square feet or two hundred. The work either blends in perfectly or it doesn’t—there’s no middle ground with drywall.