
Hear from Our Customers
You’re not paying for sheetrock work because you want drywall in your life. You’re paying because you need finished walls that look clean, feel solid, and don’t crack six months later.
That means proper taping. Clean mud application. Smooth finishing that doesn’t require three coats of paint to hide the flaws. And it means someone who understands that your basement isn’t the same as your kitchen—humidity, settling, and wear patterns all affect how we approach the job.
When the work’s done right, you don’t think about your walls. You just enjoy the room. That’s what you’re actually paying for—and that’s what nearly a decade of hands-on experience in Suffolk County gets you.
We’ve been handling interior work across Mattituck and Suffolk County for nearly ten years. We’re not a call center that farms your job out to whoever answers the phone. You’re working directly with the people doing the installation.
That matters more than you’d think. When something needs adjusting or you have a question mid-project, you’re not playing phone tag with three different people. You’re talking to someone who knows your job, your timeline, and exactly what’s happening in your home.
We’ve seen what happens when contractors cut corners—improper tape application, insufficient drywall taping compound, rushed finishing. Those jobs come back to haunt you. We’d rather do it right once than explain why it failed twice.
First, we walk the space with you. We’re looking at the scope, checking for moisture issues, noting any settling or structural concerns that could affect the work. If your basement has humidity problems or your bathroom needs better moisture barriers, we’ll tell you before we hang the first sheetrock sheet.
Then we prep. That means protecting your floors, moving what needs moving, and making sure we’re not tracking dust through your house for the next week. Residential sheetrock installation isn’t just about the walls—it’s about keeping the rest of your home livable while we work.
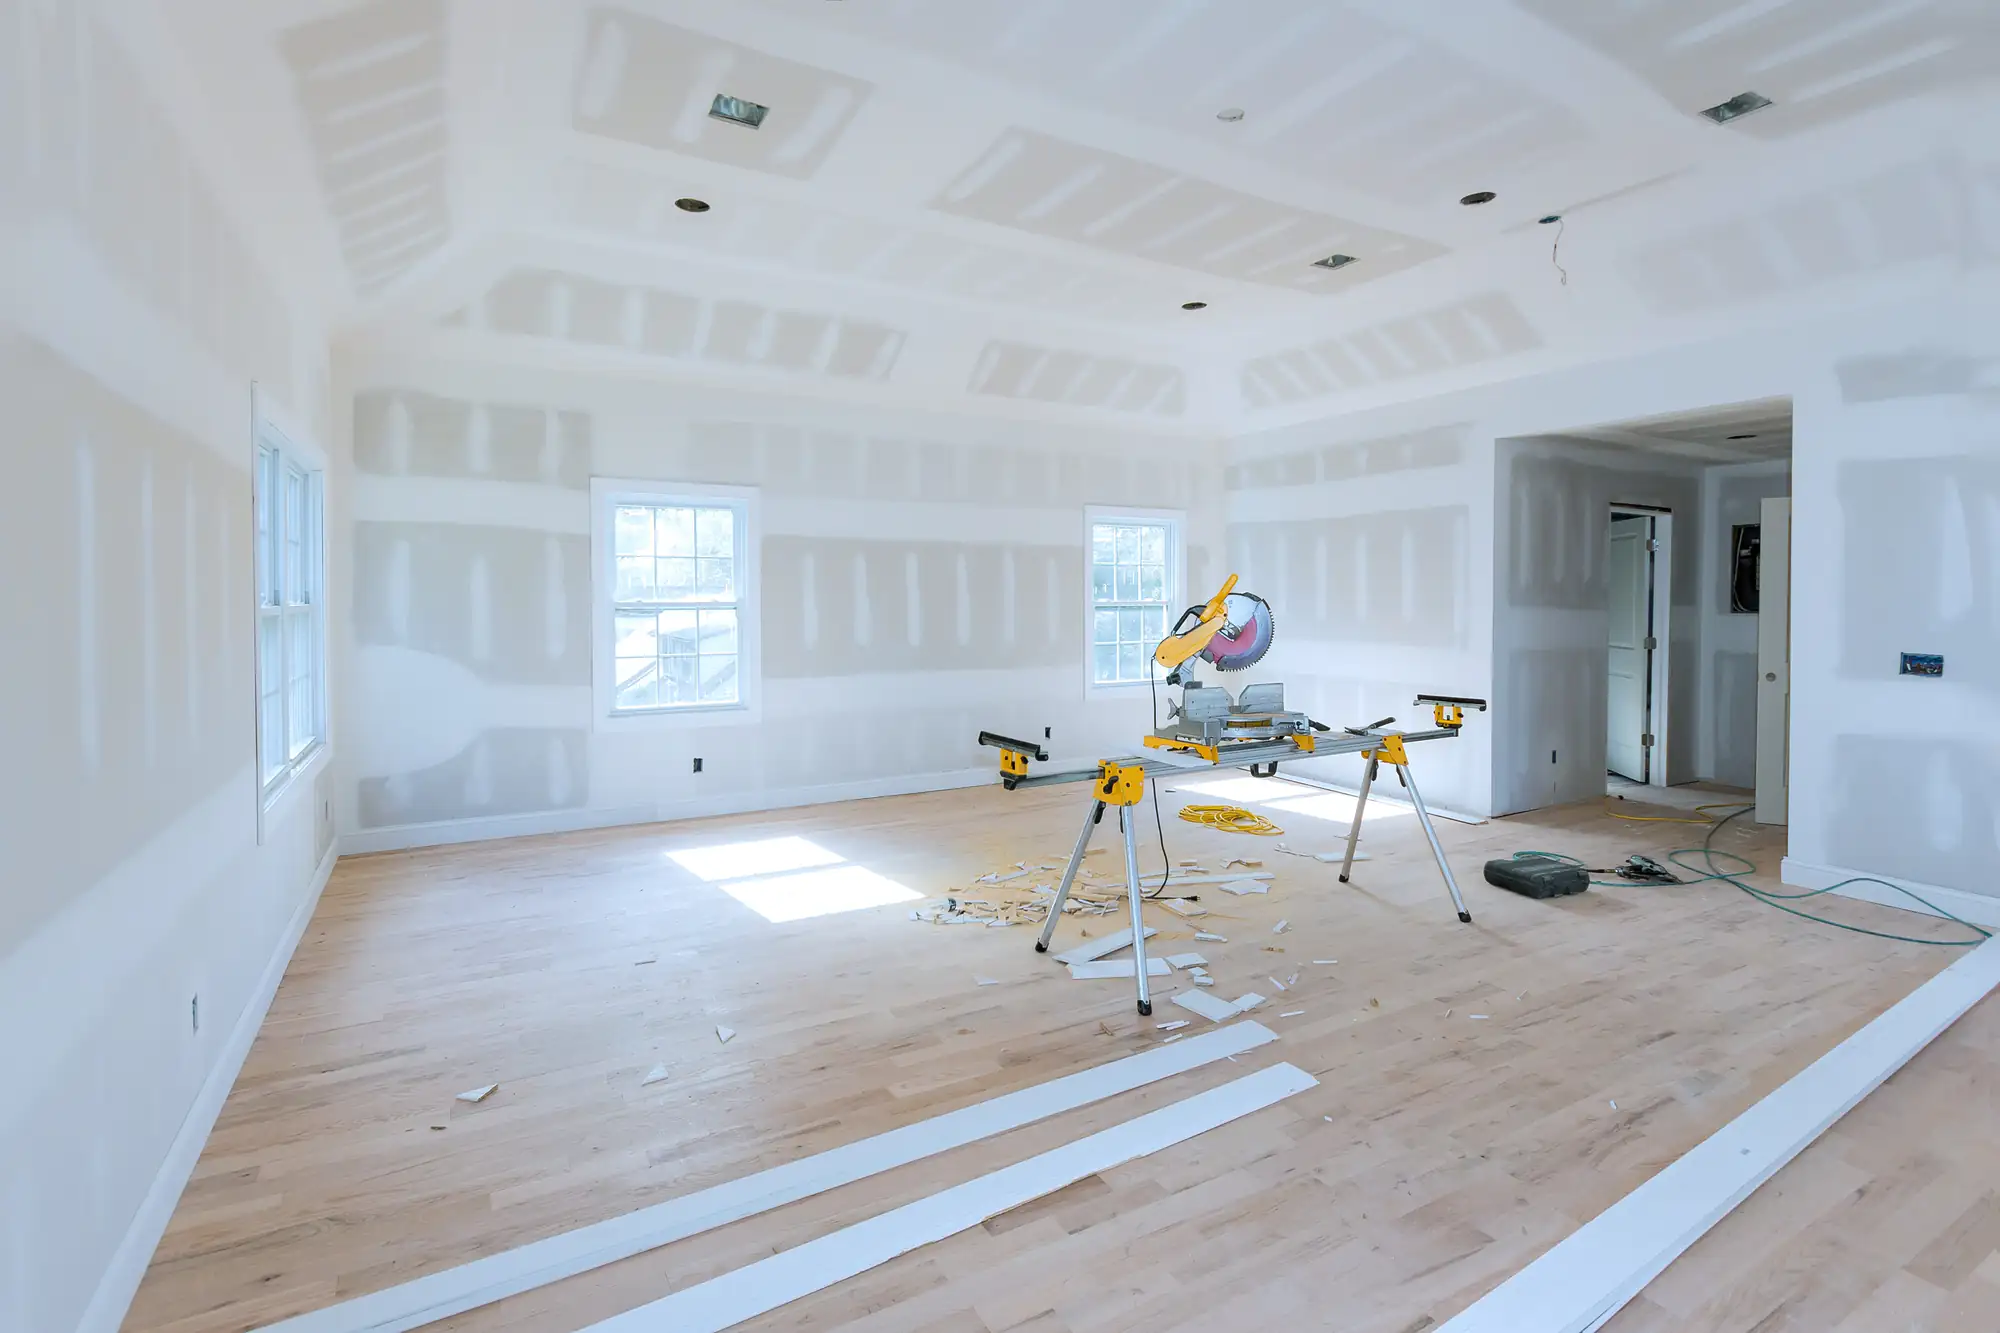
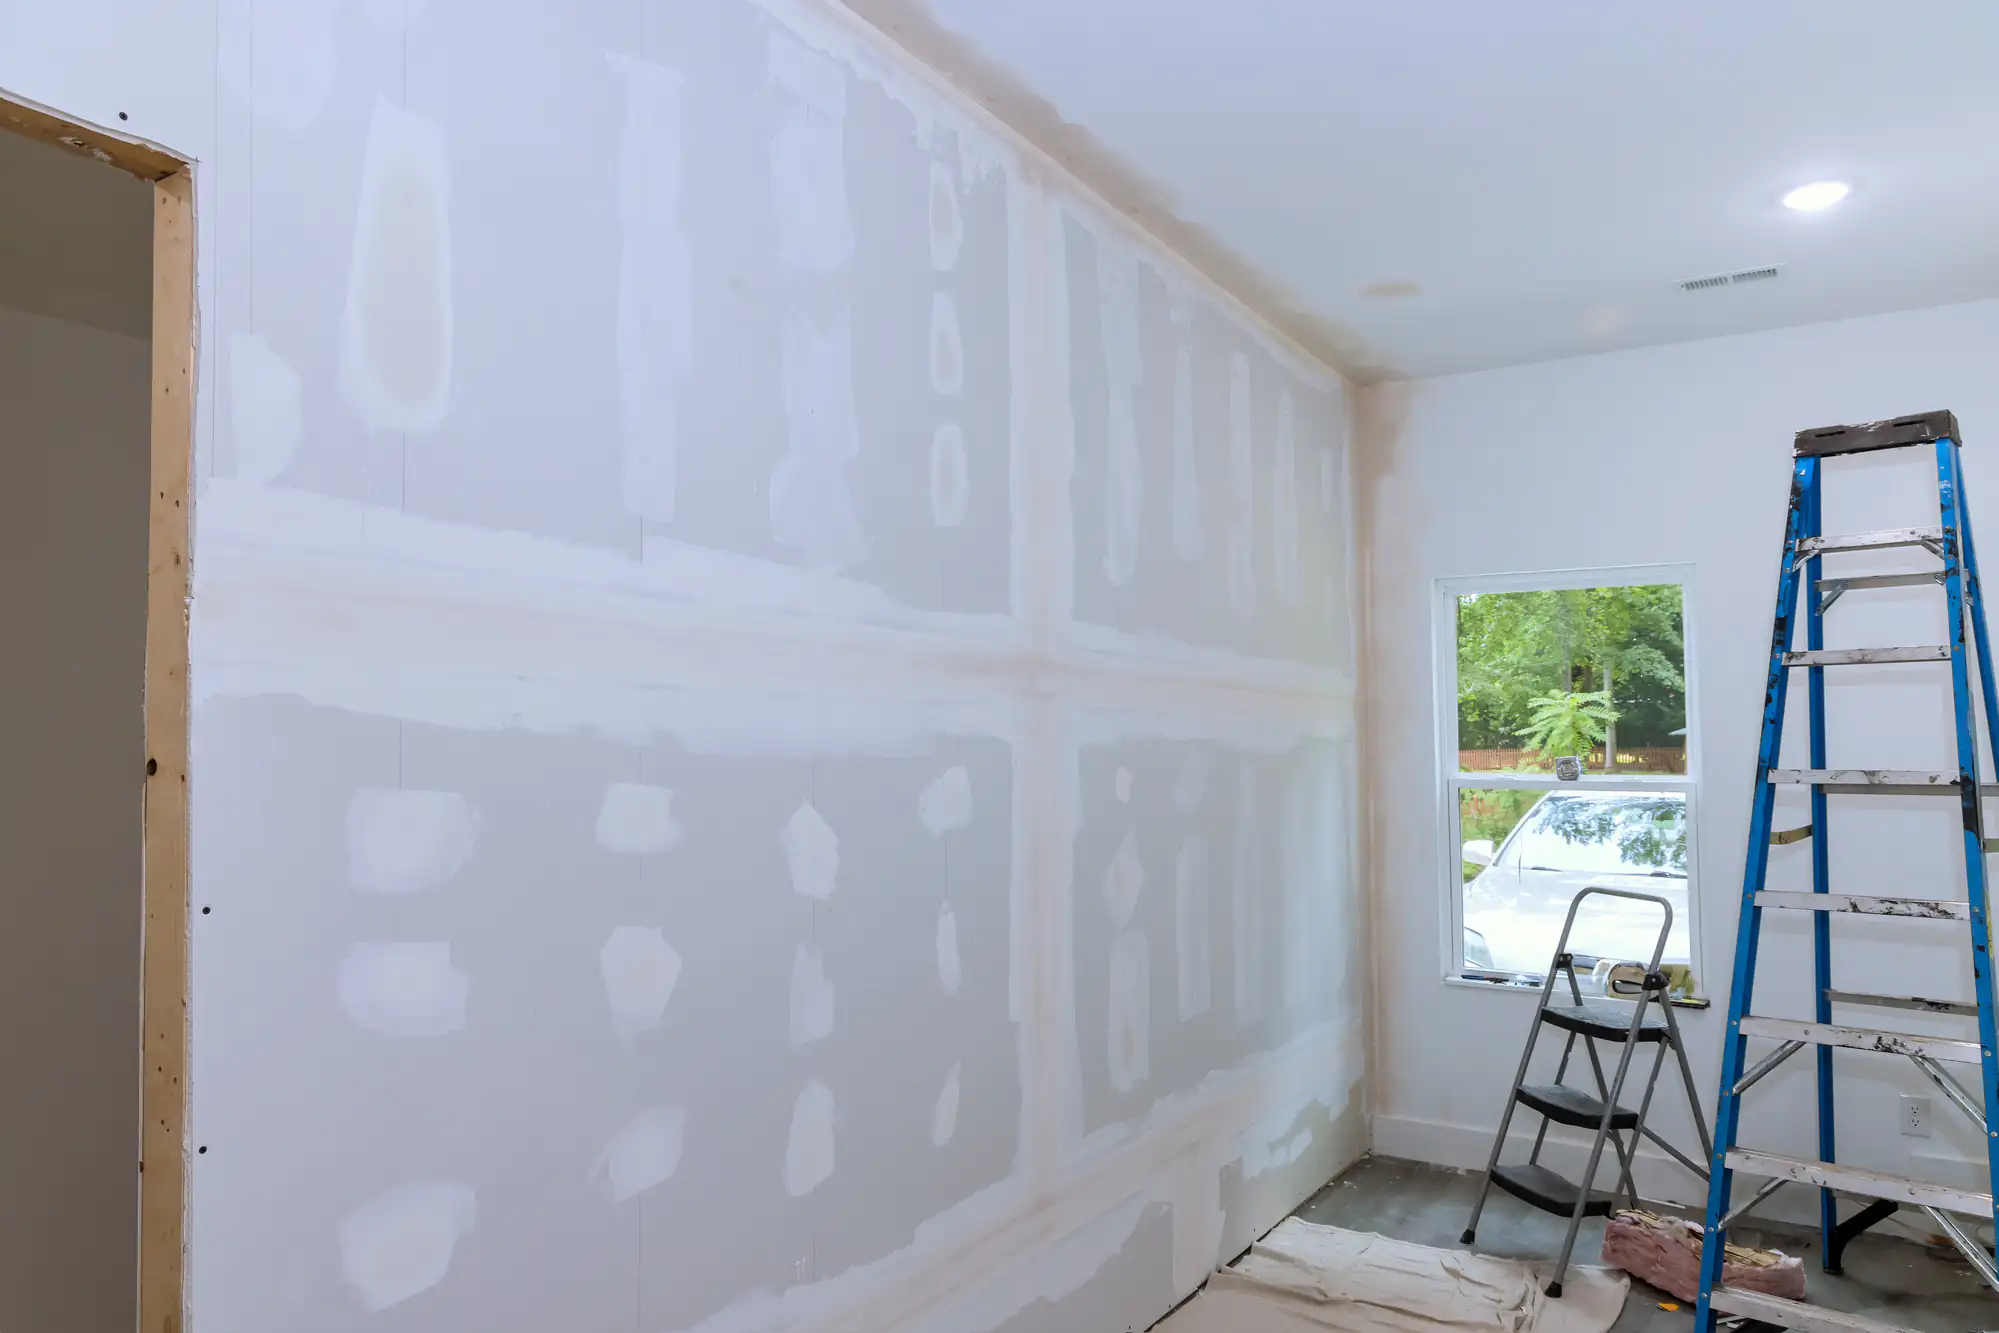
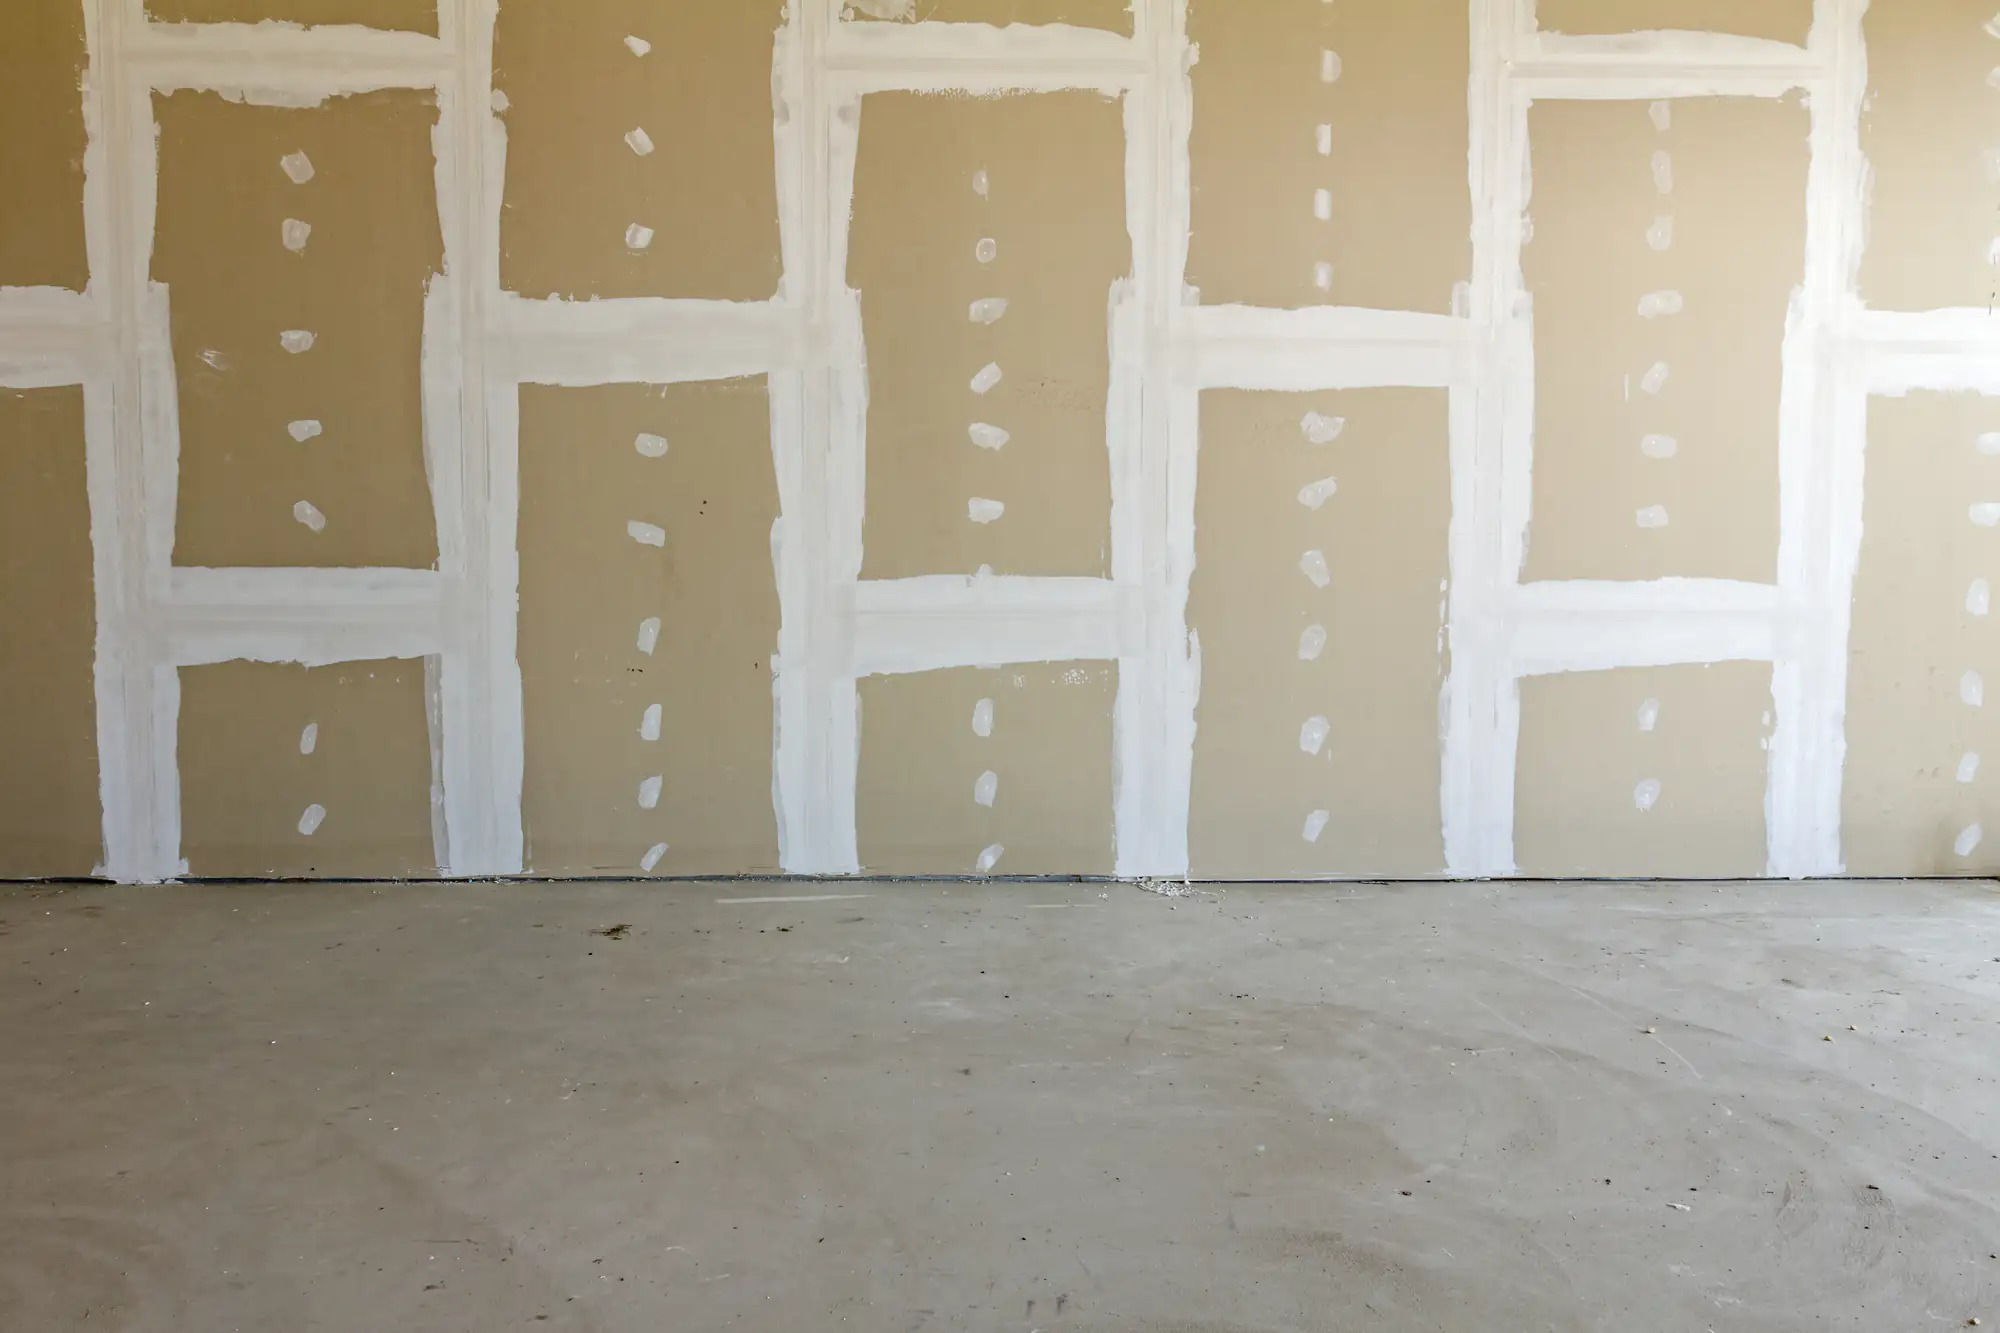
The installation itself follows a specific sequence: hanging, taping, mudding, sanding, priming. Each step has to cure properly before the next one starts. Rushing that process is how you end up with cracks and seams that show through paint. We don’t rush it.
Cleanup happens daily, not just at the end. Drywall dust gets everywhere if you let it. We don’t let it.
Ready to get started?
You’re getting full-scope work: installation, taping, mudding, sanding, and priming. We handle everything from small sheetrock repair jobs—patching holes, fixing water damage, replacing sections—to complete room installations for remodels, additions, or new construction finishing.
For Mattituck homeowners, that often means basement work where moisture and settling create ongoing issues, or bathroom and kitchen projects where humidity and temperature swings demand proper materials and installation methods. Coastal homes here face faster wear from salt air, so we pay extra attention to moisture barriers and ventilation considerations.
Commercial drywall installation follows the same standards, just on a different scale. The principles don’t change—proper framing, correct fastener spacing, quality finishing. What changes is the timeline and coordination with other trades.
Every job includes transparent pricing before we start, daily cleanup, and a final walkthrough where we address anything that doesn’t meet your expectations. No surprise charges. No “that’ll be extra” conversations halfway through. The quote is the quote.
Pricing depends on square footage, ceiling height, and finish level. For context, material costs in New York typically run $80-$90 per sheetrock sheet, and professional installation with finishing averages $3.50-$6.08 per square foot including materials and labor.
A standard 2,000 square foot project in Suffolk County usually falls between $16,000-$18,000 for complete installation and finishing. Smaller repair jobs—patching a few holes, replacing damaged sections—start lower depending on scope.
What drives cost up? High ceilings, complex angles, multiple finish levels, or extensive prep work for damaged areas. What keeps it reasonable? Straightforward layouts, accessible work areas, and addressing any underlying issues before we start so we’re not fixing problems mid-project.
We give you a clear quote upfront. No ranges, no “approximately,” no surprises when the bill comes.
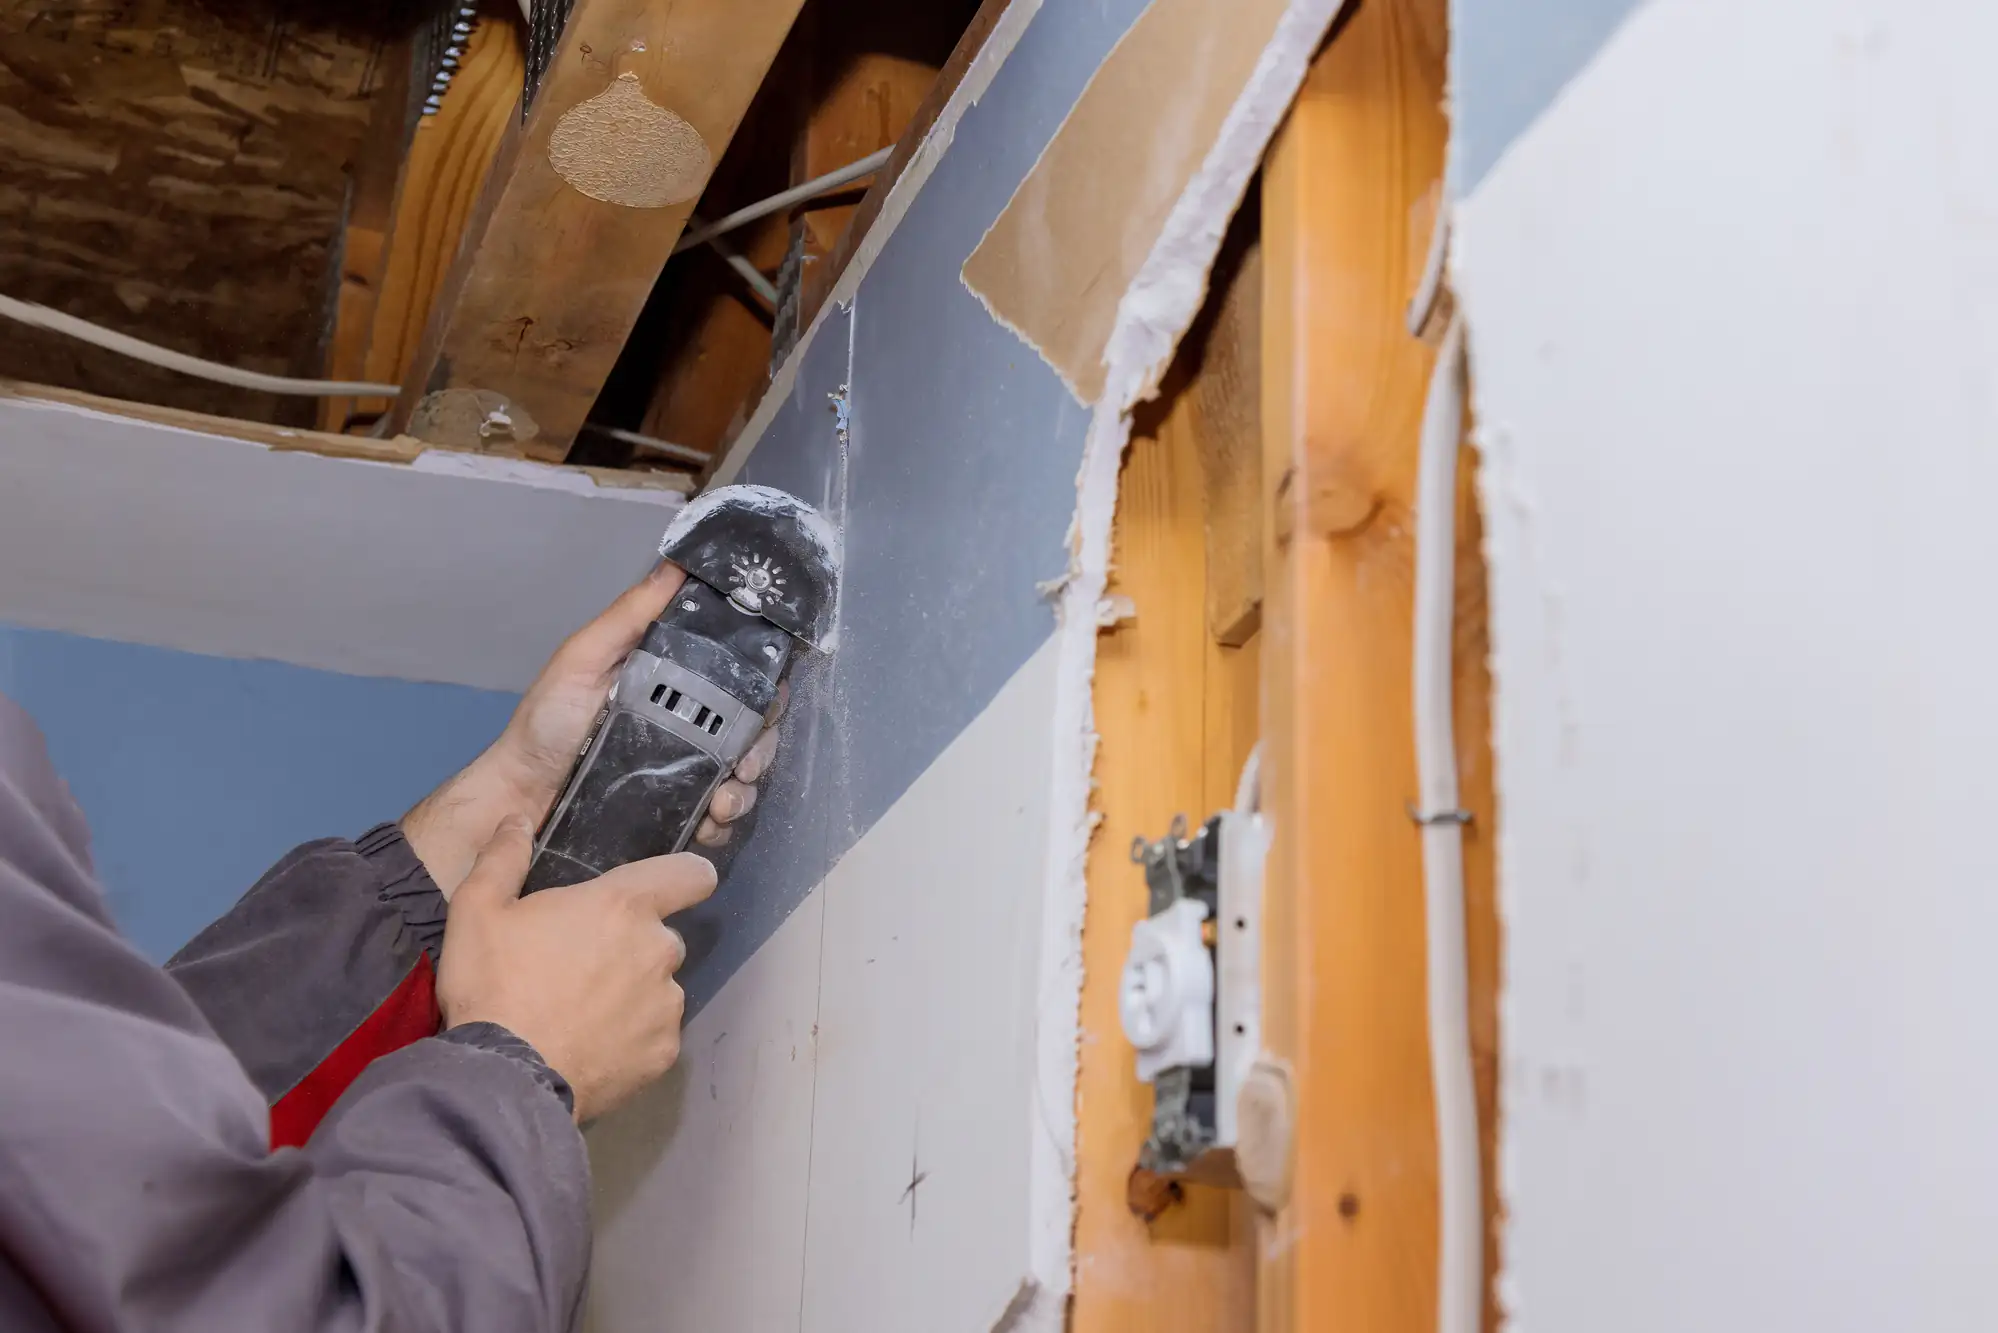
Repair makes sense when damage is isolated—a few holes, small cracks, limited water damage that hasn’t compromised the structural integrity of the drywall. We cut out the damaged section, patch it, tape and mud it to blend with the surrounding wall, then finish and prime.
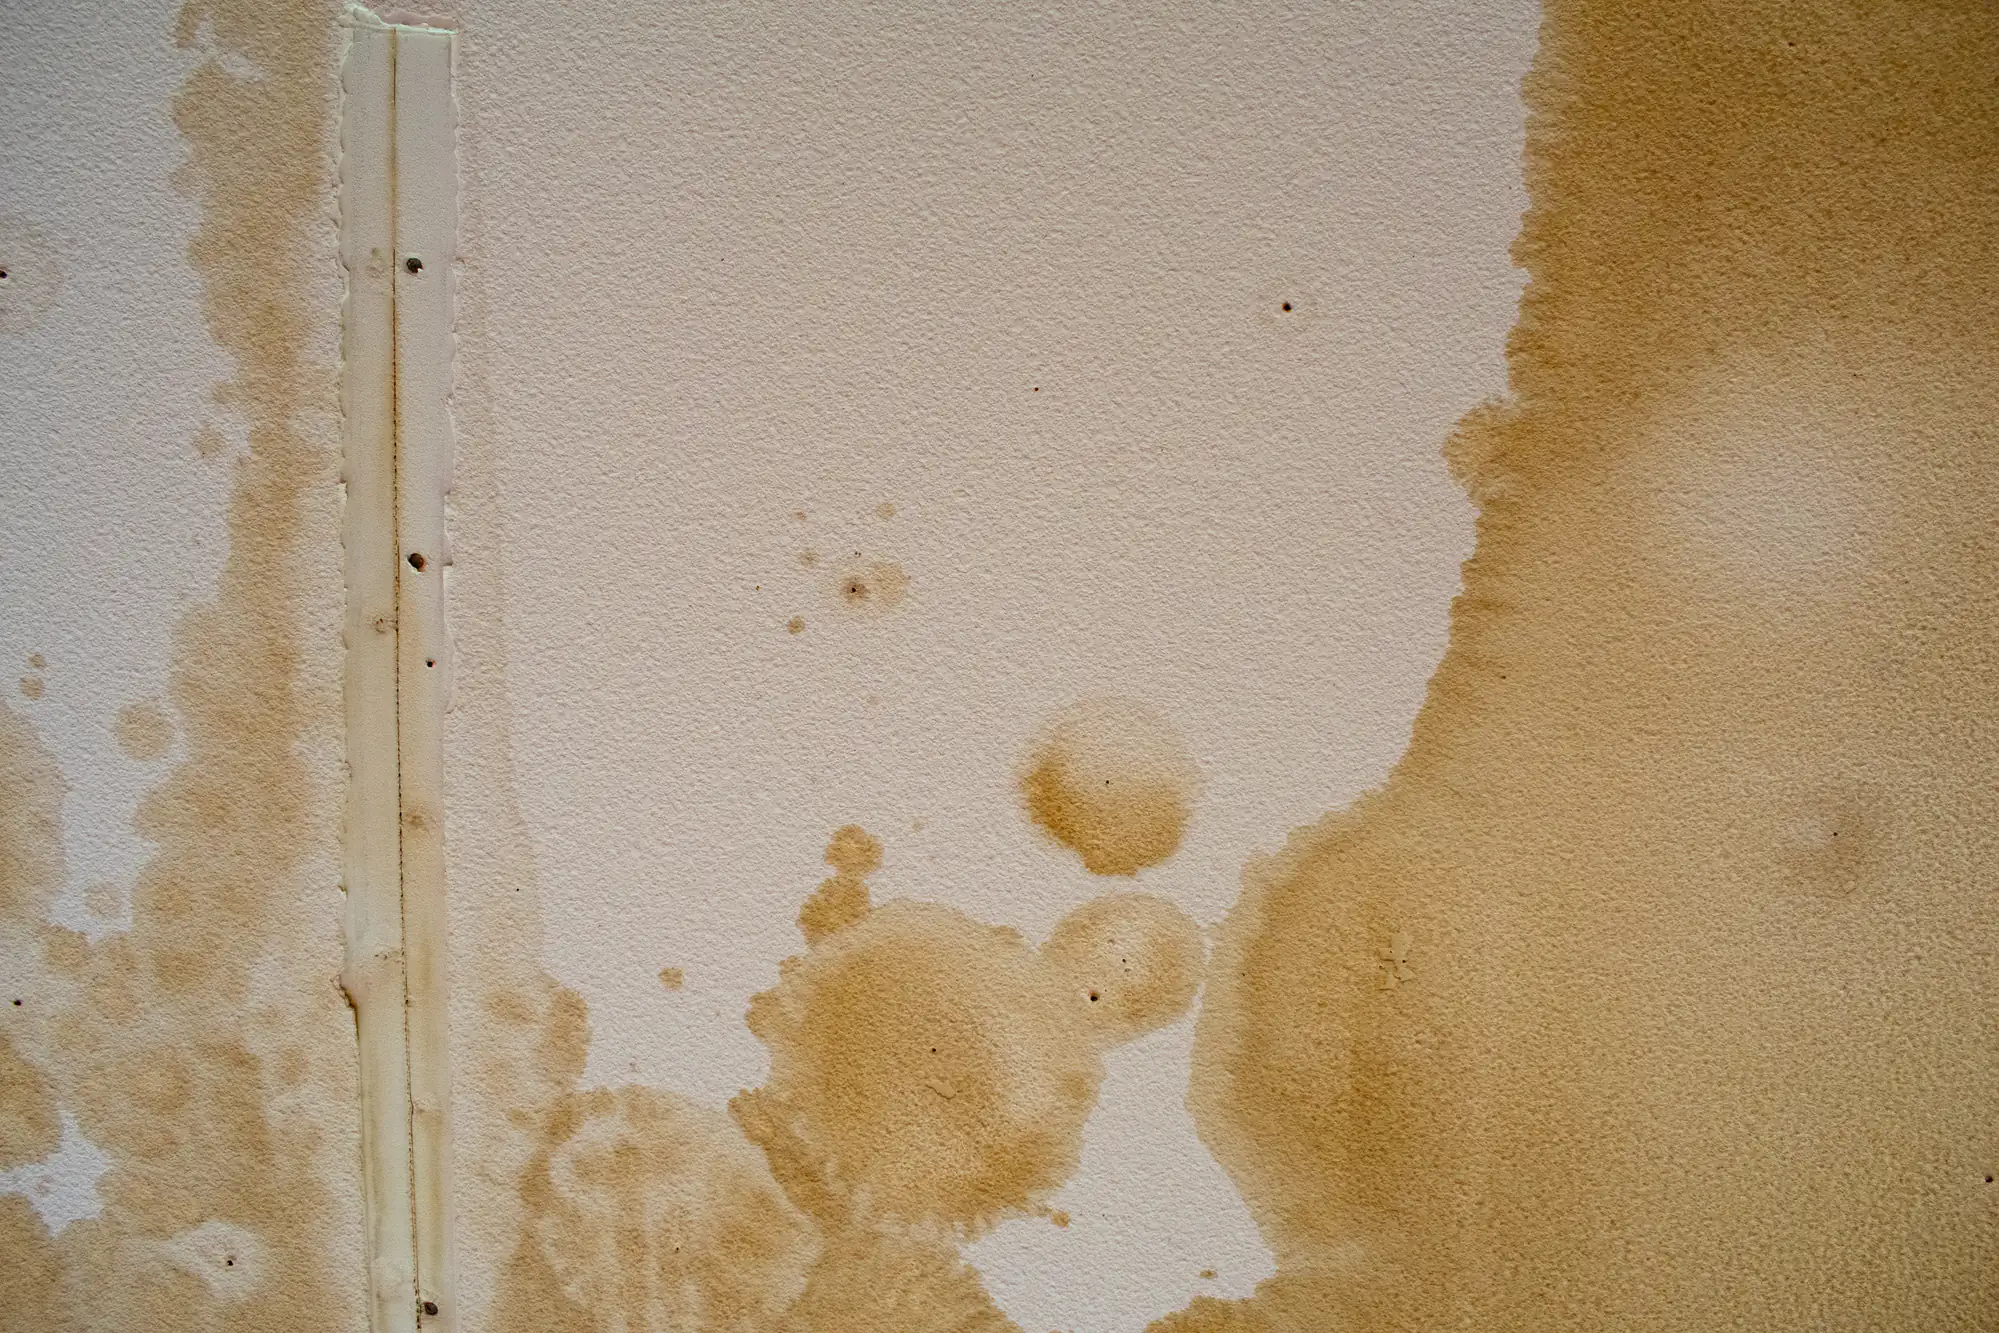
Replacement is necessary when damage is widespread, when moisture has affected large areas, or when the existing installation is so poor that patching won’t hold. If your basement flooded and the bottom two feet of drywall absorbed water, you’re replacing, not repairing.
Here’s the practical test: if the damaged area is larger than two feet by two feet, or if there are multiple damaged spots across the same wall, replacement usually makes more sense. You’re paying for labor either way, and patching extensive damage often costs nearly as much as replacing the whole section—without the same longevity.
We’ll tell you honestly which approach makes sense for your situation. Sometimes repair is plenty. Sometimes it’s just delaying the inevitable.
A single room—say, a 12×14 bedroom—typically takes three to five days from start to finish. That includes hanging, taping, mudding, sanding, and priming. Each coat of drywall taping compound needs 24 hours to cure properly, so rushing the timeline just creates problems later.
Larger projects scale accordingly. A full basement might take two weeks. Multiple rooms or whole-home projects can run three to four weeks depending on size and complexity.
What slows things down? Moisture issues that need addressing first, structural repairs, extensive prep work, or coordination with other trades if you’re doing a full remodel. What speeds things up? Clean, accessible work areas and making decisions about finish details before we start.
We give you a realistic timeline upfront and keep you updated if anything changes. Most delays happen because of things discovered during prep—old damage, code issues, unexpected structural concerns. We’d rather find those early than surprise you halfway through.
Yes. The core skills are the same—proper hanging, clean taping, smooth finishing. What changes is scale, timeline, and coordination.
Residential sheetrock installation in Mattituck usually means basements, bathrooms, kitchens, additions, or whole-home remodels. You’re living in the space, so we work around your schedule, minimize disruption, and keep the rest of your home protected from dust and debris.
Commercial drywall installation involves tighter timelines, coordination with multiple trades, and often working outside regular business hours to avoid disrupting your operations. The quality standards don’t change—we’re just managing different logistics.
Both require the same attention to moisture barriers, proper fastening, and finish quality. A wall is a wall. The difference is how we schedule the work and communicate throughout the project.
Cracks happen for three main reasons: settling, moisture, or poor installation. In Mattituck, we see settling issues in basements and older homes, moisture problems in bathrooms and coastal properties, and installation issues in rushed jobs or work done by inexperienced contractors.
Settling cracks typically appear at corners, around door frames, or where walls meet ceilings. They’re often structural and require addressing the underlying movement before repairing the drywall. Moisture cracks show up with water stains, soft spots, or mold—fixing those means solving the moisture source first.
Installation cracks come from improper taping, insufficient mud, wrong fastener spacing, or hanging sheetrock sheets before framing has fully settled. Prevention is straightforward: use proper techniques, don’t rush the curing process, and address any structural or moisture issues before installation.
We check for all three during our initial walkthrough. If your home has conditions that increase crack risk—active settling, humidity issues, temperature swings—we’ll tell you upfront and adjust our approach accordingly. Sometimes that means additional prep work. Always means doing it right the first time.
Yes, though it’s more art than science. Matching existing texture—whether it’s orange peel, knockdown, skip trowel, or something custom—requires experience and the right tools.
The challenge isn’t creating the texture itself. It’s blending new texture with old so you can’t see where the repair happened. That means matching not just the pattern, but the depth, the spray angle, and the finish technique. Older textures can be especially tricky because application methods and materials have changed over the years.
For small repairs, we can usually match existing texture well enough that you won’t notice unless you’re looking for it. For larger repairs or full wall replacements, we sometimes recommend re-texturing the entire wall to ensure consistency—especially if the existing texture has aged or if lighting will highlight any differences.
We’ll show you samples before we commit to an approach. If we don’t think we can match it cleanly, we’ll tell you that upfront and discuss alternatives. There’s no point in doing a repair that draws more attention than the original damage.