
Hear from Our Customers
You’re not looking for the cheapest bid. You’re looking for walls that don’t crack in six months, seams that don’t show through paint, and a contractor who actually shows up when they say they will.
Most sheetrock problems start during installation. Wrong fastener spacing, improper taping compound, skipped steps that save time but cost you later. You end up repainting sooner than you should, or worse, tearing it all out because the inspector flags fire-rated material that wasn’t installed correctly.
We’ve spent years learning what works in West Islip homes. The right thickness for your application. Fire-resistant materials where code requires them. Proper joint treatment that doesn’t telegraph through your finish coat. You get walls that look clean now and stay that way, without callbacks or do-overs that eat into your timeline and budget.
We’ve been handling residential sheetrock installation and commercial drywall projects across Suffolk County for nearly ten years. We’re not the biggest operation, and that’s intentional. Staying family-owned means you talk to people who actually do the work, not a sales team reading from a script.
West Islip homeowners deal with everything from water damage repairs in older homes to full basement finishing projects. We’ve seen what happens when contractors cut corners or use the wrong materials. Our approach is straightforward: transparent pricing, no pressure, and work that holds up long after we leave. Licensed and insured isn’t a selling point, it’s the baseline. What sets us apart is showing up, communicating clearly, and treating your home the way we’d want ours treated.
We start with an honest assessment. You show us the space, we measure, check for any structural concerns or existing damage, and talk through what you’re trying to accomplish. If there’s water damage or framing issues, we tell you before we quote the drywall work. No surprises halfway through the job.
Material selection comes next. Standard half-inch for most walls, five-eighths where you need fire resistance or soundproofing, moisture-resistant board for bathrooms. We explain why each choice matters for your specific project, not just what’s cheapest to install. Then we give you a clear number that includes materials, labor, and realistic timing.
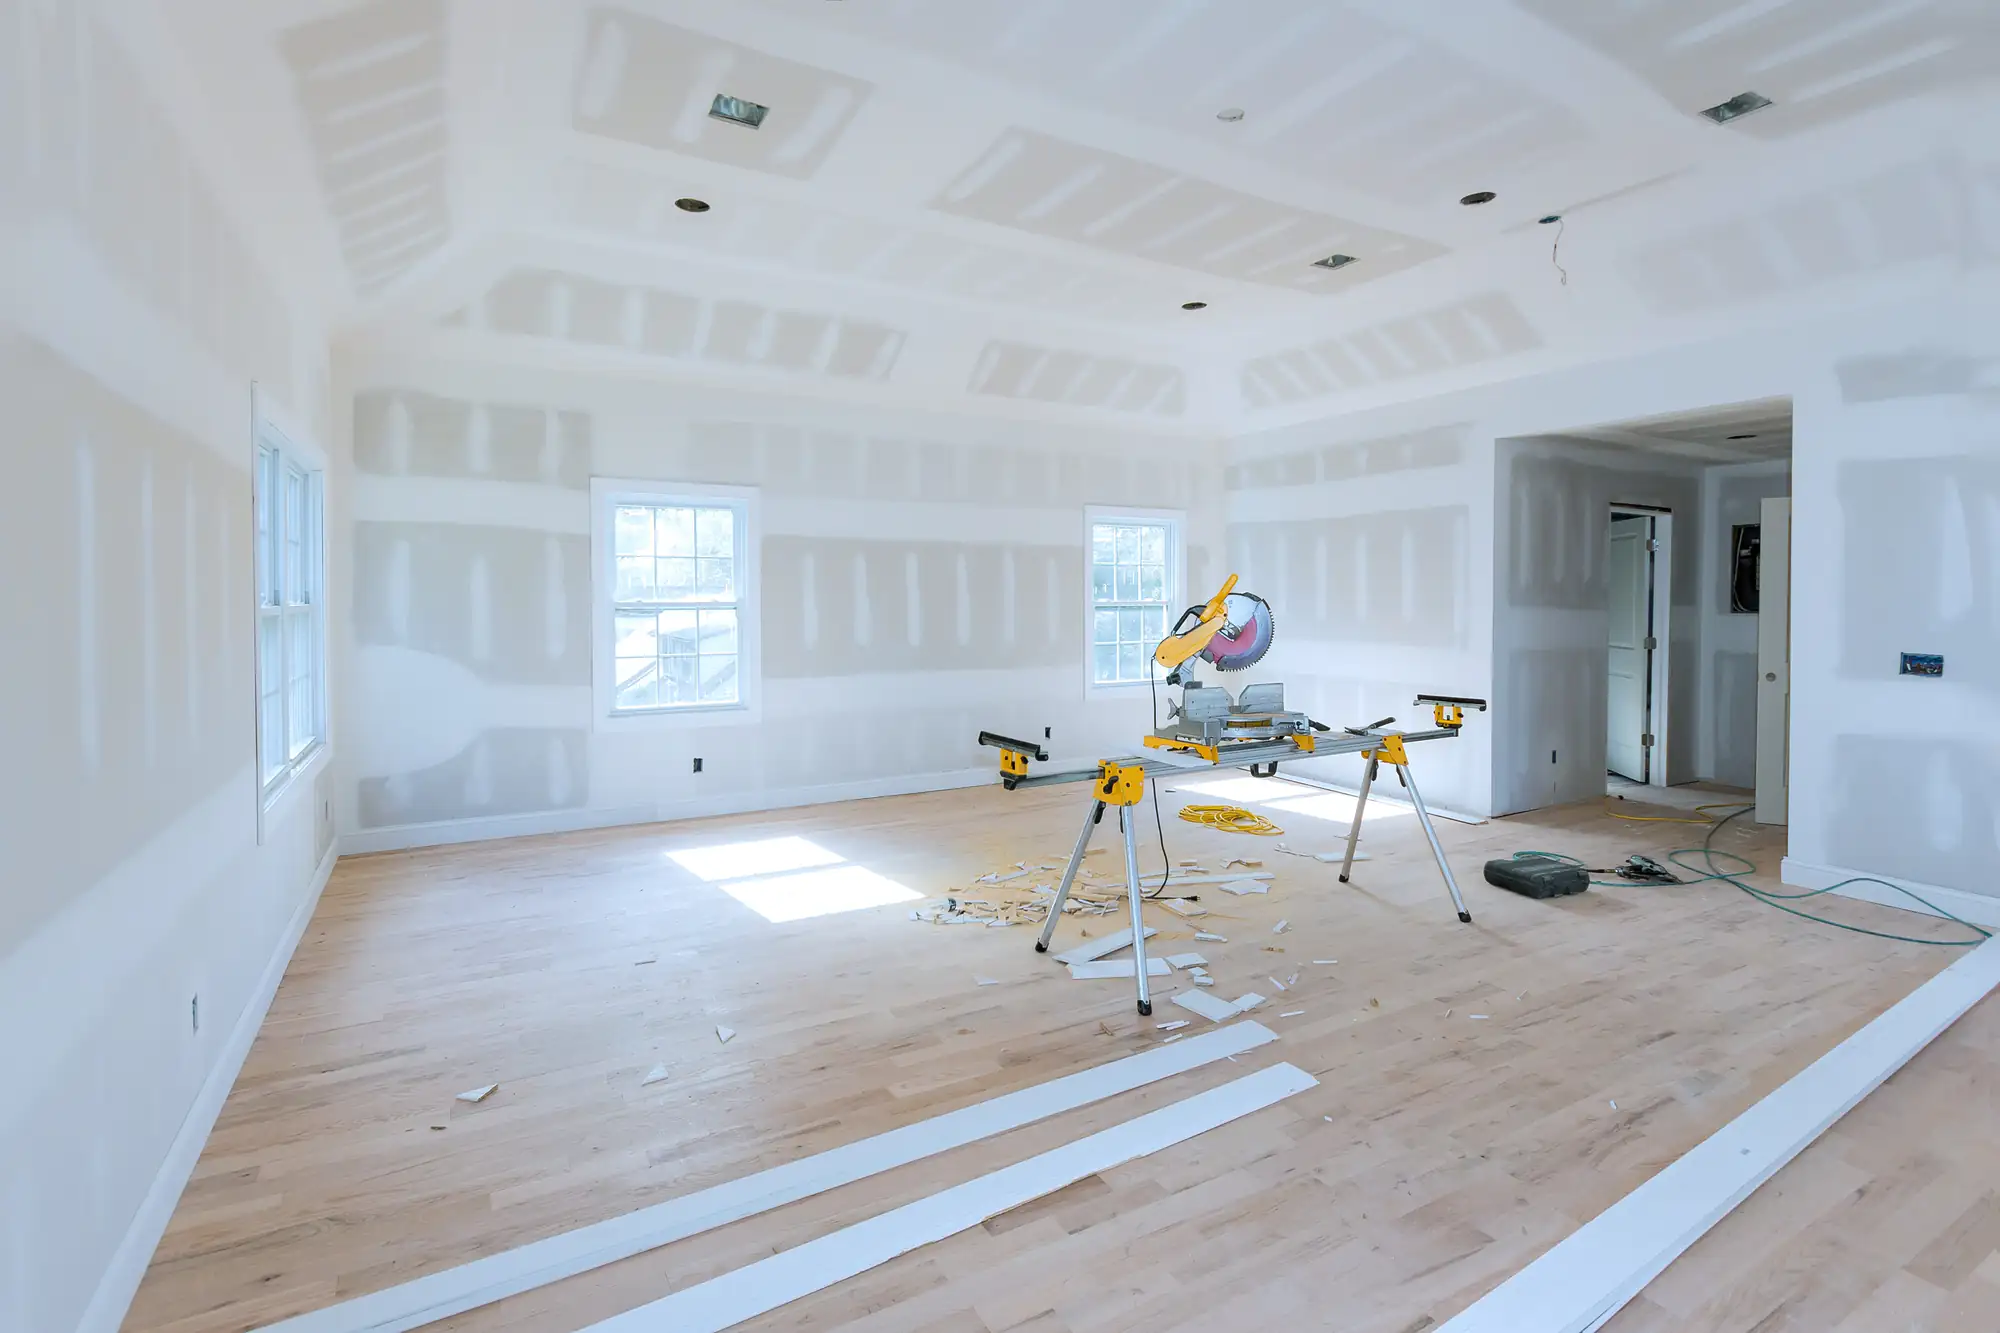
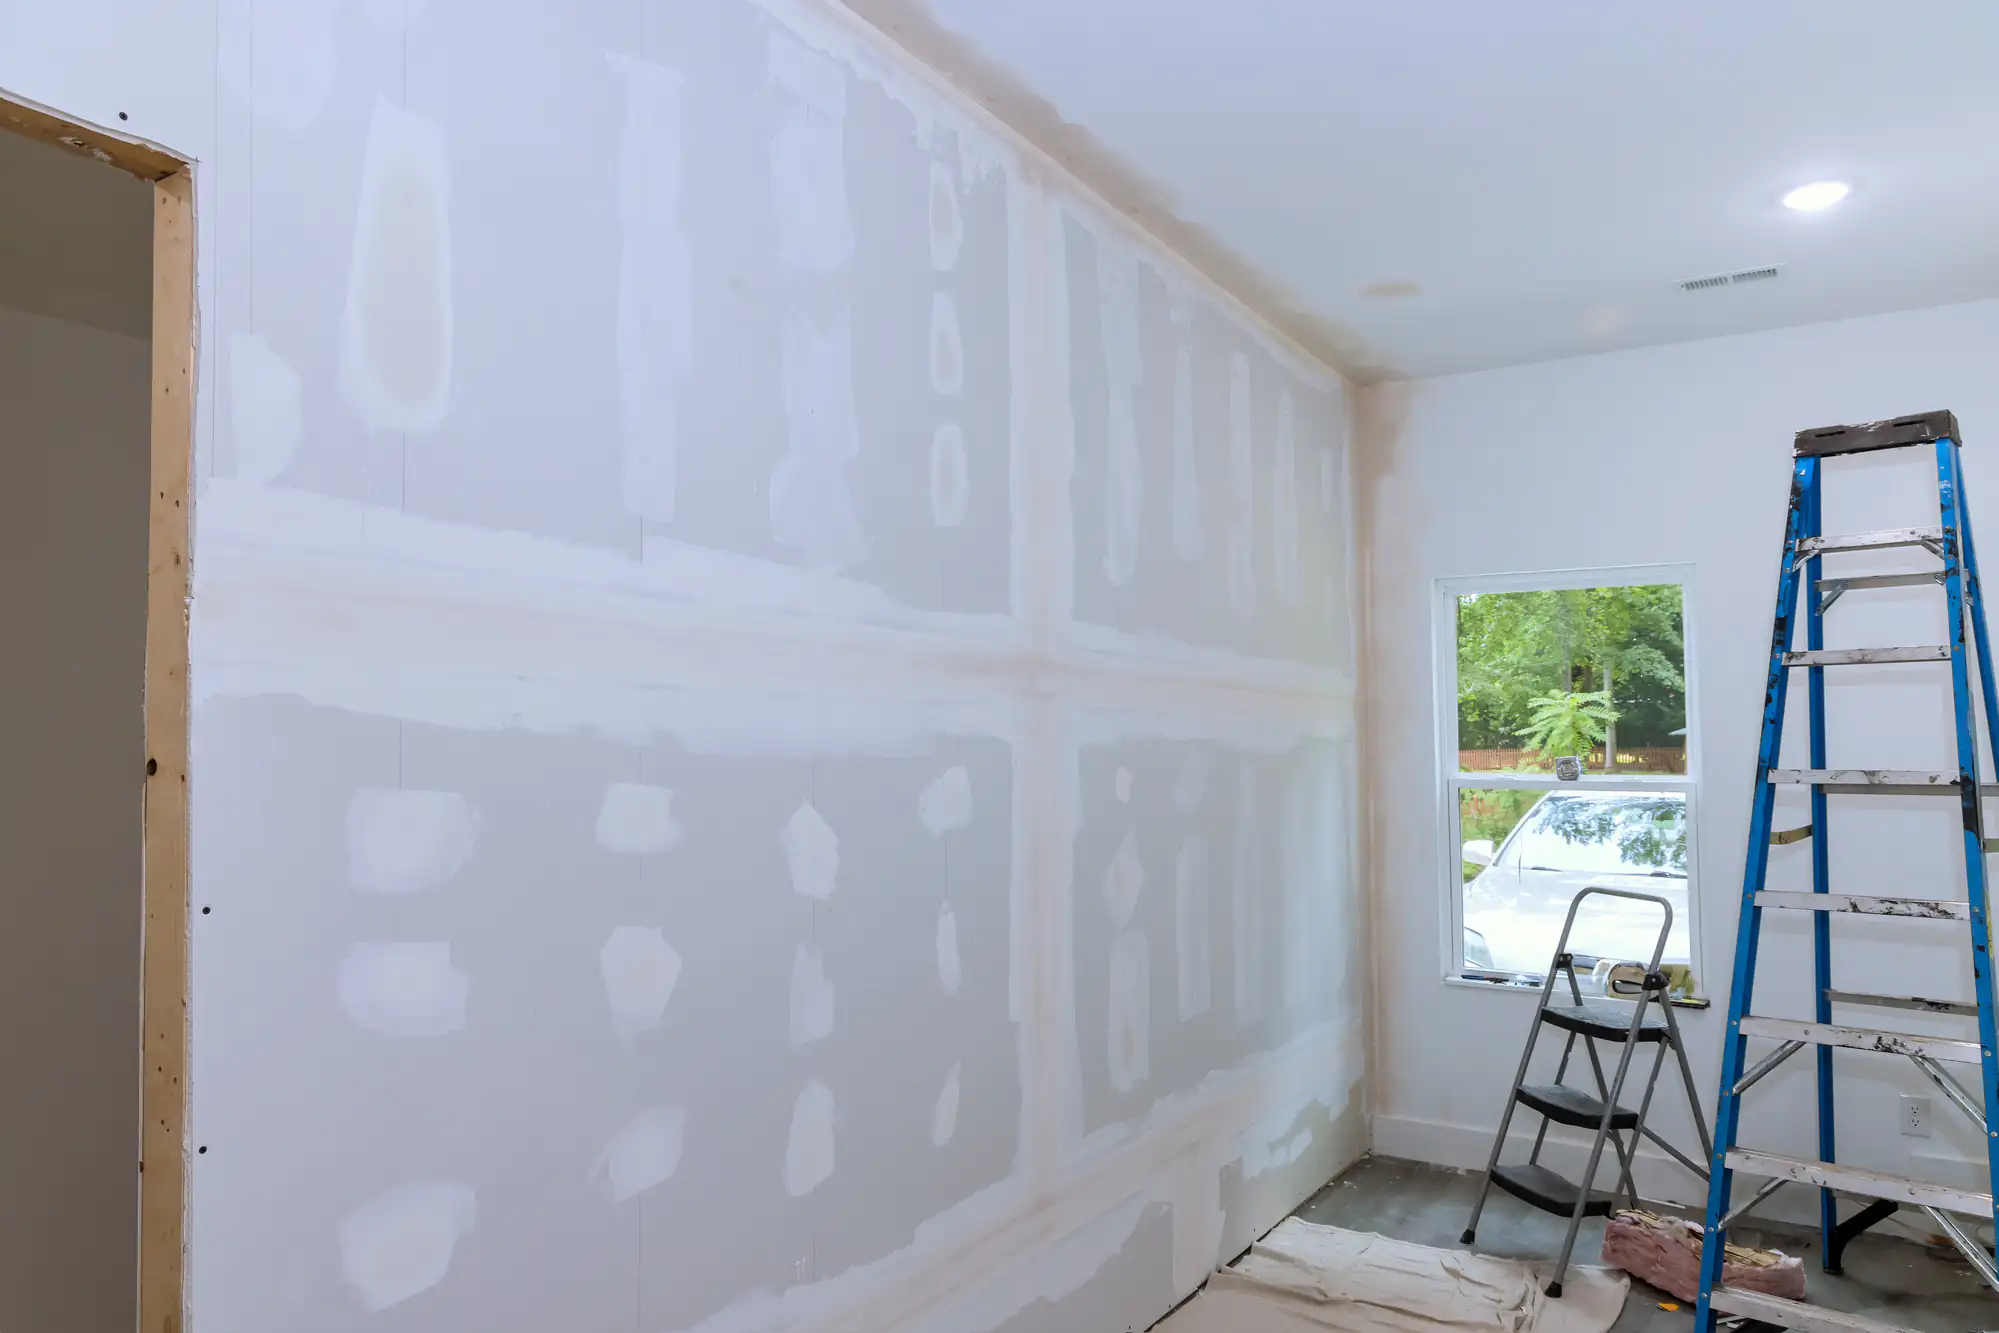
Installation day, we protect your floors and furniture, hang the sheets with proper fastener spacing, and tape all joints with the right compound for each coat. Most contractors rush the taping because it’s tedious. That’s where you see problems later. We let each coat dry fully and sand smooth before the next layer goes on.
Final walkthrough happens before we pack up. You see the finished walls, we address any concerns on the spot, and you’re left with surfaces ready for primer. No half-finished corners or rough patches you discover after we’re gone.
Ready to get started?
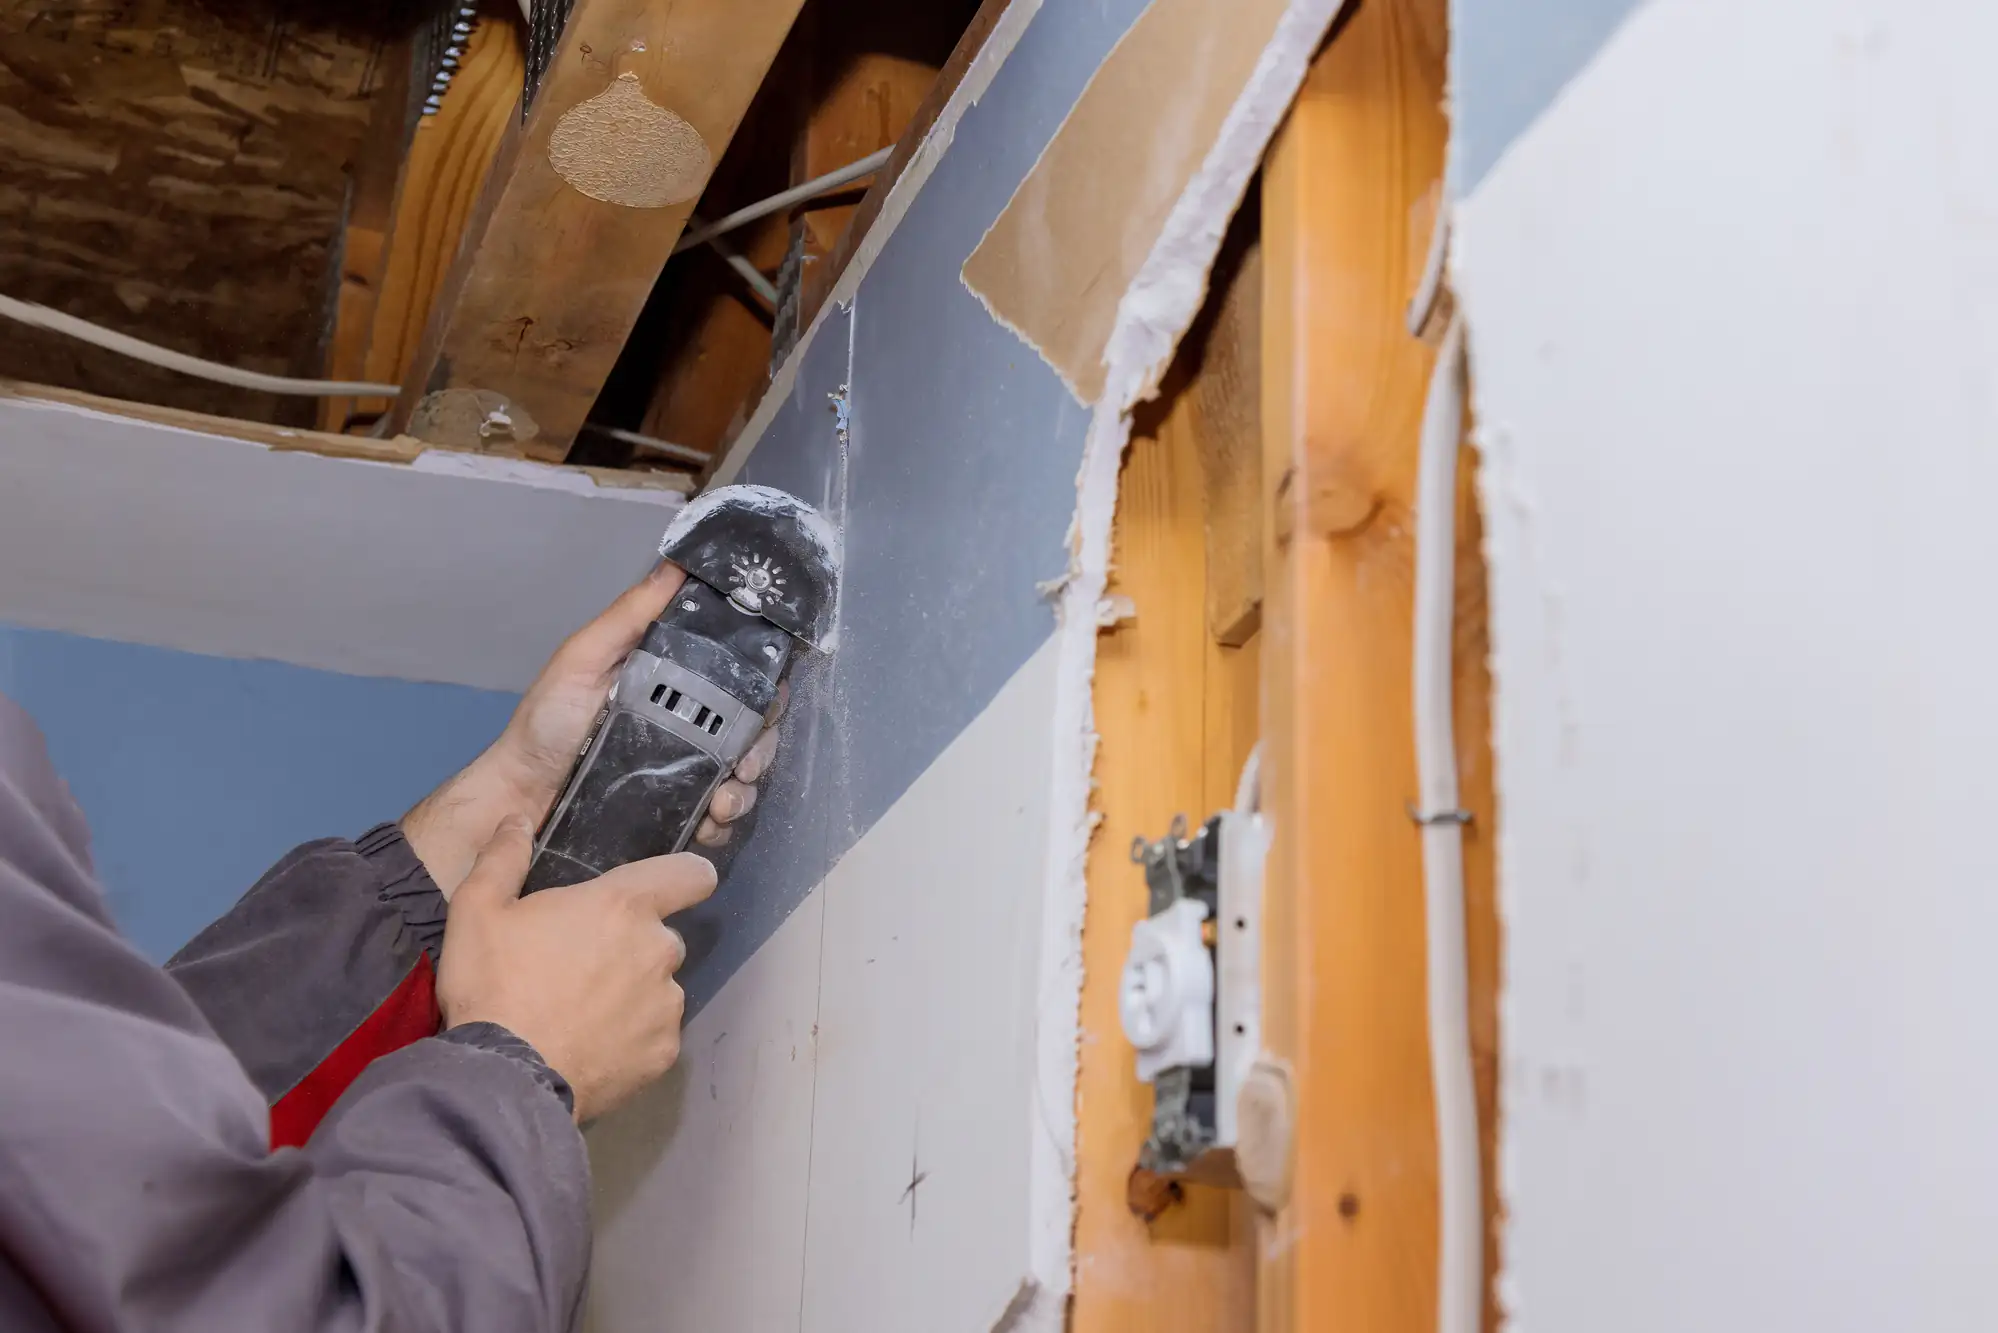
Your project includes proper surface preparation, which most people underestimate. We’re checking studs for spacing issues, fixing any framing problems that would cause waves in your finished wall, and making sure electrical and plumbing rough-ins are where they need to be before sheets go up.
Material delivery and handling is on us. Drywall sheets weigh between 40 and 60 pounds depending on thickness. Getting them into your home without damaging doorways, stairs, or existing finishes takes planning and the right equipment. You’re not renting a truck or recruiting friends to haul materials.
West Islip homes built in the 70s and 80s often need repair work that matches existing texture. We’re not just patching holes, we’re blending repairs so you can’t tell where old meets new. That means matching orange peel, knockdown, or smooth finishes depending on what’s already on your walls. For newer construction or full renovations, you get clean, smooth surfaces ready for whatever finish you’re planning.
Commercial projects get the same attention with faster timelines. We coordinate with other trades, work around your business hours when needed, and meet the tighter inspection schedules that commercial work requires. Fire-rated assemblies, sound control between units, and proper material documentation all get handled correctly the first time.
A standard room takes one to two days depending on size and complexity. That’s hanging, taping, and finishing to a paint-ready surface. Larger projects like full basements or whole-house renovations stretch to a week or more.
The timeline depends on how many coats of joint compound your project needs. Minimum three coats for smooth walls, sometimes four if you’re going for a level-five finish under critical lighting. Each coat needs drying time, usually overnight. Humid weather in summer can add a day.
If we’re also handling repairs to existing walls, prep work adds time. Cutting out water-damaged sections, fixing framing, or removing old paneling all happen before new sheetrock goes up. We give you realistic timelines upfront, not best-case scenarios that assume nothing goes wrong.
Half-inch is standard for most walls and ceilings in residential work. It’s lighter, easier to handle, and meets code for typical applications. You’ll see it in bedrooms, living rooms, and most interior spaces.
Five-eighths-inch is required for fire-rated assemblies like garage walls adjoining living spaces, ceilings below living areas, and some commercial applications. It’s also better for soundproofing between rooms or floors. The extra thickness adds mass, which blocks more sound transmission.
Ceilings sometimes need five-eighths even when code doesn’t require it. The added stiffness reduces sagging over time, especially on 24-inch joist spacing. We recommend it for any ceiling over 12 feet wide. Costs slightly more in material, but you’re not dealing with wavy ceilings or callbacks five years later.
Yes, but it takes more skill than most people realize. Orange peel, knockdown, and skip trowel textures all have specific techniques and tools. We’re matching not just the pattern but the density and depth so your repair disappears into the surrounding wall.
Older West Islip homes sometimes have hand-troweled textures that are harder to replicate. We test our technique on scrap pieces first, then apply it to your repair area. Sometimes we need to blend the texture slightly beyond the repair zone so there’s no hard line where new meets old.
Smooth wall repairs are actually trickier than textured ones. Every imperfection shows under paint, especially with side lighting from windows. That’s why we go to a level-four or level-five finish on repairs in smooth-wall homes. More coats, more sanding, but the repair truly vanishes once painted.
No, but expect dust and some disruption. Hanging sheets is relatively clean. Sanding joint compound creates fine dust that gets everywhere despite our containment efforts. We use dust barriers and run air scrubbers when possible, but some dust migration is unavoidable.
Most homeowners stay during the work and just avoid the active work area. If you have severe allergies or respiratory issues, consider staying elsewhere during the sanding phase. That’s typically one day near the end of the project.
We clean up daily and do a thorough final cleaning before we leave. Drop cloths protect your floors and furniture. We’re not tracking mud through your house or leaving a disaster for you to deal with after we’re gone. Your home should look like a construction zone only in the immediate work area, not throughout the entire house.
Small repairs like fixing holes or cracks run a few hundred dollars. You’re paying mostly for the skill to make the repair invisible, not the materials. Larger repairs involving multiple sheets or structural fixes cost more because we’re essentially doing installation work in a tighter, more complicated space.
Full room installation is often more cost-effective per square foot than extensive repairs. If you’re patching more than 30% of your existing walls, replacement sometimes makes more sense. Fresh sheets go up faster than cutting out and blending multiple repair areas, and you end up with uniformly new surfaces.
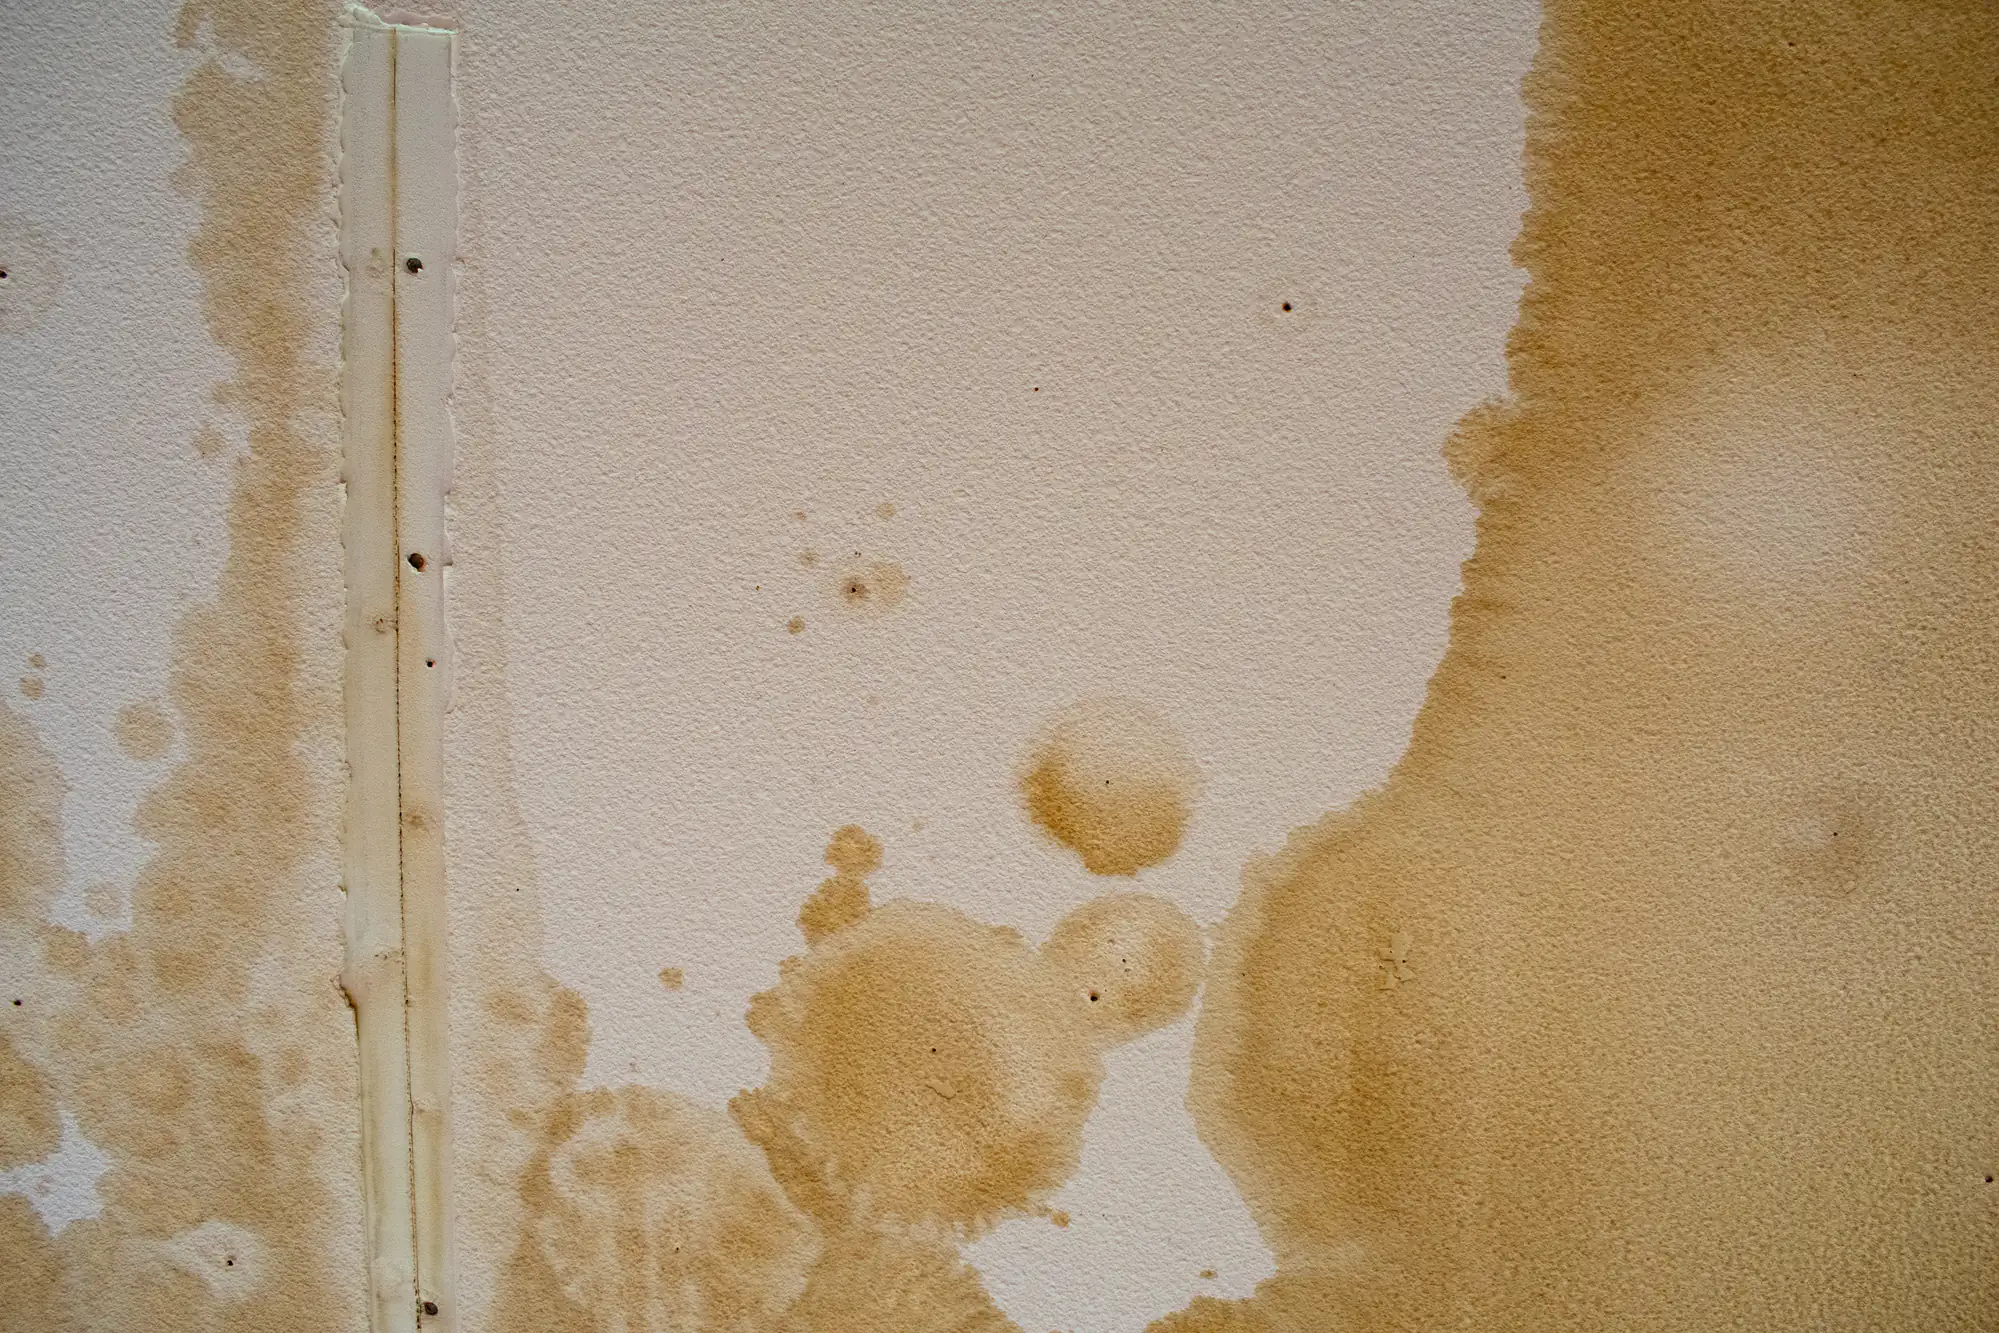
Water damage repairs vary widely. Surface staining might just need a stain-blocking primer and paint. Actual material deterioration means cutting out affected areas, fixing whatever caused the water intrusion, and installing new moisture-resistant drywall. We assess the full scope before quoting because hidden damage behind walls changes the project significantly.
Clear the work area of furniture, wall decorations, and anything breakable. We can work around some furniture, but empty rooms make the job faster and reduce risk of damage to your belongings. Remove curtains and window treatments in the work area.
If we’re working on ceilings, we need access to the attic or space above. Make sure we can get to attic hatches or access panels. For basement work, clear a path from your entrance to the work area wide enough for 4×8 sheets to pass through without scraping walls or doorframes.
Pets should be secured in a separate area. Doors opening and closing, strangers in the house, and construction noise stress most animals. We’re focused on the work, not watching to make sure your dog doesn’t slip out an open door. Kids should also stay clear of the work zone. Drywall sheets have sharp edges, and construction sites have tripping hazards even when we’re being careful.