
Hear from Our Customers
You get walls that don’t show seams when the light hits them at certain angles. No visible patches that scream “something was fixed here.” No dust covering every surface in your home for weeks after the job wraps up.
The difference between amateur drywall work and professional sheetrock installation shows up immediately. Corners meet cleanly. Surfaces feel smooth under your hand, not bumpy or wavy. Paint goes on evenly because the finish underneath is level.
When you’re dealing with water damage, cracks from settling, or holes that need repair, the work either disappears into your wall or it becomes the thing everyone notices when they walk into the room. Most homeowners in Wyandanch, NY have seen both versions. You’re here because you want the first one.
Good sheetrock work means your walls become background again. They stop being the problem you think about every time you walk past them. That’s what professional finishing delivers—rooms that look complete, not “good enough for now.”
We’ve been handling residential sheetrock installation and interior renovations across Suffolk County since 2016. We’re not new to Wyandanch’s housing stock—the mix of post-war construction, ranch-style homes, and the settling issues that come with Long Island’s soil conditions.
You’re working with a licensed, insured contractor who shows up when scheduled and communicates clearly about timeline and cost. No disappearing acts. No vague estimates that balloon into something else halfway through.
We’ve seen what happens when homeowners try DIY repairs or hire the cheapest bid. You end up paying twice—once for the bad job, once to fix it correctly. Our work focuses on doing it right the first time, using professional-grade materials and proven techniques that hold up in Suffolk County’s humidity and temperature swings.
First, we assess what you’re dealing with. Is it new installation, repair work, or full replacement? We measure, identify any underlying issues like moisture or structural concerns, and give you a transparent estimate. No hidden fees that appear later.
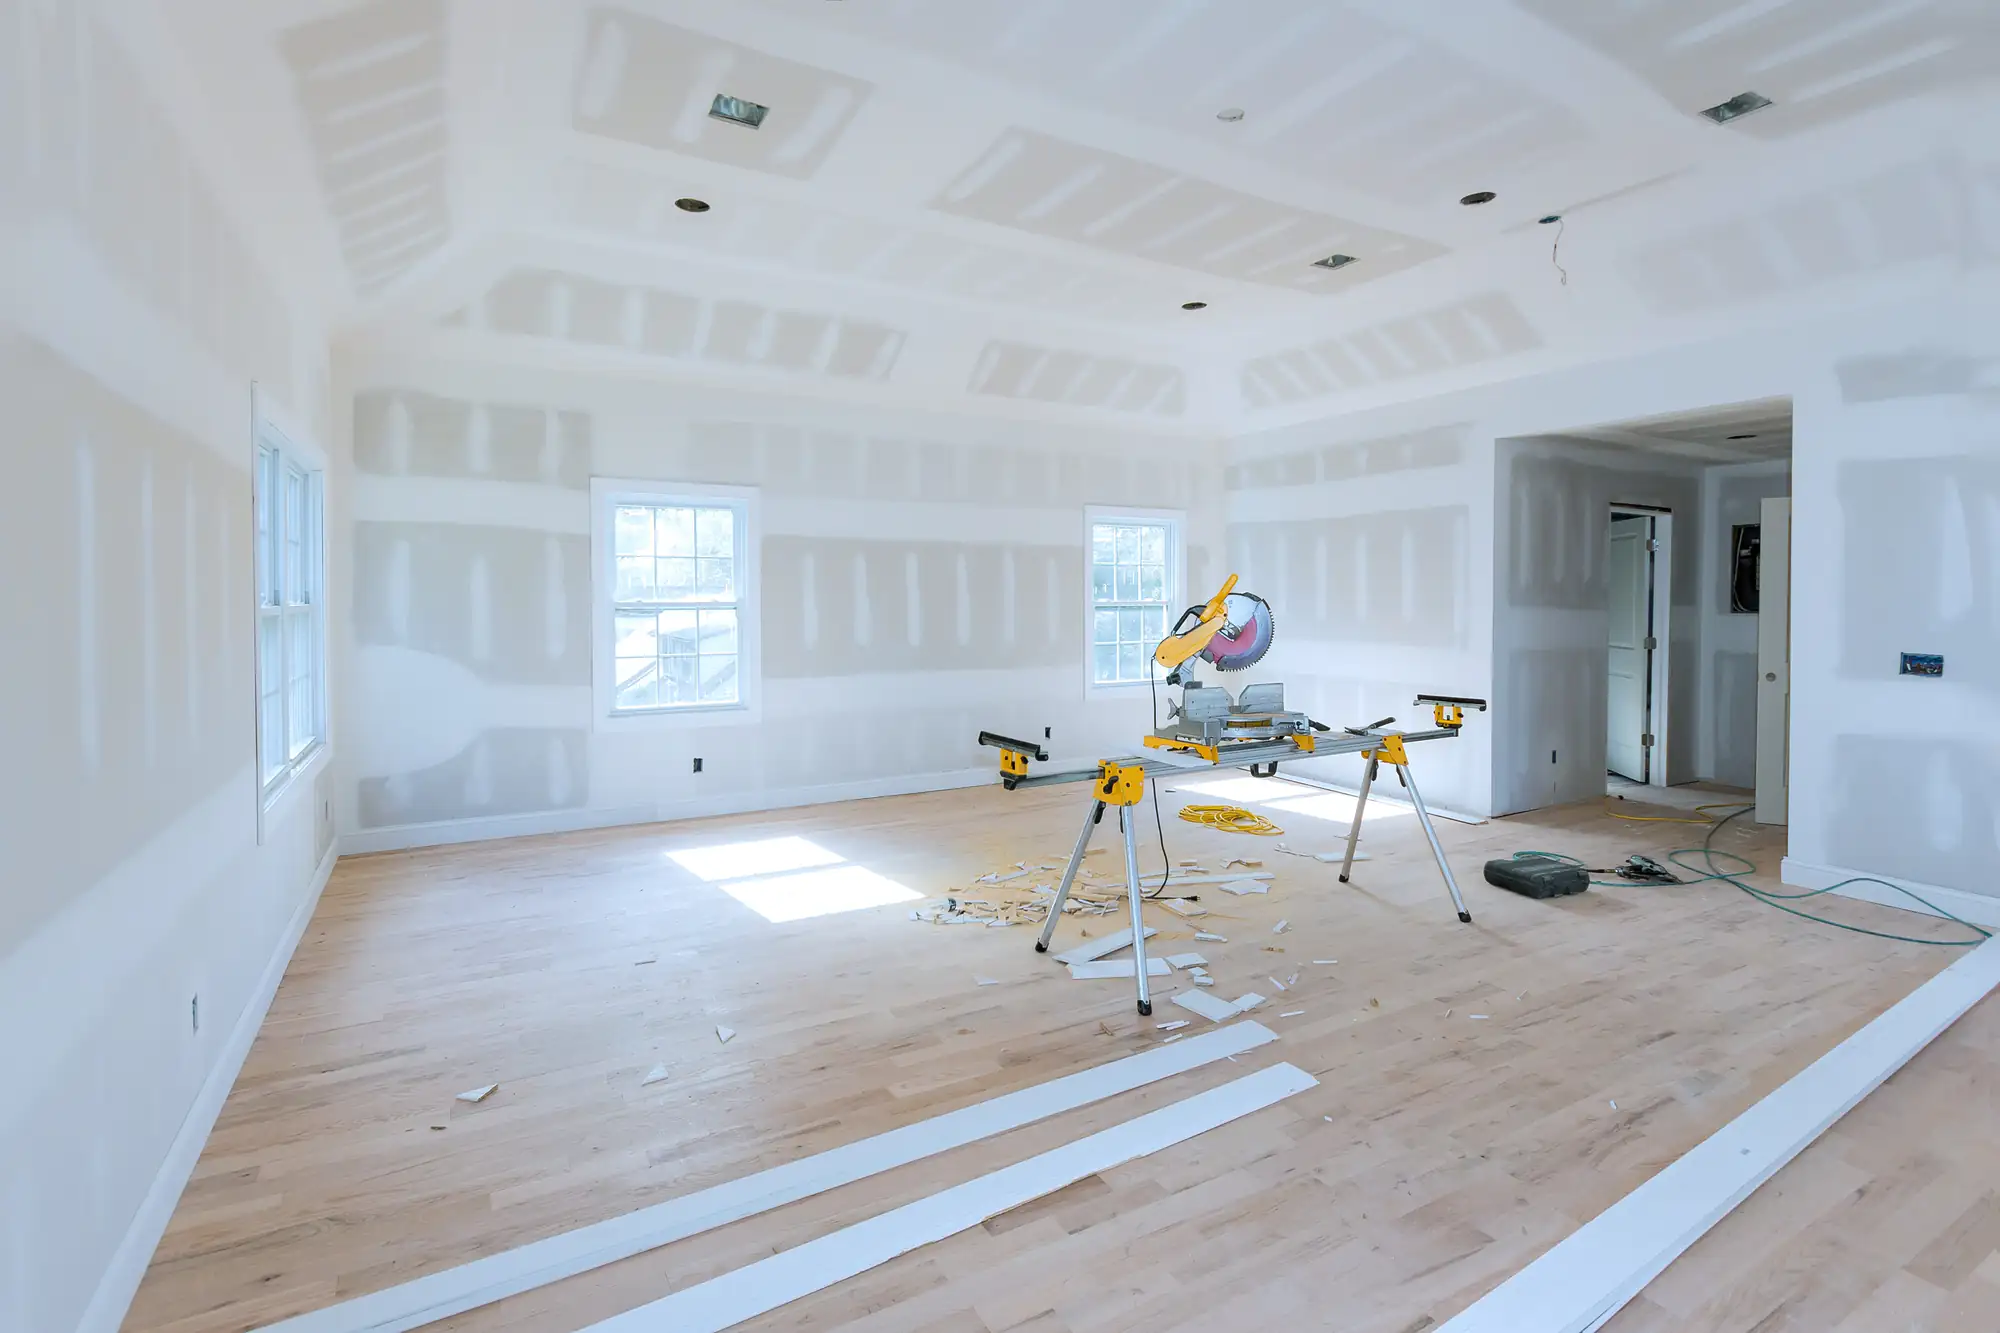
Once you approve, we prep your space. Drop cloths go down. Furniture gets protected. If we’re doing demo work, we contain the area to minimize dust spread throughout your home.
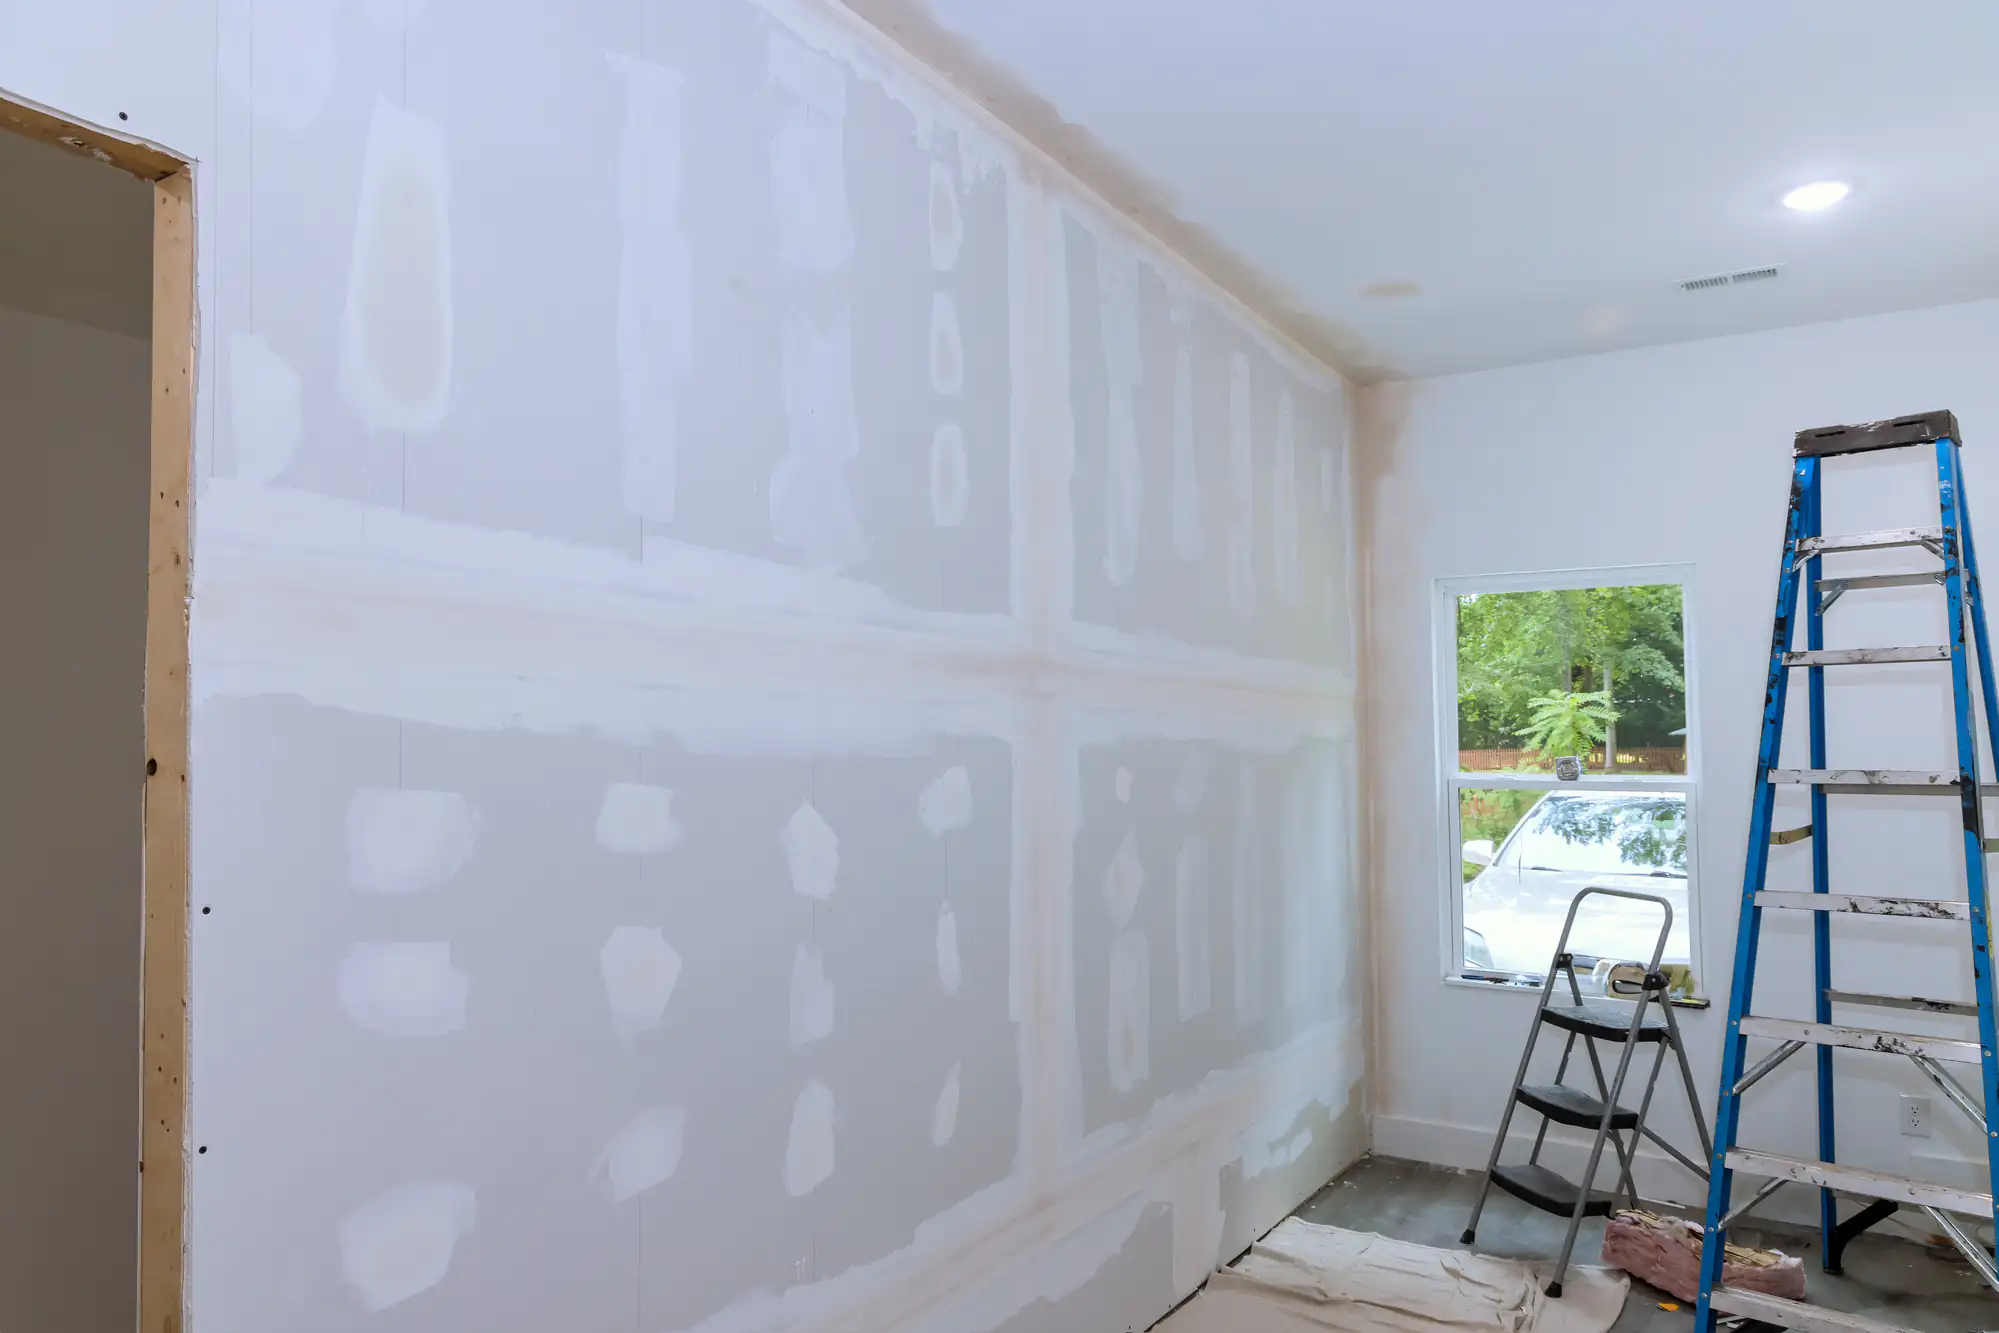
Installation comes next—hanging sheets, taping seams, applying joint compound. This is where technique matters. Professional drywall taping compound application takes multiple coats with proper drying time between each layer. Rushing this step is where amateur work falls apart.
Finishing determines how your walls look. We sand smooth using dustless equipment when possible, then prime surfaces for paint. Level 4 finish works for most residential projects. Level 5 finishing is available if you’re using flat paint or high-end finishes that show every imperfection.
Final walkthrough happens with you. We don’t consider the job done until you’re satisfied with how everything looks. Clean-up is part of the job, not an afterthought.
Ready to get started?
You’re getting more than just sheetrock sheets hung on your walls. Professional installation means proper measurement and cutting to minimize seams. It means fasteners placed correctly so they don’t pop through your paint six months later. It means corners that meet at true 90-degree angles.
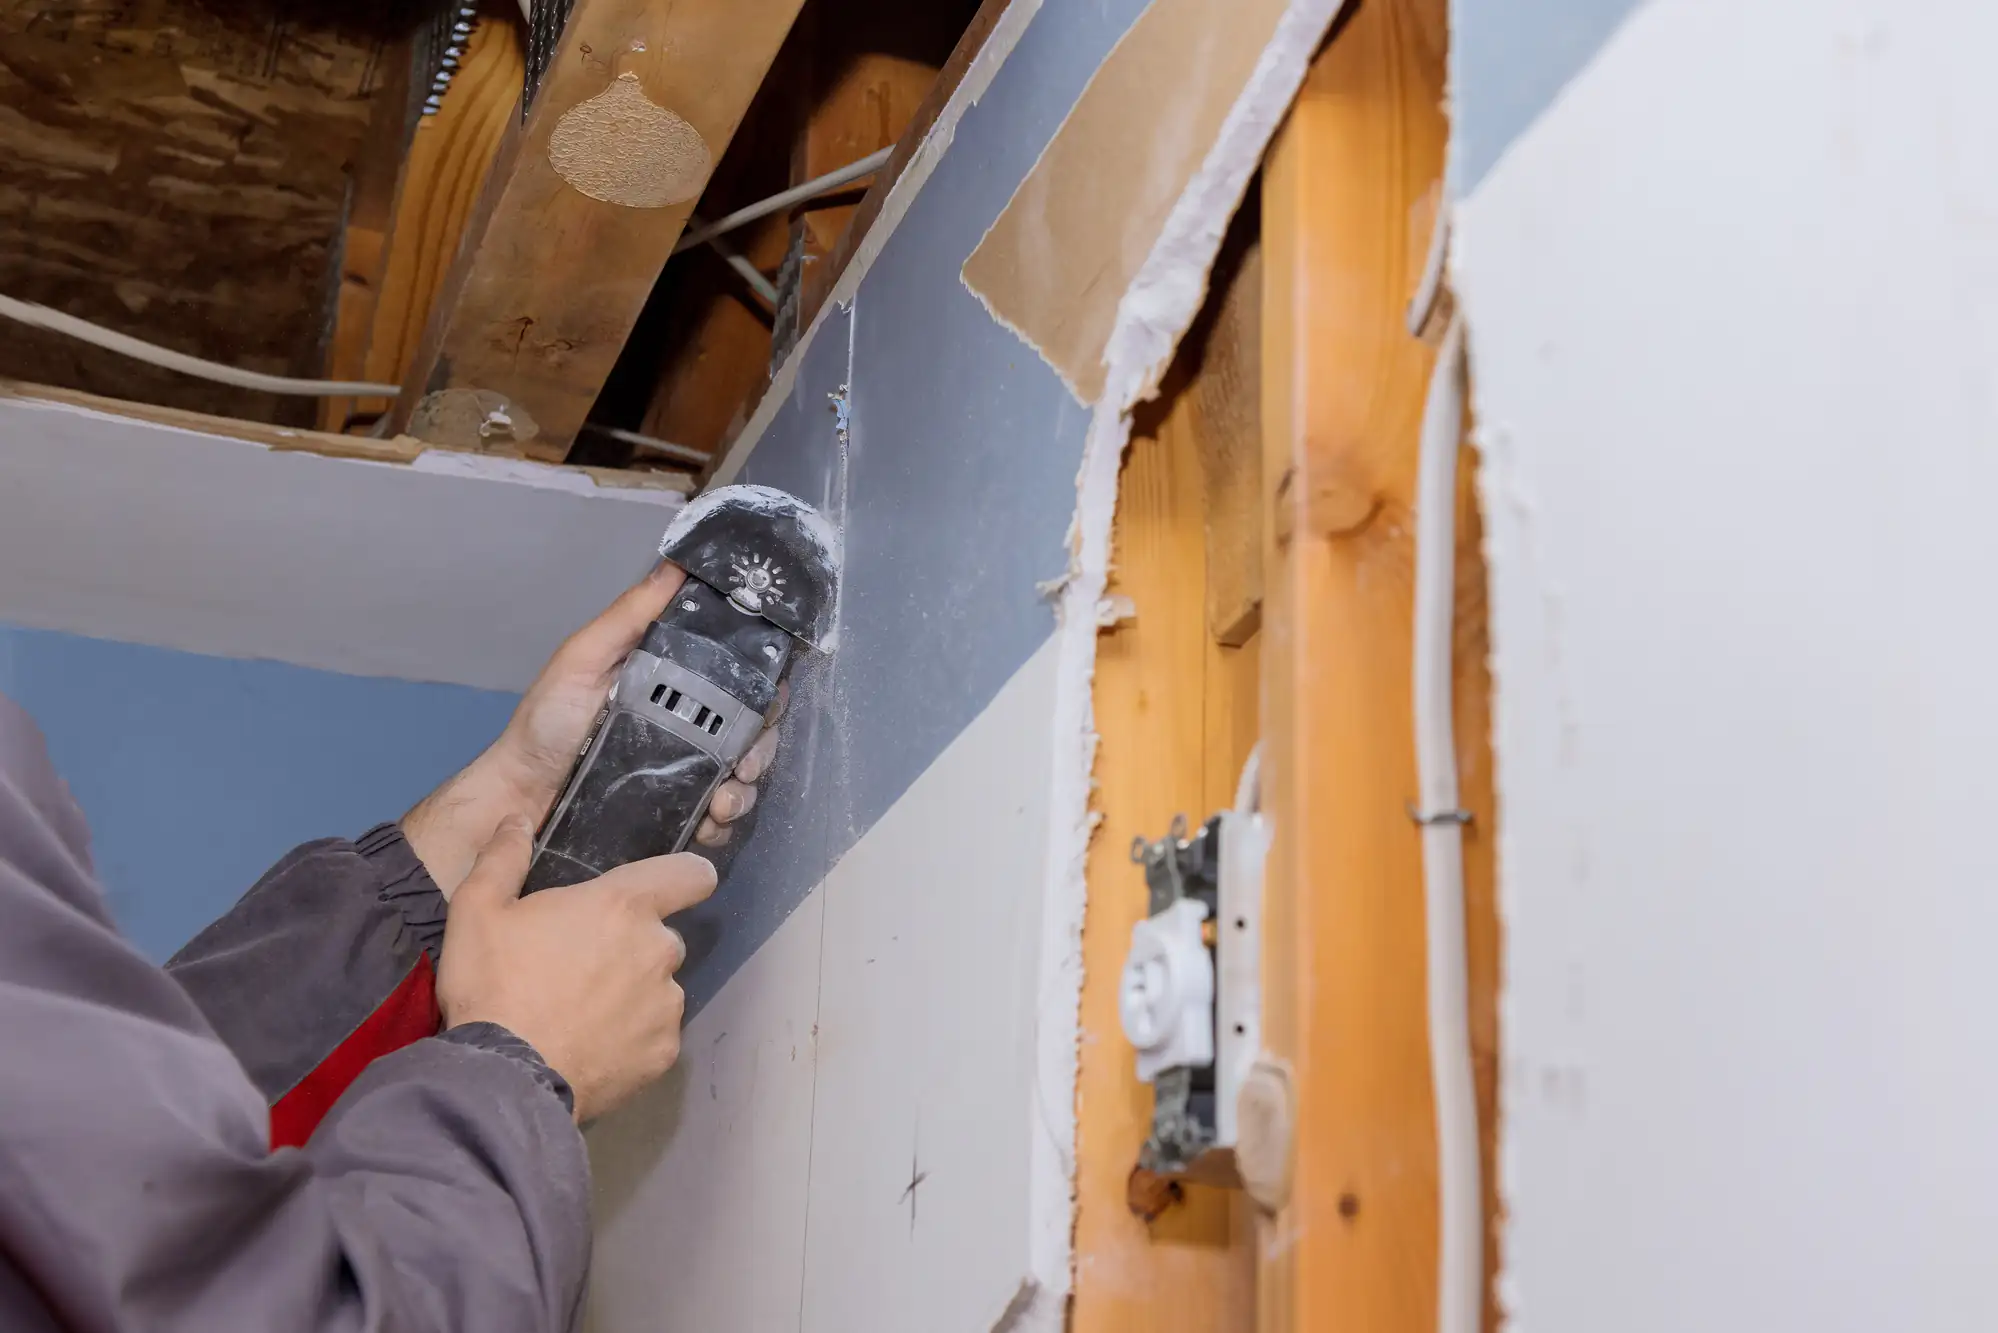
Moisture-resistant drywall goes in bathrooms, kitchens, and laundry areas—anywhere humidity is a regular concern. Standard drywall doesn’t hold up in these spaces. Using the wrong material is a shortcut that costs you more when you’re dealing with mold or deterioration down the line.
Wyandanch homes built in the 1950s and 60s often have plaster walls that are cracking or failing. Converting to drywall gives you a modern, maintainable surface. Newer construction in the area sometimes has builder-grade finishing that shows seams and imperfections. Upgrading to higher-level finishing makes a visible difference.
Repair work addresses the specific issue—water damage, holes, cracks from settling—and blends the fix into the existing wall. The goal is making the repair invisible. That requires matching texture, ensuring the patch is level with surrounding surfaces, and proper priming so paint doesn’t flash differently over the repaired area.
Soundproofing options exist if you’re finishing a basement, adding a home office, or dealing with noise transfer between rooms. Specialized techniques and materials reduce sound transmission. It’s not standard drywall work, but it solves a real problem for homeowners who need quieter spaces.
Professional drywall installation typically runs between $2.50 and $2.70 per square foot for quality work in 2026. That includes materials, labor, finishing, and cleanup. A standard 12×12 bedroom with 8-foot ceilings involves roughly 384 square feet of surface area (walls only), putting the cost around $960 to $1,040 for that room.
Repair work gets priced differently—usually by the job rather than square footage. Small repairs (fixing a doorknob hole, patching a crack) might run $150 to $300 depending on how much blending and finishing is needed. Larger repairs, like fixing water damage across a ceiling, cost more because they involve more material, time, and skill to make invisible.
The lowest bid isn’t always the best value. Cheap drywall work shows up immediately in wavy walls, visible seams, and fastener pops. You end up paying someone else to fix it, which costs more than hiring a professional sheetrock contractor from the start. Fair pricing reflects quality materials, proper technique, and work that lasts.
A single room installation usually takes 2 to 3 days. Day one is hanging and initial taping. Day two and three cover additional coats of joint compound with drying time between applications. Rushing this process gives you subpar results—joint compound needs proper cure time or it cracks and fails.
Small repairs can often be completed in a day, but you’re still looking at multiple visits. The patch goes in during visit one. Compound application and sanding happen during visit two after everything’s dried. Final touch-up and priming might require a third visit depending on the repair complexity.
Larger projects—finishing a basement, renovating multiple rooms—take longer. A 600-square-foot basement might take a week to ten days from start to finish. That timeline accounts for proper drying between coats, which you can’t shortcut without compromising quality.
Weather affects drying time. High humidity slows the curing process. Suffolk County summers can extend timelines slightly because compound doesn’t dry as quickly in humid conditions. We account for this in scheduling rather than delivering subpar work to meet an arbitrary deadline.
Level 4 finishing is the standard for most residential projects. It involves taping all joints, applying multiple coats of compound, sanding smooth, and priming. Under normal lighting with eggshell or satin paint, Level 4 looks great. Seams aren’t visible, surfaces feel smooth, and it’s ready for paint.
Level 5 finishing adds an extra step—a skim coat of compound over the entire surface, not just seams and fasteners. This creates an ultra-smooth finish that’s essential if you’re using flat paint, high-gloss finishes, or if the wall will be hit by harsh lighting that shows every imperfection. Level 5 costs more because it requires more material, labor, and skill.
Most Wyandanch homeowners don’t need Level 5 finishing for every room. It makes sense in formal living areas, rooms with large windows that create strong light angles, or anywhere you’re going for a high-end look. Bedrooms, hallways, and casual spaces typically do fine with Level 4.
The finish level should match your paint choice and lighting conditions. Flat paint shows every flaw, so it needs Level 5. Eggshell and satin paints are more forgiving, making Level 4 sufficient. We can recommend the right finish level based on your specific situation rather than upselling you on something you don’t need.
Yes, but it requires skill and the right materials. Older Wyandanch homes often have textured ceilings—popcorn, knockdown, orange peel—that need matching when you’re doing repair work. The texture pattern has to blend with surrounding areas or the repair stands out as much as the original damage.
Matching texture involves identifying the exact pattern, using the correct application technique, and sometimes mixing custom compound to get the right consistency. Popcorn texture, common in homes built through the 1980s, requires specific spray equipment. Knockdown texture needs proper timing—you spray it on, let it set briefly, then knock it down with a trowel at exactly the right moment.
Some textures can’t be perfectly matched because the original materials aren’t available anymore or the existing texture has aged and changed color. In these cases, your options are blending as closely as possible, re-texturing the entire surface for consistency, or removing texture altogether and going with a smooth finish.
We’ll be honest about what’s achievable. If perfect matching isn’t possible, you’ll know upfront rather than being surprised when the job’s done. Sometimes the best solution is updating the entire ceiling or wall rather than trying to match something that’s difficult to replicate.
Yes. Regular drywall absorbs moisture, which leads to mold growth, deterioration, and eventual failure in humid environments. Bathrooms, kitchens, laundry rooms, and basements need moisture-resistant drywall—commonly called green board or purple board depending on the brand and moisture resistance level.
Moisture-resistant drywall has a treated core and special facing that resists water absorption. It’s not waterproof—you still need proper ventilation and shouldn’t use it in shower surrounds where tile backer board is required—but it handles normal bathroom humidity and kitchen moisture without problems.
Suffolk County’s humidity makes moisture-resistant materials even more important. Summer humidity levels regularly hit 70% or higher. Standard drywall in a bathroom under these conditions is a mold problem waiting to happen. The small upcharge for moisture-resistant material is cheap insurance against expensive remediation later.
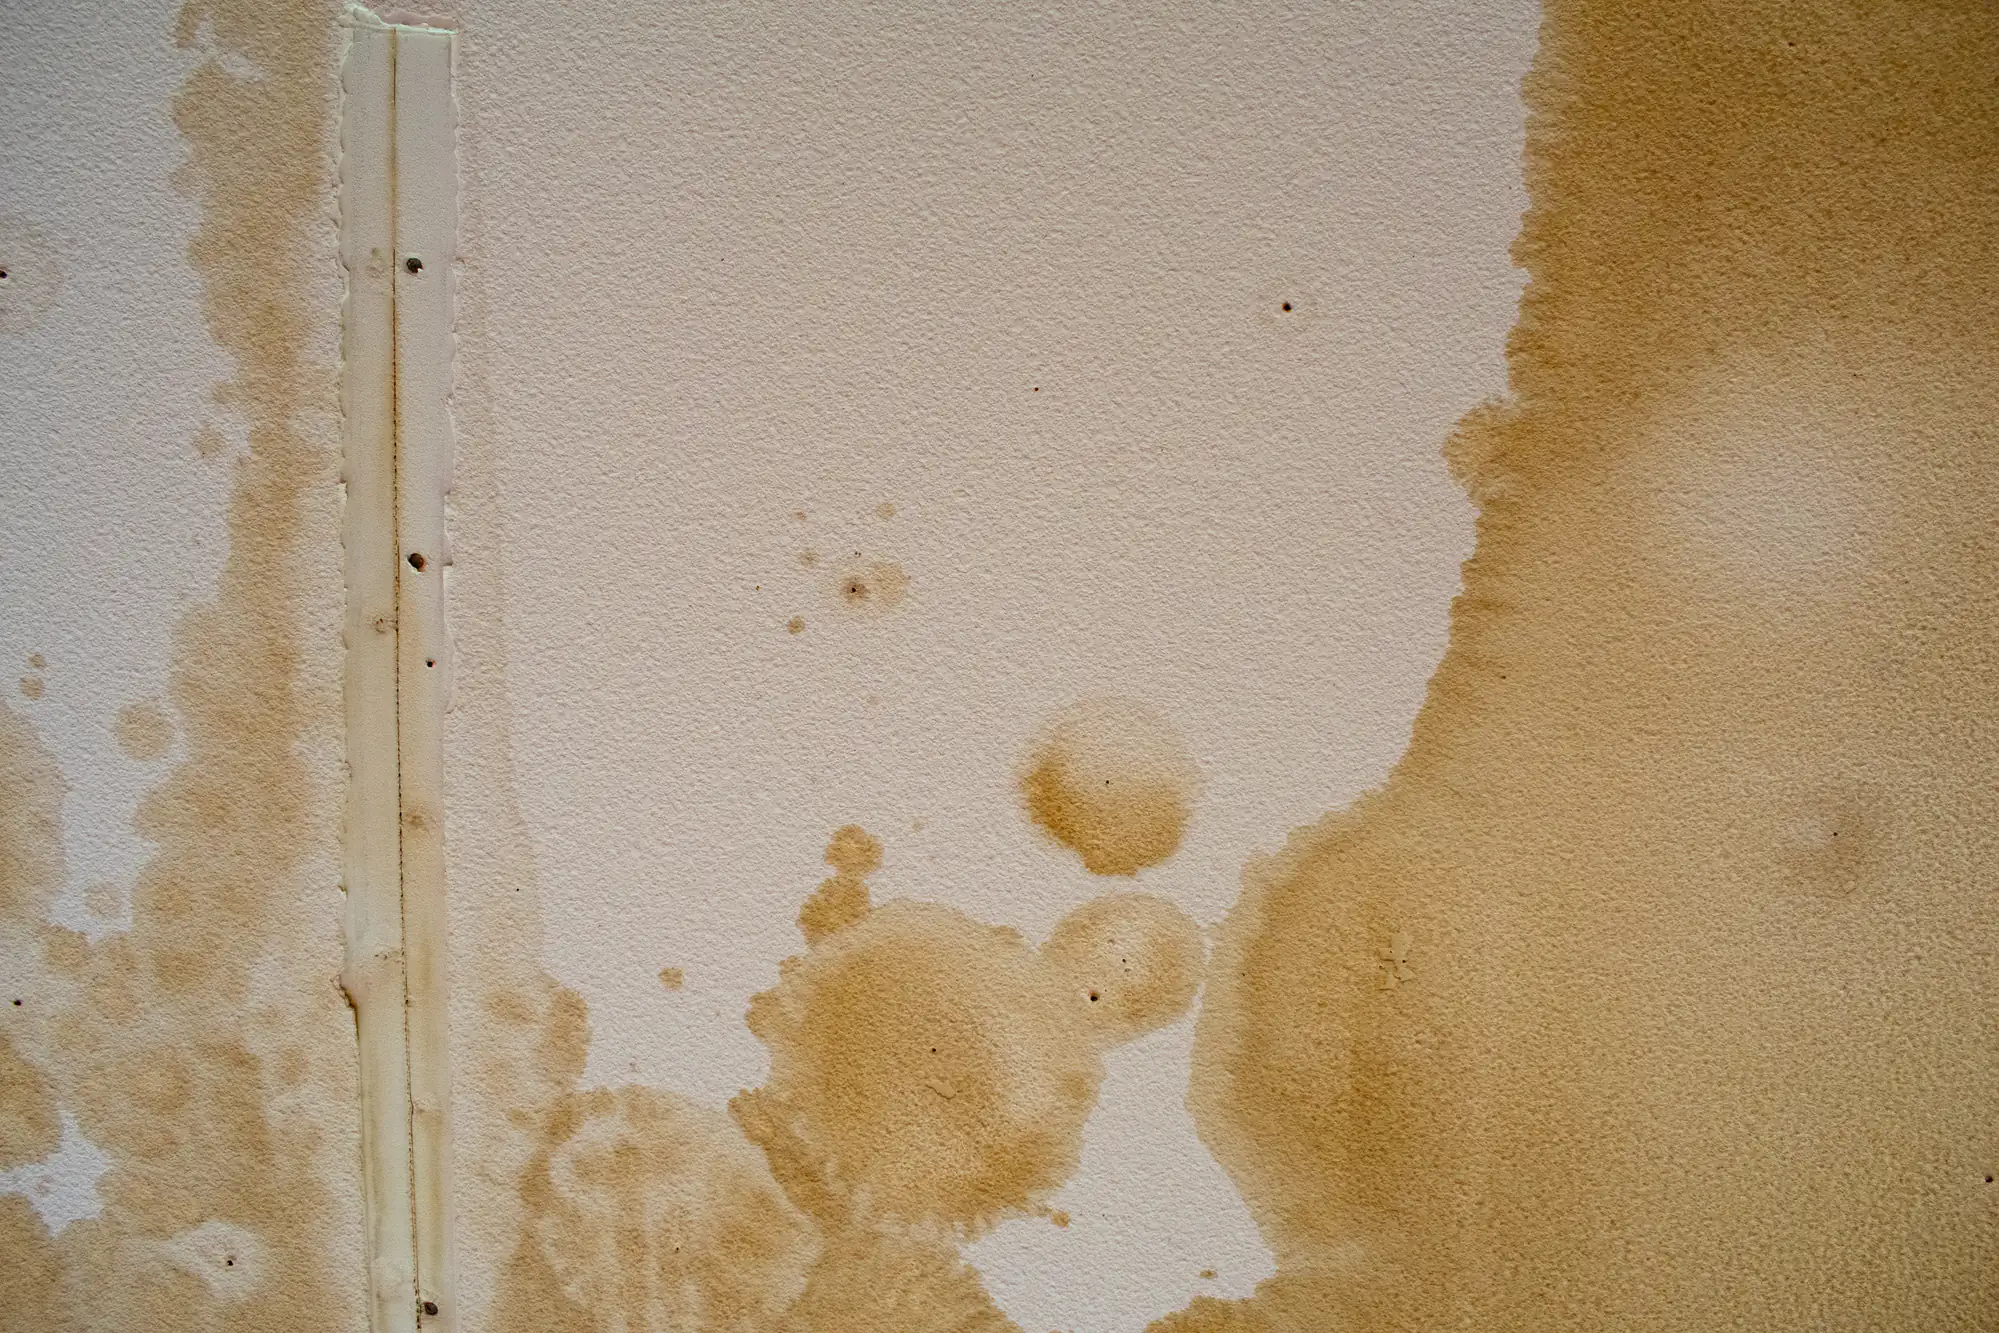
If you’re dealing with existing water damage, the damaged drywall needs complete replacement, not just patching. Water-damaged drywall loses structural integrity and can harbor mold inside the paper facing or gypsum core. Cutting out the damaged section and installing new moisture-resistant material is the only proper fix. Anything else is temporary at best and potentially unhealthy at worst.
Cracks happen for several reasons. House settling is the most common—Long Island soil conditions cause homes to shift slightly over time, creating stress points where walls meet ceilings or at door and window corners. Temperature and humidity changes cause materials to expand and contract. Poor initial installation—insufficient fasteners, improperly taped joints—leads to cracks as the house ages.
Permanent fixes address the underlying cause, not just the visible crack. If settling caused the crack, the fix involves reinforcing the joint with fiberglass mesh tape and flexible compound that can handle minor movement. If poor installation caused it, the joint needs complete re-taping with proper technique.
Small hairline cracks can be filled with compound, sanded smooth, and painted. Larger cracks—anything wider than 1/8 inch—need the damaged area cut out, mesh tape applied, and multiple coats of compound to build up a strong, flexible repair. Just filling a large crack with compound doesn’t work. It’ll crack again within months.
Recurring cracks in the same location indicate a structural issue that needs attention before drywall repair makes sense. A crack that keeps coming back after multiple repairs might mean foundation movement, roof issues, or framing problems. We’ll identify whether you’re dealing with normal settling or something that needs structural evaluation before cosmetic fixes.