
Hear from Our Customers
You’re not looking for the cheapest bid. You’re looking for someone who shows up on time, protects your floors and furniture, and leaves your walls smooth enough that you don’t see tape lines or nail pops six months later.
That’s what separates a professional sheetrock contractor from someone who just hangs board. The finish work matters. The prep matters. How we handle corners, seams, and transitions between old and new work—that’s where you see the difference.
We use dustless sanding equipment and drop cloths on every job in Ridge. Not because it’s required, but because your home isn’t a construction site—it’s where you live. You shouldn’t be wiping down counters and vacuuming baseboards for a week after we leave.
The goal isn’t just functional walls. It’s walls you can paint over once and forget about. Smooth. Even. Ready for whatever finish you’re planning next.
We’ve been handling residential sheetrock installation and interior remodels across Suffolk County for nearly a decade. We’re not a crew that bounces between states chasing work. We’re local, licensed, and insured—and we’ve worked in enough Ridge homes to know what older houses need versus new construction.
Most of our work comes from referrals. That doesn’t happen by accident. It happens when you show up when you say you will, communicate clearly about timing and cost, and don’t leave a mess behind.
We’re not the biggest operation in Suffolk County, and that’s on purpose. Smaller projects—drywall repair, room additions, basement finishes—get ignored by larger contractors. We take them on. If it involves sheetrock, taping compound, skim coating, or wall repair, we’ve done it hundreds of times.
It starts with a walkthrough. We look at the space, measure what needs to be covered or repaired, and talk through your timeline. If there’s old drywall that needs to come down first, we’ll tell you. If your studs aren’t straight or there’s a moisture issue behind the wall, we’ll tell you that too.
Once we agree on scope and price, we schedule the work. For a typical room, hanging sheetrock takes a day. Taping and first coat happens next. Then second coat, sanding, and final skim coat if needed. Each layer has to dry before the next goes on—that’s not something you rush.
We use a vacuum sander for the finishing work. It pulls most of the dust right into a shop vac instead of sending it into your HVAC system. Drop cloths go down before we start and stay down until we’re done. You’ll still want to wipe surfaces after, but it’s nothing like traditional sanding.
After the final coat dries, we do a walkthrough with you. If something doesn’t look right, we fix it before we pack up. You’re not chasing us down later trying to get callbacks. The job’s not done until you’re ready to prime and paint.
Ready to get started?
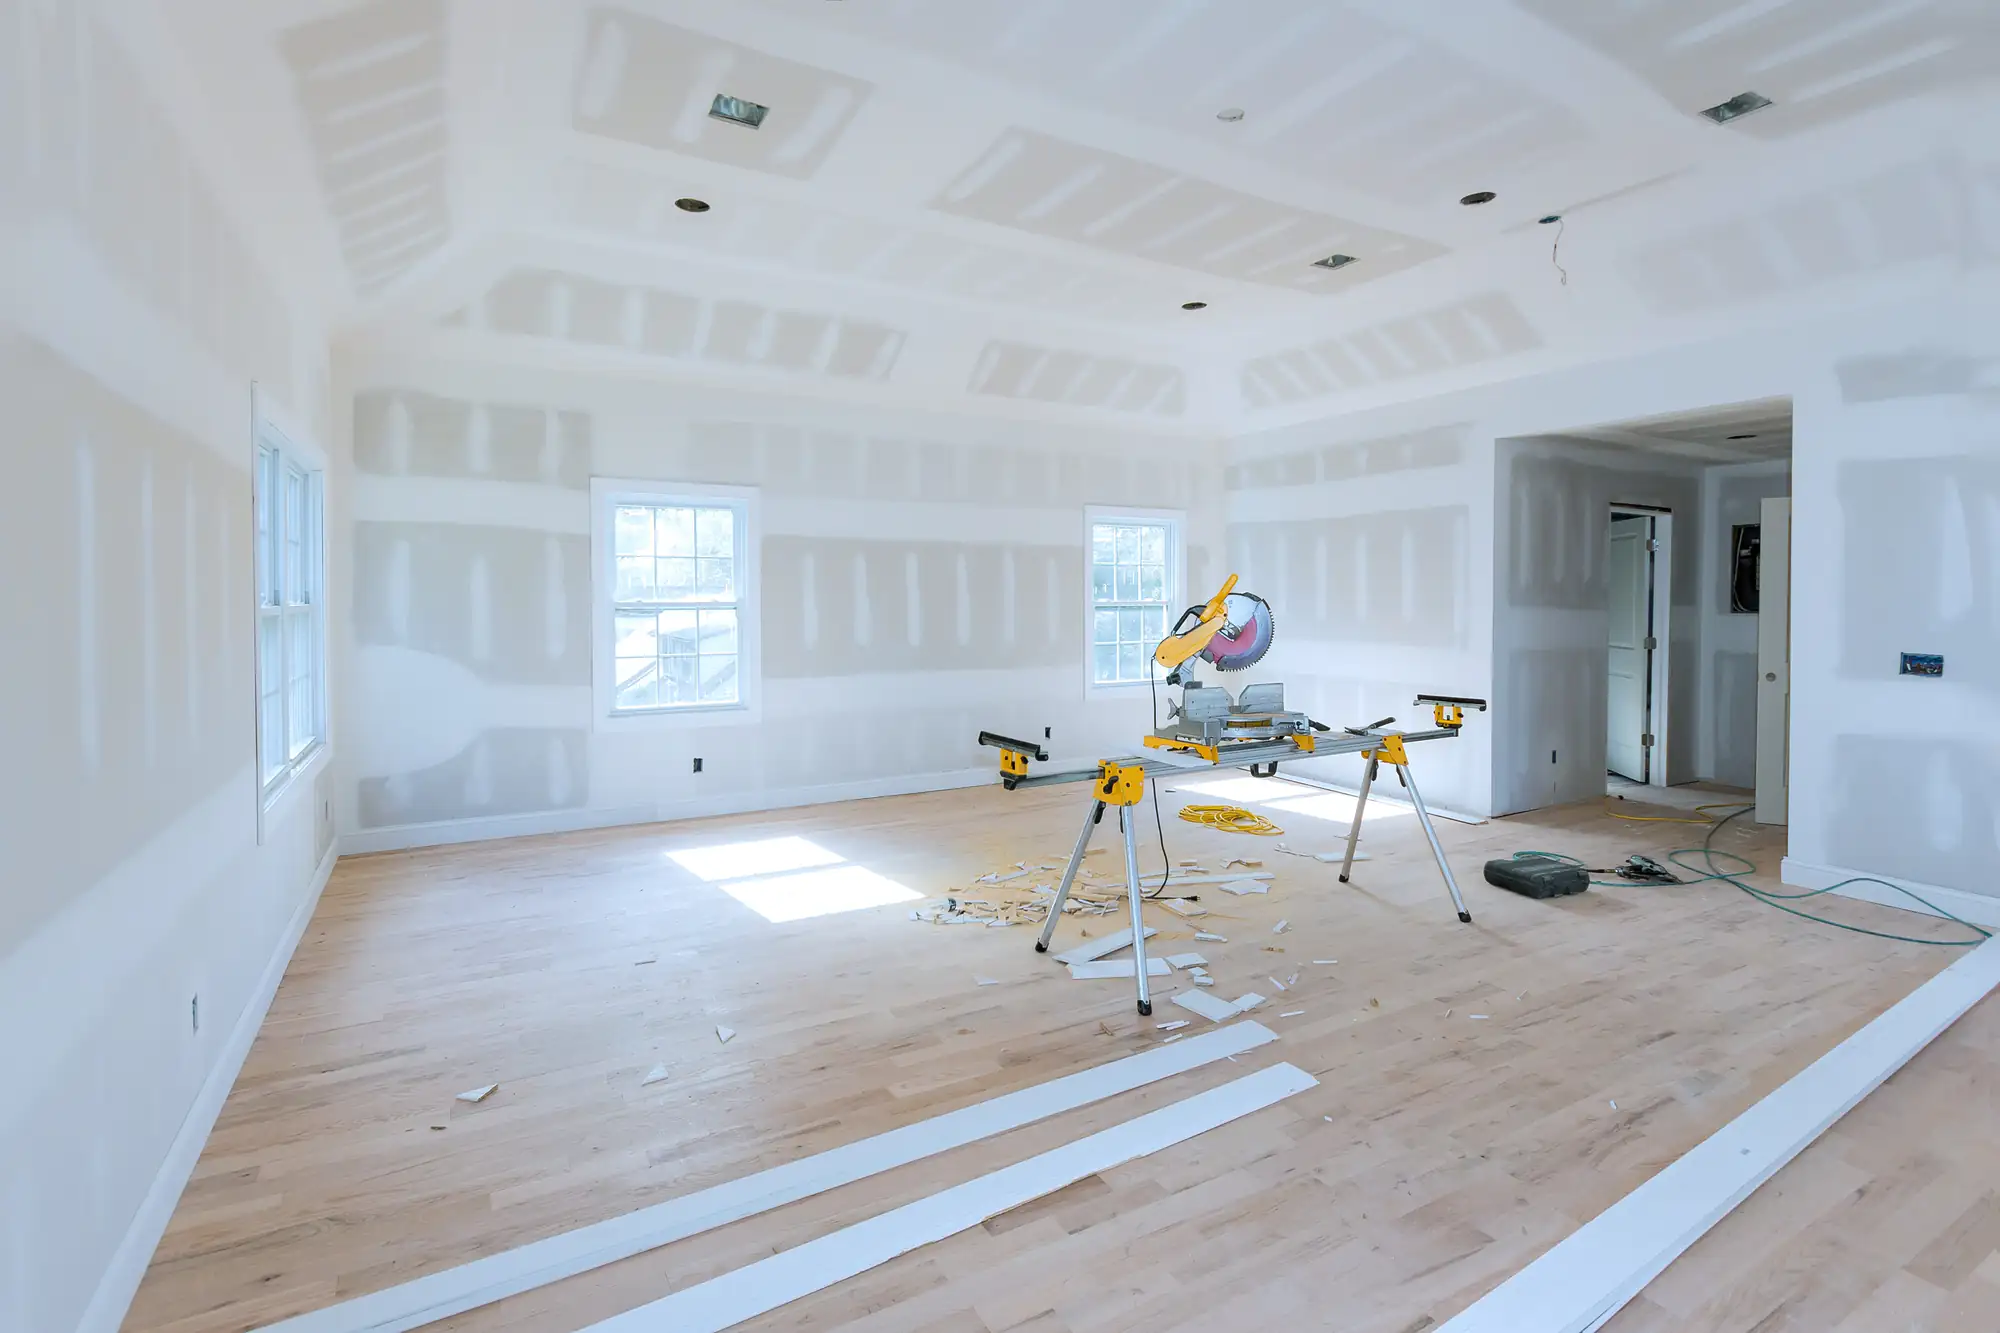
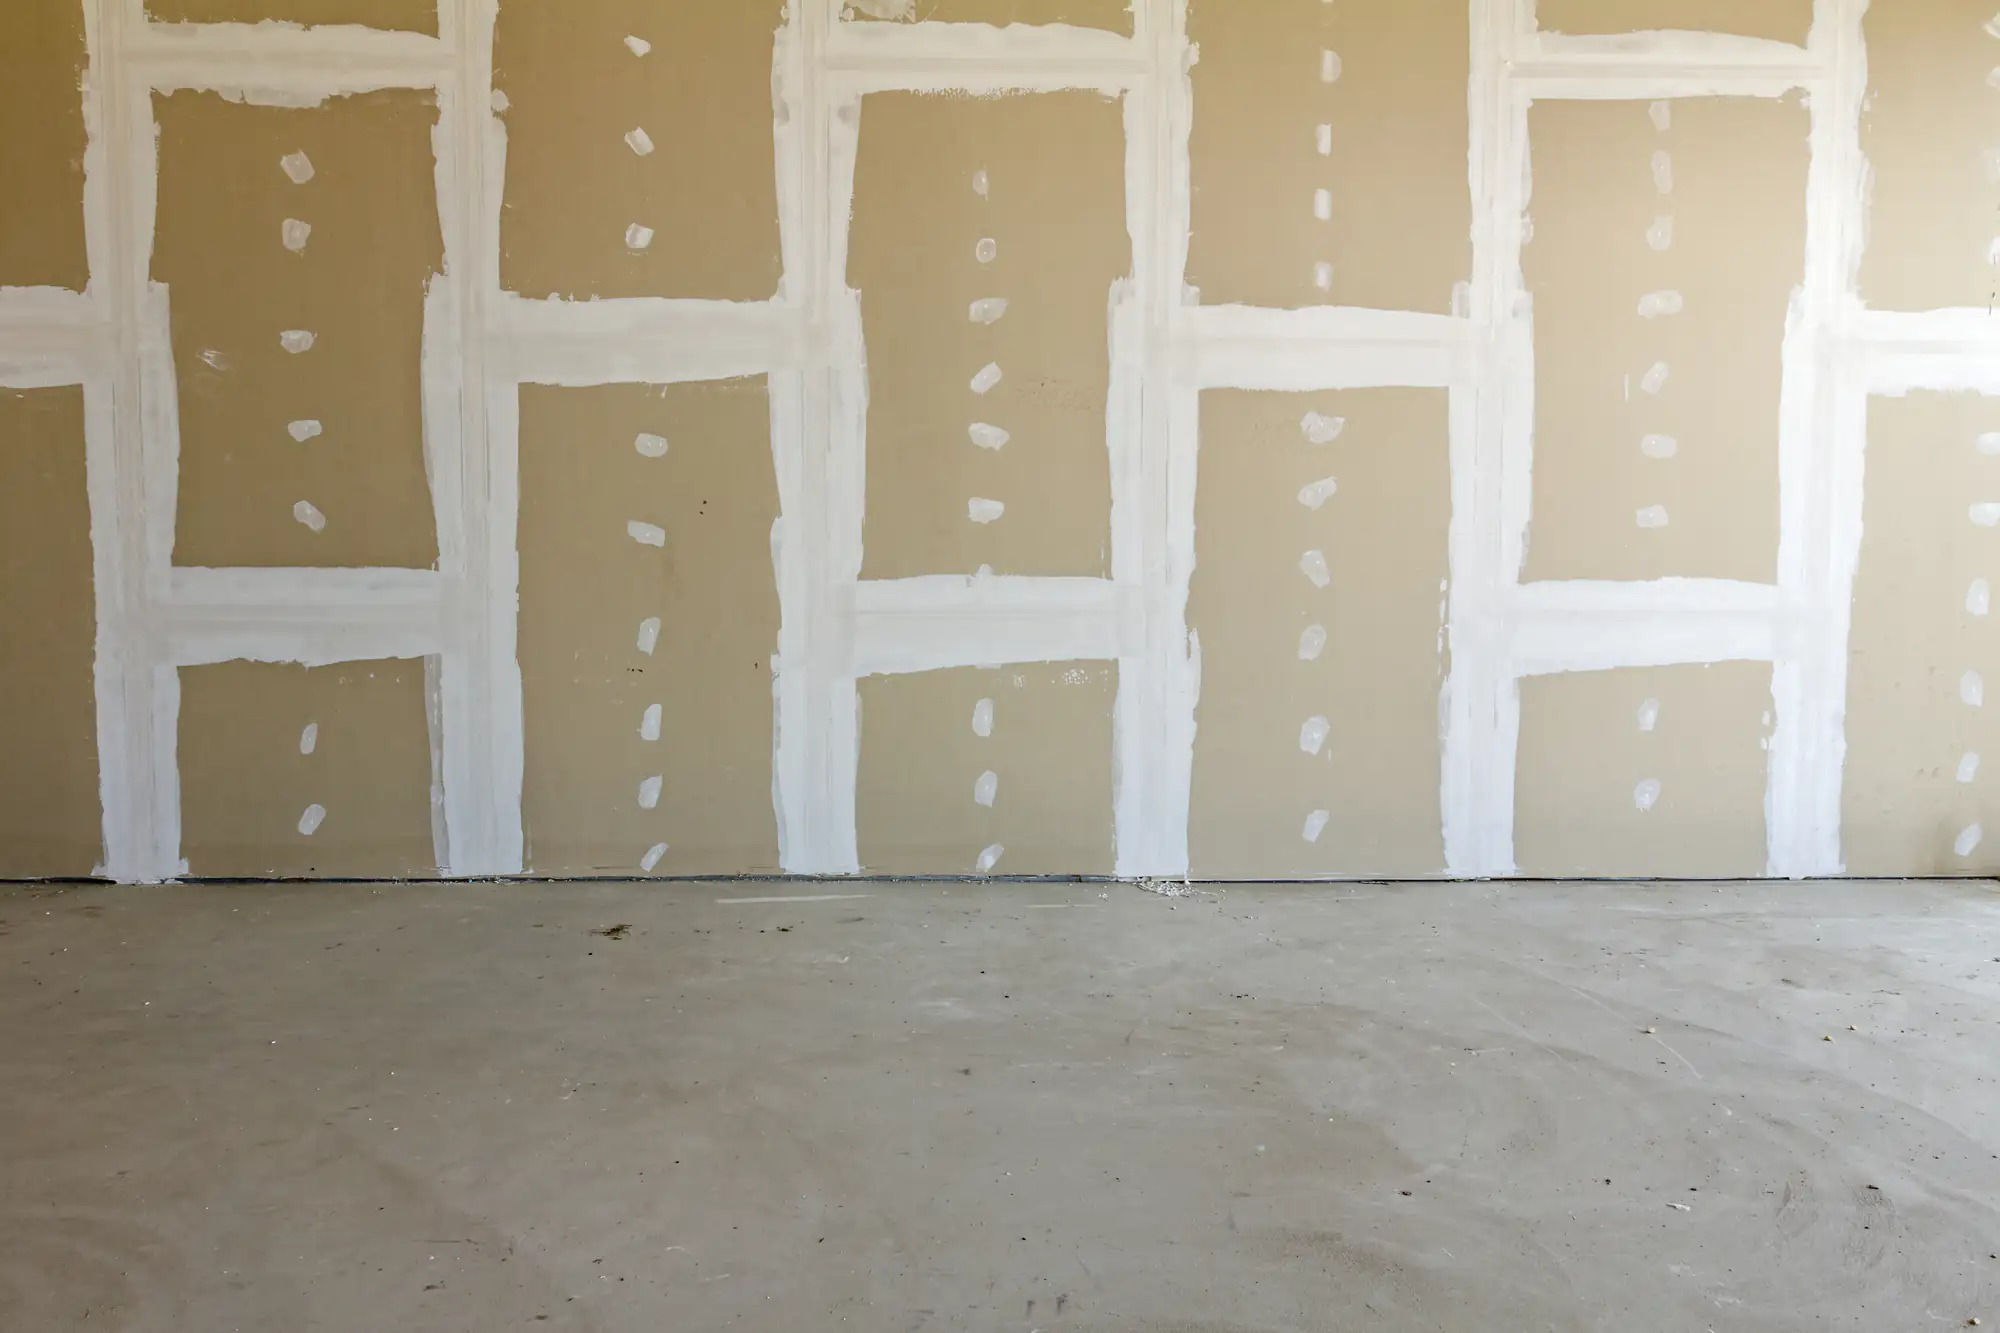
Sheetrock installation covers more than just hanging board. It includes delivery of materials, cutting and fitting sheets around outlets and fixtures, securing to studs with the right fastener spacing, and taping every seam with joint compound and paper or mesh tape depending on the application.
In Ridge, a lot of homes were built in the 70s and 80s. That means you’re often working around older framing that’s settled or shifted. Sometimes that requires furring strips or shims to get a flat surface. If we run into that, we handle it—it’s part of getting the wall right.
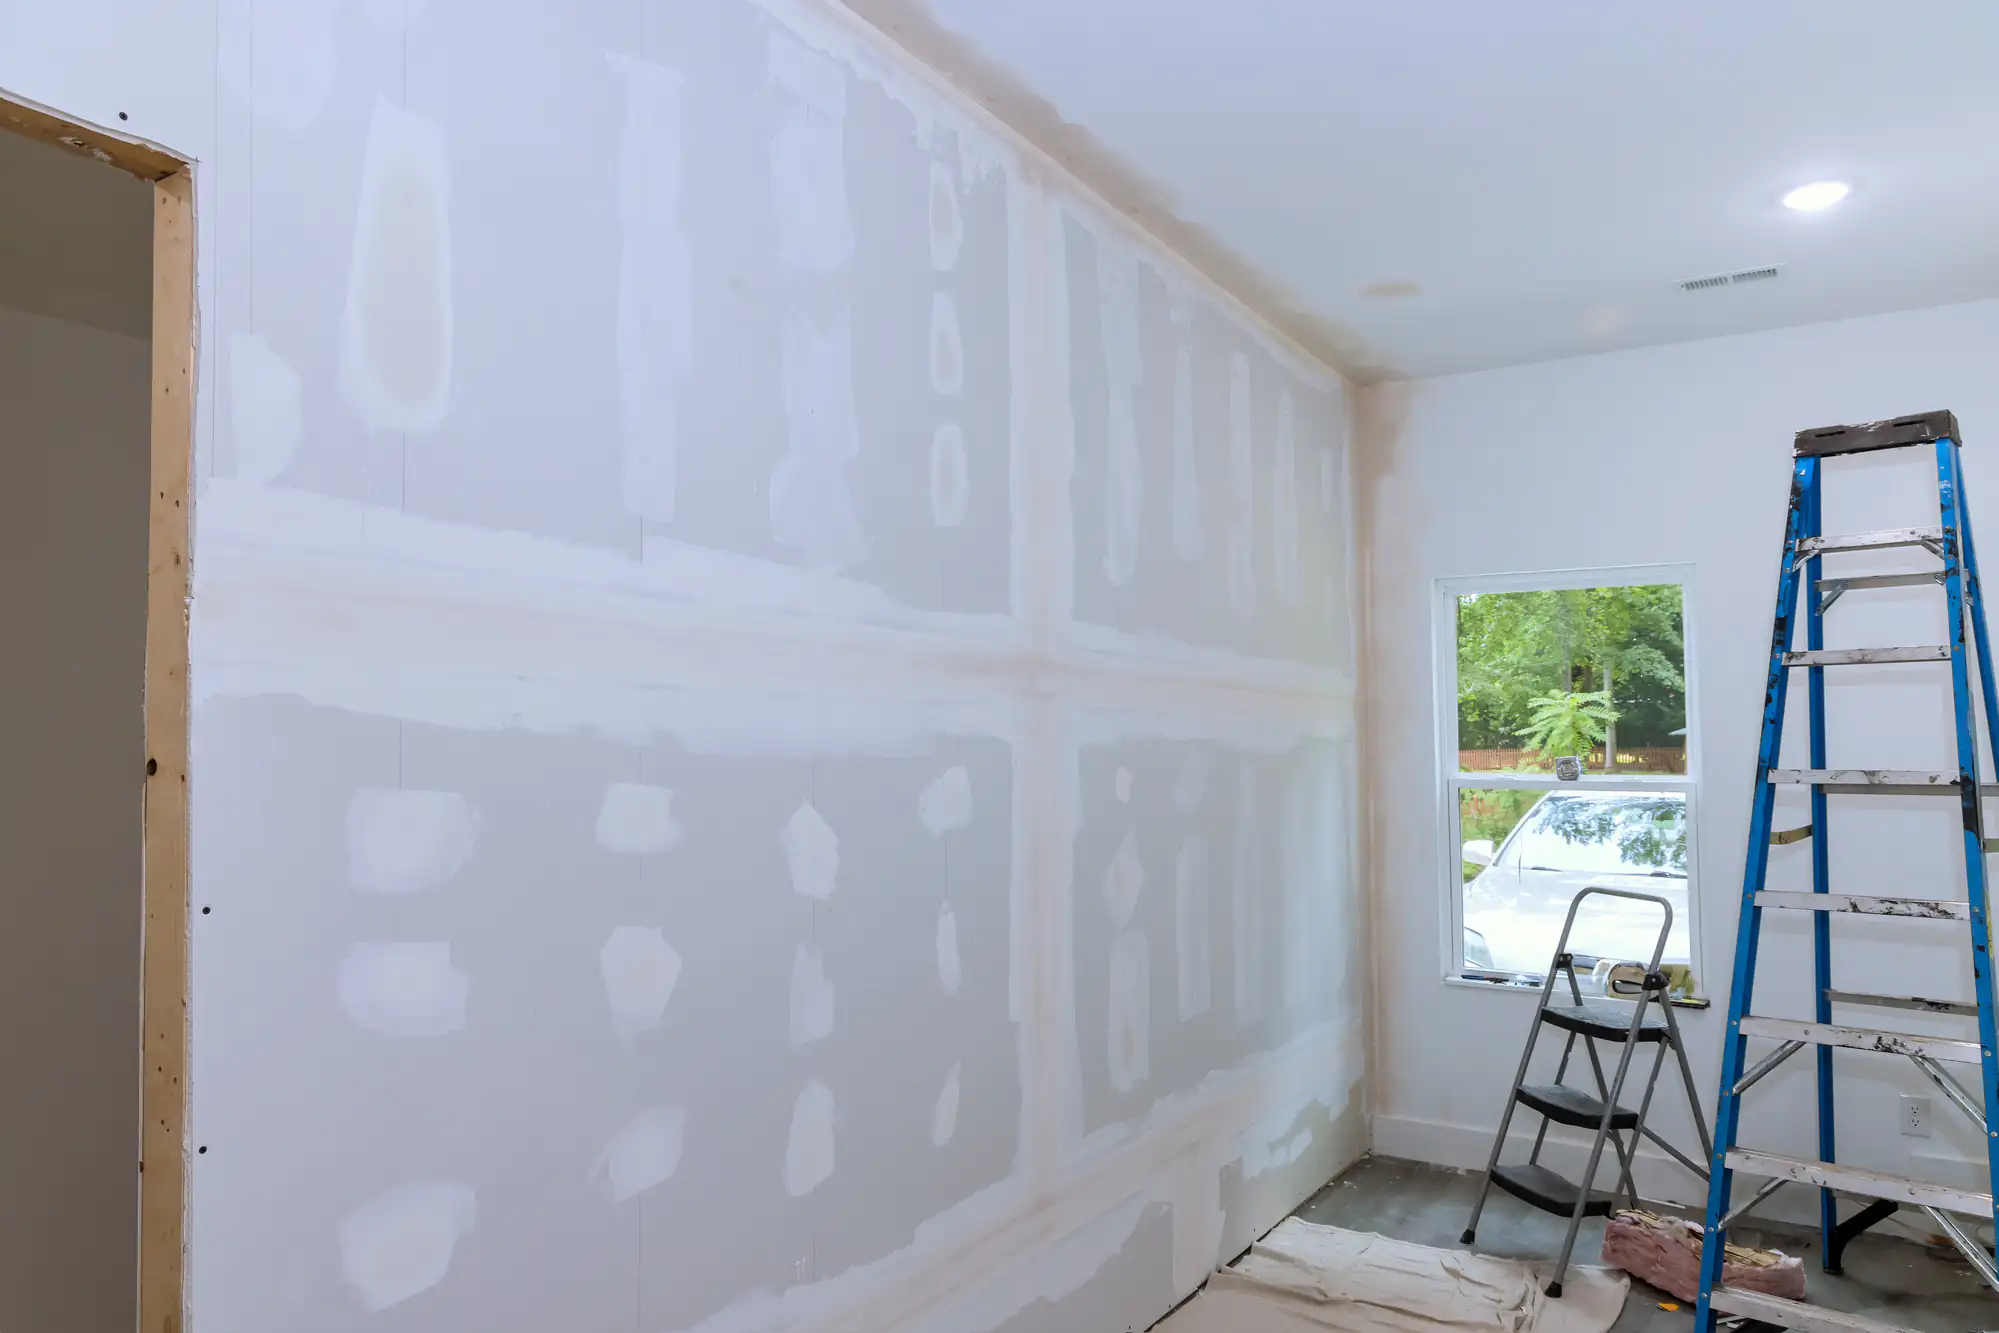
Finishing work involves multiple coats of compound, sanding between each layer, and a final skim coat on walls that need it. Ceilings almost always need a skim coat if you want them smooth. Corners get metal bead for durability. Seams get feathered out so they disappear under paint.
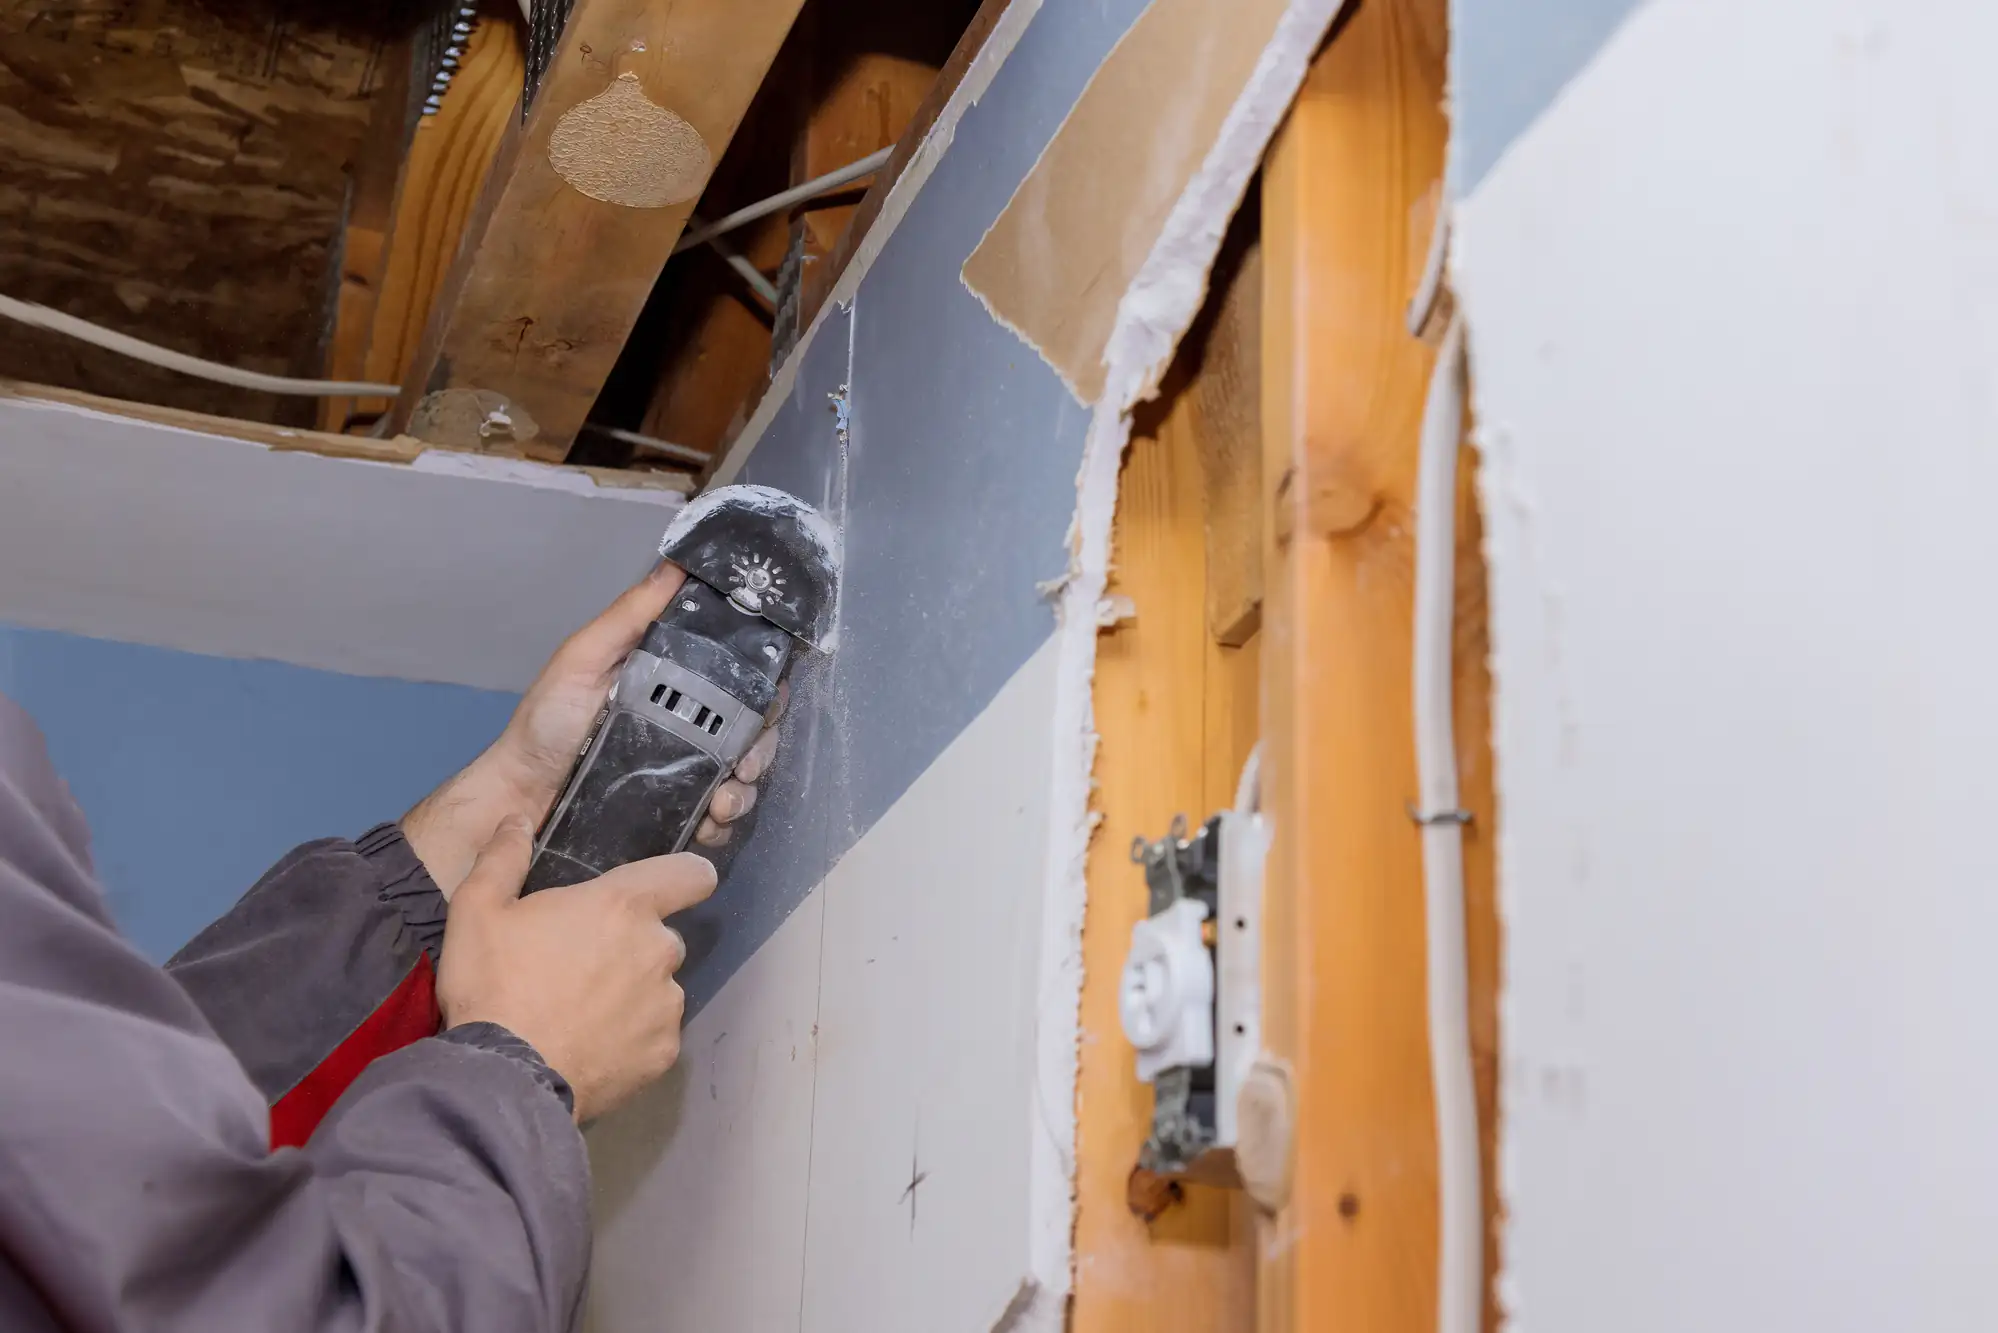
We also handle drywall repair—water damage, holes from old fixtures, cracks from settling. If you’re doing a kitchen or bath remodel and need walls rebuilt or moved, that falls under the same skill set. It’s all interior wall construction, and it all needs to be done right if you want the finish to look clean.
Hanging and finishing drywall typically runs between $2 and $4 per square foot in Suffolk County, depending on ceiling height, room layout, and how much prep work is involved. That includes materials, labor, taping, and finishing coats.
Repairs cost differently. Small patches might be a flat service call. Larger repairs—like replacing a full wall section after plumbing work—get priced by the square foot or by the job depending on complexity.
Skim coating, which is applying a thin layer of joint compound over an entire wall or ceiling to smooth out texture or imperfections, runs around $1.15 to $1.35 per square foot. It’s mostly labor, and it’s not a beginner-level skill. If someone quotes you significantly under that, ask what they’re skipping.
We give you a clear number before we start. No hourly rates that drift. No surprise charges for materials. You’ll know what it costs before we touch a wall.
A professional drywall installation contractor has the tools, experience, and licensing to handle full installations—not just patches. That means knowing how to hang board on ceilings without sagging, how to tape and finish seams so they don’t crack, and how to match existing textures when doing repairs.
Handymen can handle small fixes—nail pops, minor holes, touch-up work. But if you’re finishing a basement, adding a room, or repairing significant water damage, you want someone who does this full-time. The finish quality is where you see the difference.
Taping and mudding are skills that take years to develop. Knowing how much compound to use, how to feather edges, when to sand and when to add another coat—that’s not something you pick up from a YouTube video. It shows in the final result.
We’re licensed and insured, which matters if something goes wrong. It also means we pull permits when required and follow code for fire-rated assemblies, moisture barriers, and fastener spacing. That protects you down the road.
Hanging the sheetrock usually takes one day for an average-sized room. Taping and applying the first coat of joint compound happens the next day. Then you wait for it to dry—usually 24 hours depending on humidity and temperature.
Second coat goes on after that, followed by another drying period. Sanding and final coat happen next. Start to finish, you’re looking at four to six days for a room to be ready for primer. Rushing that process leads to cracking and visible seams.
Ceilings take longer than walls because the work is overhead and the finishing has to be perfect—you see every imperfection when light hits a ceiling at an angle. Larger rooms or spaces with a lot of corners and angles add time.
If you’re doing multiple rooms or a whole-house project, we can stagger the work so one room is drying while we’re hanging another. That keeps things moving without compromising quality. We’ll walk you through the timeline during the estimate so you know what to expect.
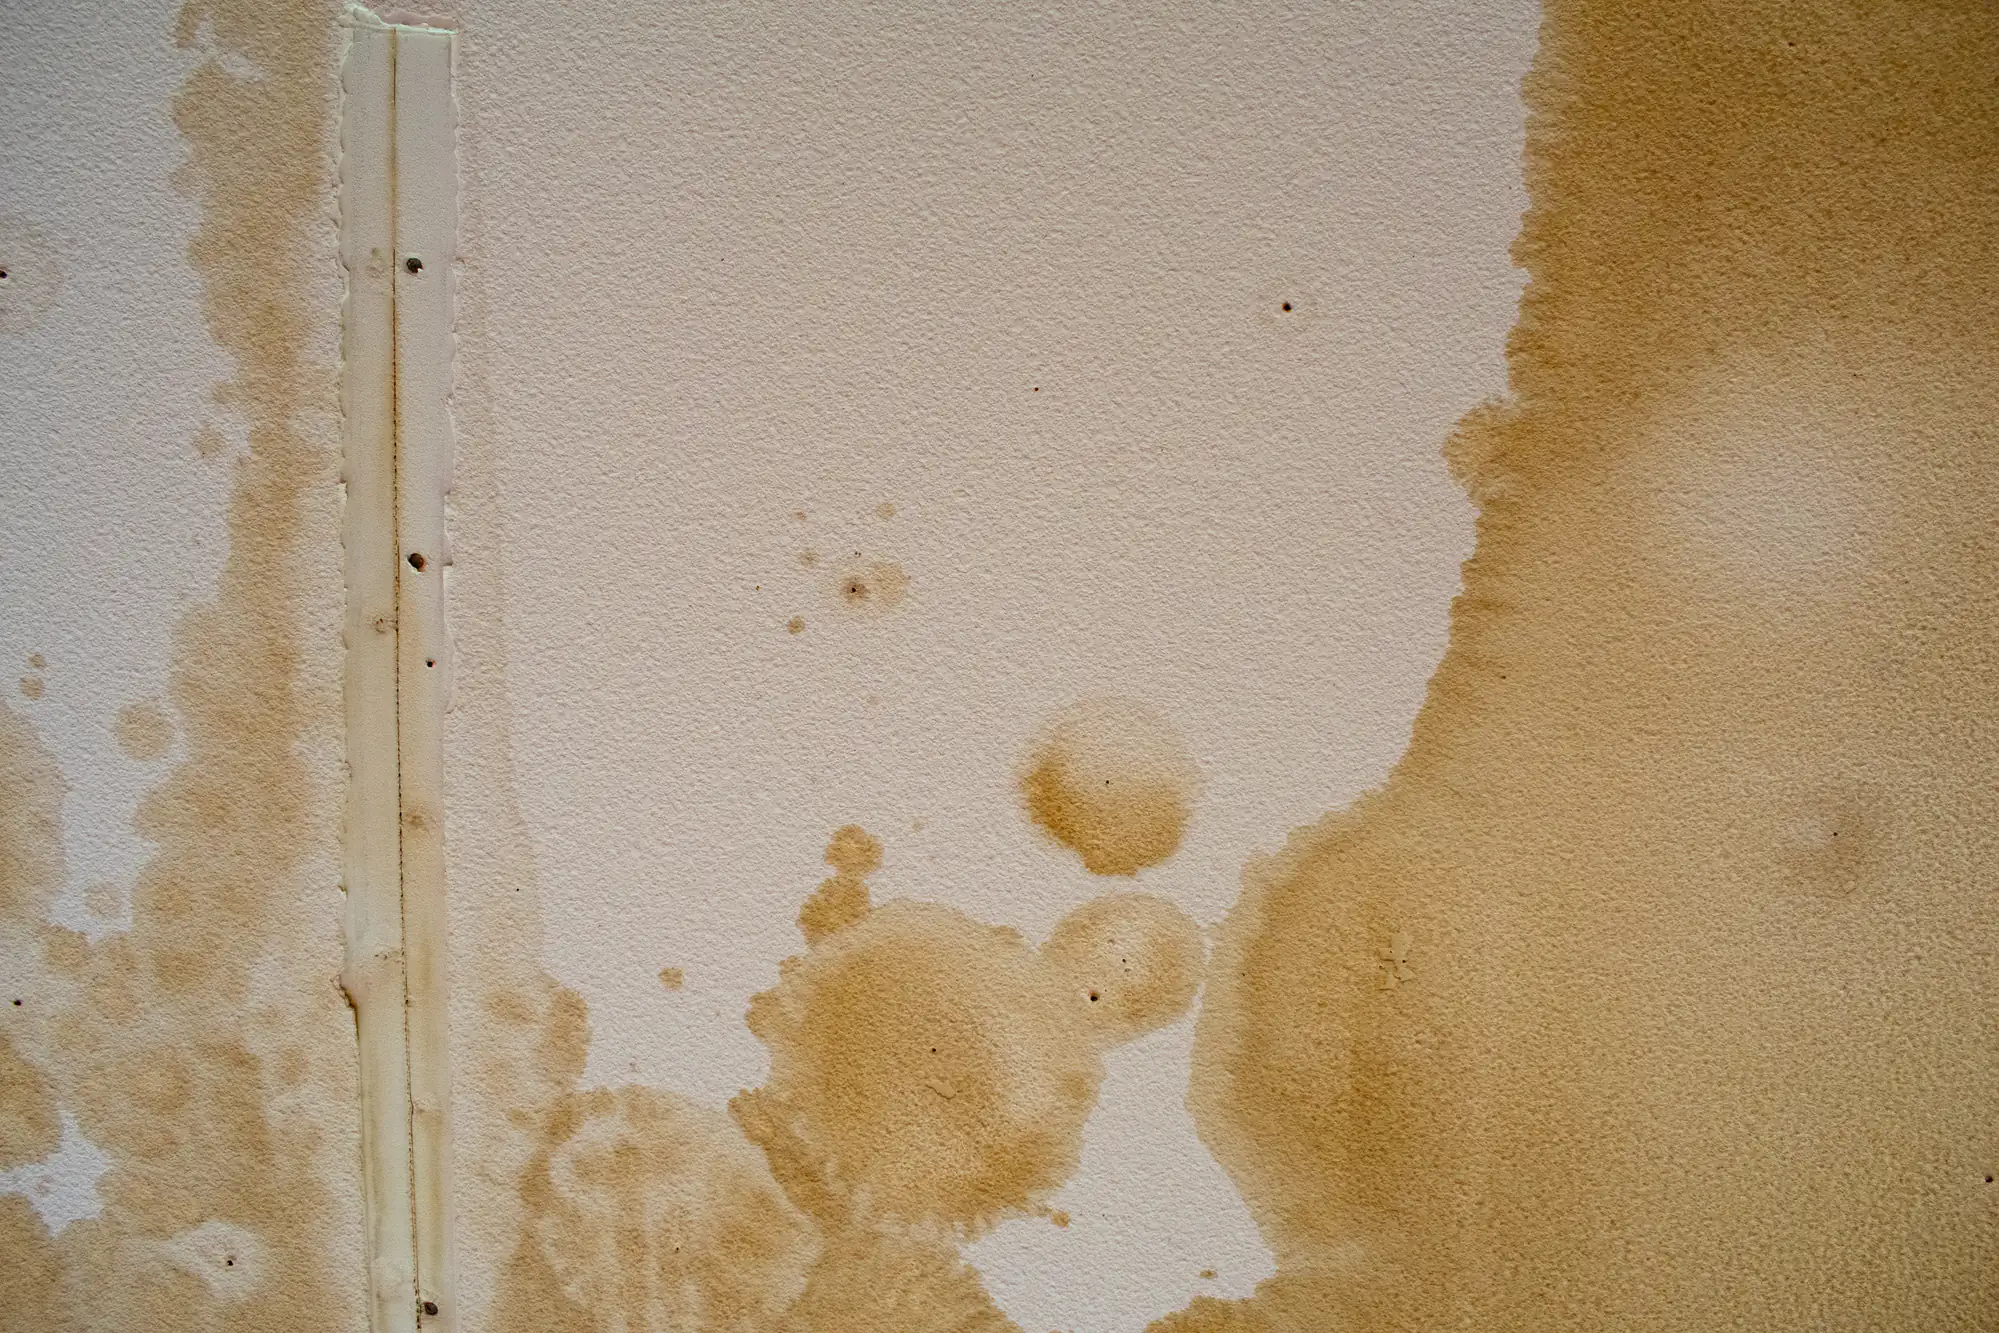
Yes, but the water source has to be fixed first. We’re not cutting out damaged drywall until we know the leak is resolved and the framing has dried out. Otherwise you’re just replacing wet drywall with new drywall that’s going to get wet again.
Once the area is dry, we cut out the damaged section, check the studs for mold or rot, and replace any insulation that got soaked. Then we fit in new sheetrock, tape and mud the seams, and finish it to match the surrounding wall texture.
Water damage usually means the paper facing on the drywall has separated from the gypsum core, or the core itself has crumbled. You can’t just paint over that. It has to be cut out and replaced, or it’ll keep deteriorating and eventually fail.
If the damage is in a bathroom or kitchen, we also check for mold behind the wall. That’s not a drywall issue—that’s a remediation issue that has to be handled before any wall goes back up. We’ll tell you if we see it, and we can refer you to someone who handles it properly if needed.
In most cases, yes. Knockdown, orange peel, and smooth finishes are all standard. If your home has an older hand-troweled texture or something custom, we’ll do a test patch first to make sure we can match it before we commit to the whole wall.
Smooth walls are the hardest to match because any imperfection shows up under the right light. That’s where skim coating comes in. We apply a thin layer of compound over the entire surface, not just the repair area, so the whole wall has a consistent finish.
Textured walls are more forgiving, but the texture still has to be applied at the right consistency and with the right technique or it won’t blend. We’ve been doing this long enough that we can usually get it close enough that you won’t notice the repair once it’s primed and painted.
If you’re repairing a small area and the surrounding texture is heavily aged or stained, sometimes the smarter move is to skim coat or re-texture the whole wall. We’ll talk through your options during the estimate so you’re not surprised later.
Yes, at least away from the walls. We need clear access to work, and anything left near the walls will get covered in dust even with dustless sanding. If you’re doing a whole room, it’s easier to empty it completely.
We’ll move smaller items if needed and cover what’s left with plastic, but the less stuff in the room, the faster and cleaner the job goes. Heavy furniture like dressers or entertainment centers—we can work around those if they’re centered in the room, but they should be covered.
For ceiling work, the room needs to be mostly clear. We’re setting up scaffolding or stilts, and we need space to move around safely. If there’s flooring you want protected, we’ll put down rosin paper or drop cloths before we bring anything in.
After we’re done, we do a basic cleanup—bagging debris, sweeping up compound dust, wiping down windowsills. But you’ll still want to vacuum and dust surfaces before you move everything back in. That’s just the nature of the work. We minimize it as much as possible, but some cleanup on your end is normal.