
Hear from Our Customers
You’re not looking for the cheapest bid. You’re looking for walls that don’t crack in six months, seams that don’t show through paint, and a contractor who shows up when they say they will.
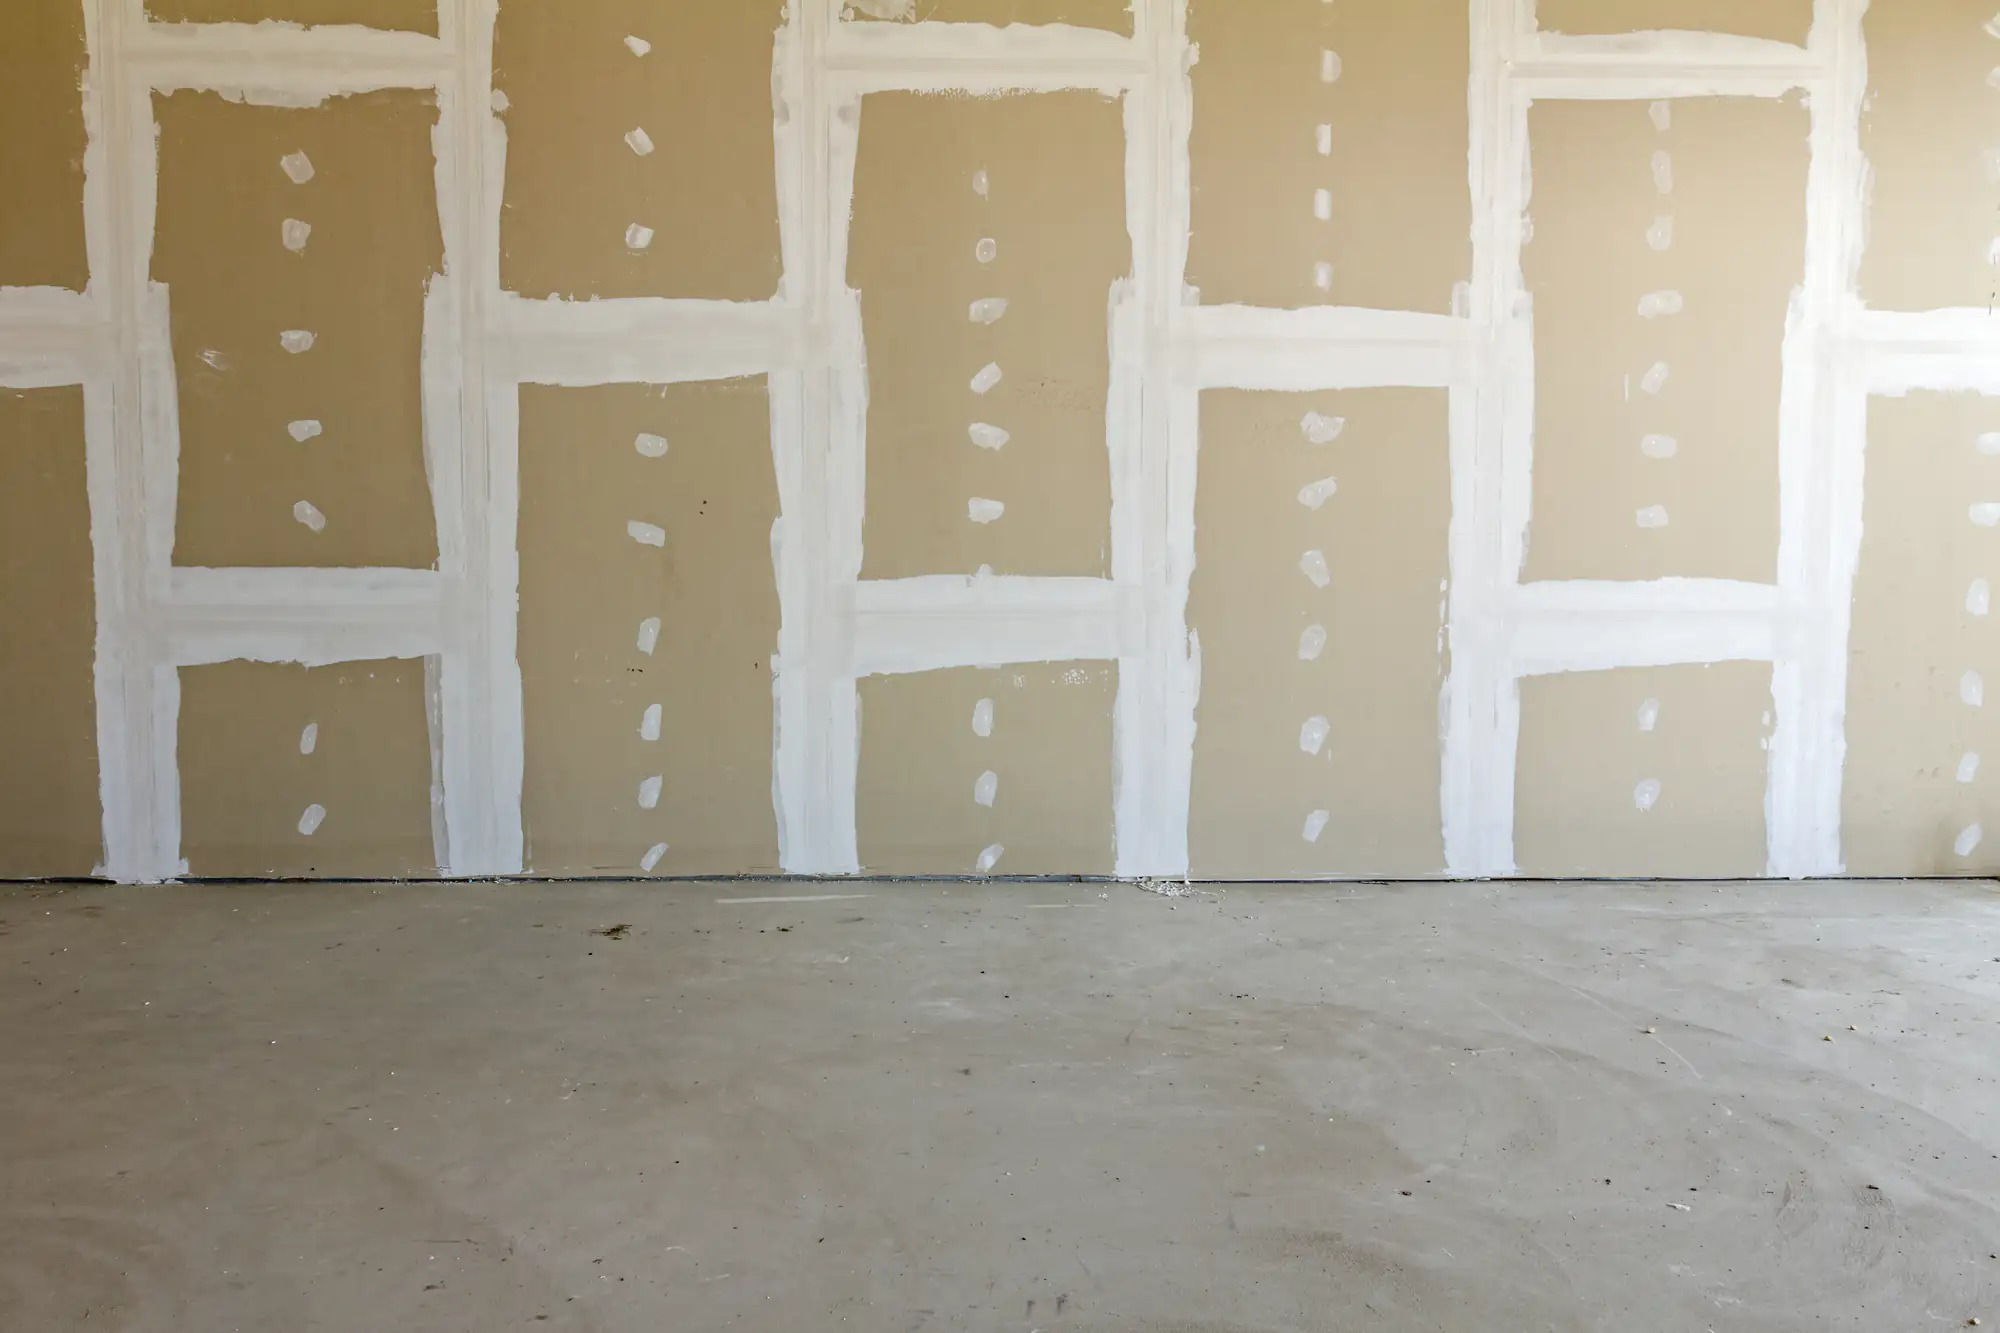
That’s what professional sheetrock installation gets you. Proper hanging techniques mean fewer callbacks. Quality taping compound application means your painter isn’t fixing our mistakes. Moisture-resistant drywall in the right places means you’re not dealing with mold issues down the road.
The difference between a good drywall job and a mediocre one shows up after the paint goes on. Shadows along seams. Visible fasteners. Uneven texture. You’ve probably seen it in other homes—that’s what happens when installation gets rushed or done by someone learning on your dime.
We’ve been doing this in Suffolk County for nearly ten years. The walls we hung in 2016 still look good today because we did them right the first time.
Jaguar Renovations has been handling sheetrock installation and repair throughout Springs and Suffolk County since 2016. We’re licensed, insured, and we don’t play the subcontractor blame game when something needs attention.
Springs homeowners deal with specific challenges—coastal humidity that affects drywall in bathrooms and basements, older homes that need careful matching of existing textures, renovation projects where walls need to meet modern fire and moisture codes. We’ve handled all of it.
Our approach is simple: transparent pricing before we start, quality materials that won’t off-gas or corrode, and installation techniques that follow manufacturer specs. No sales pressure, no surprise fees, no disappearing after the check clears.
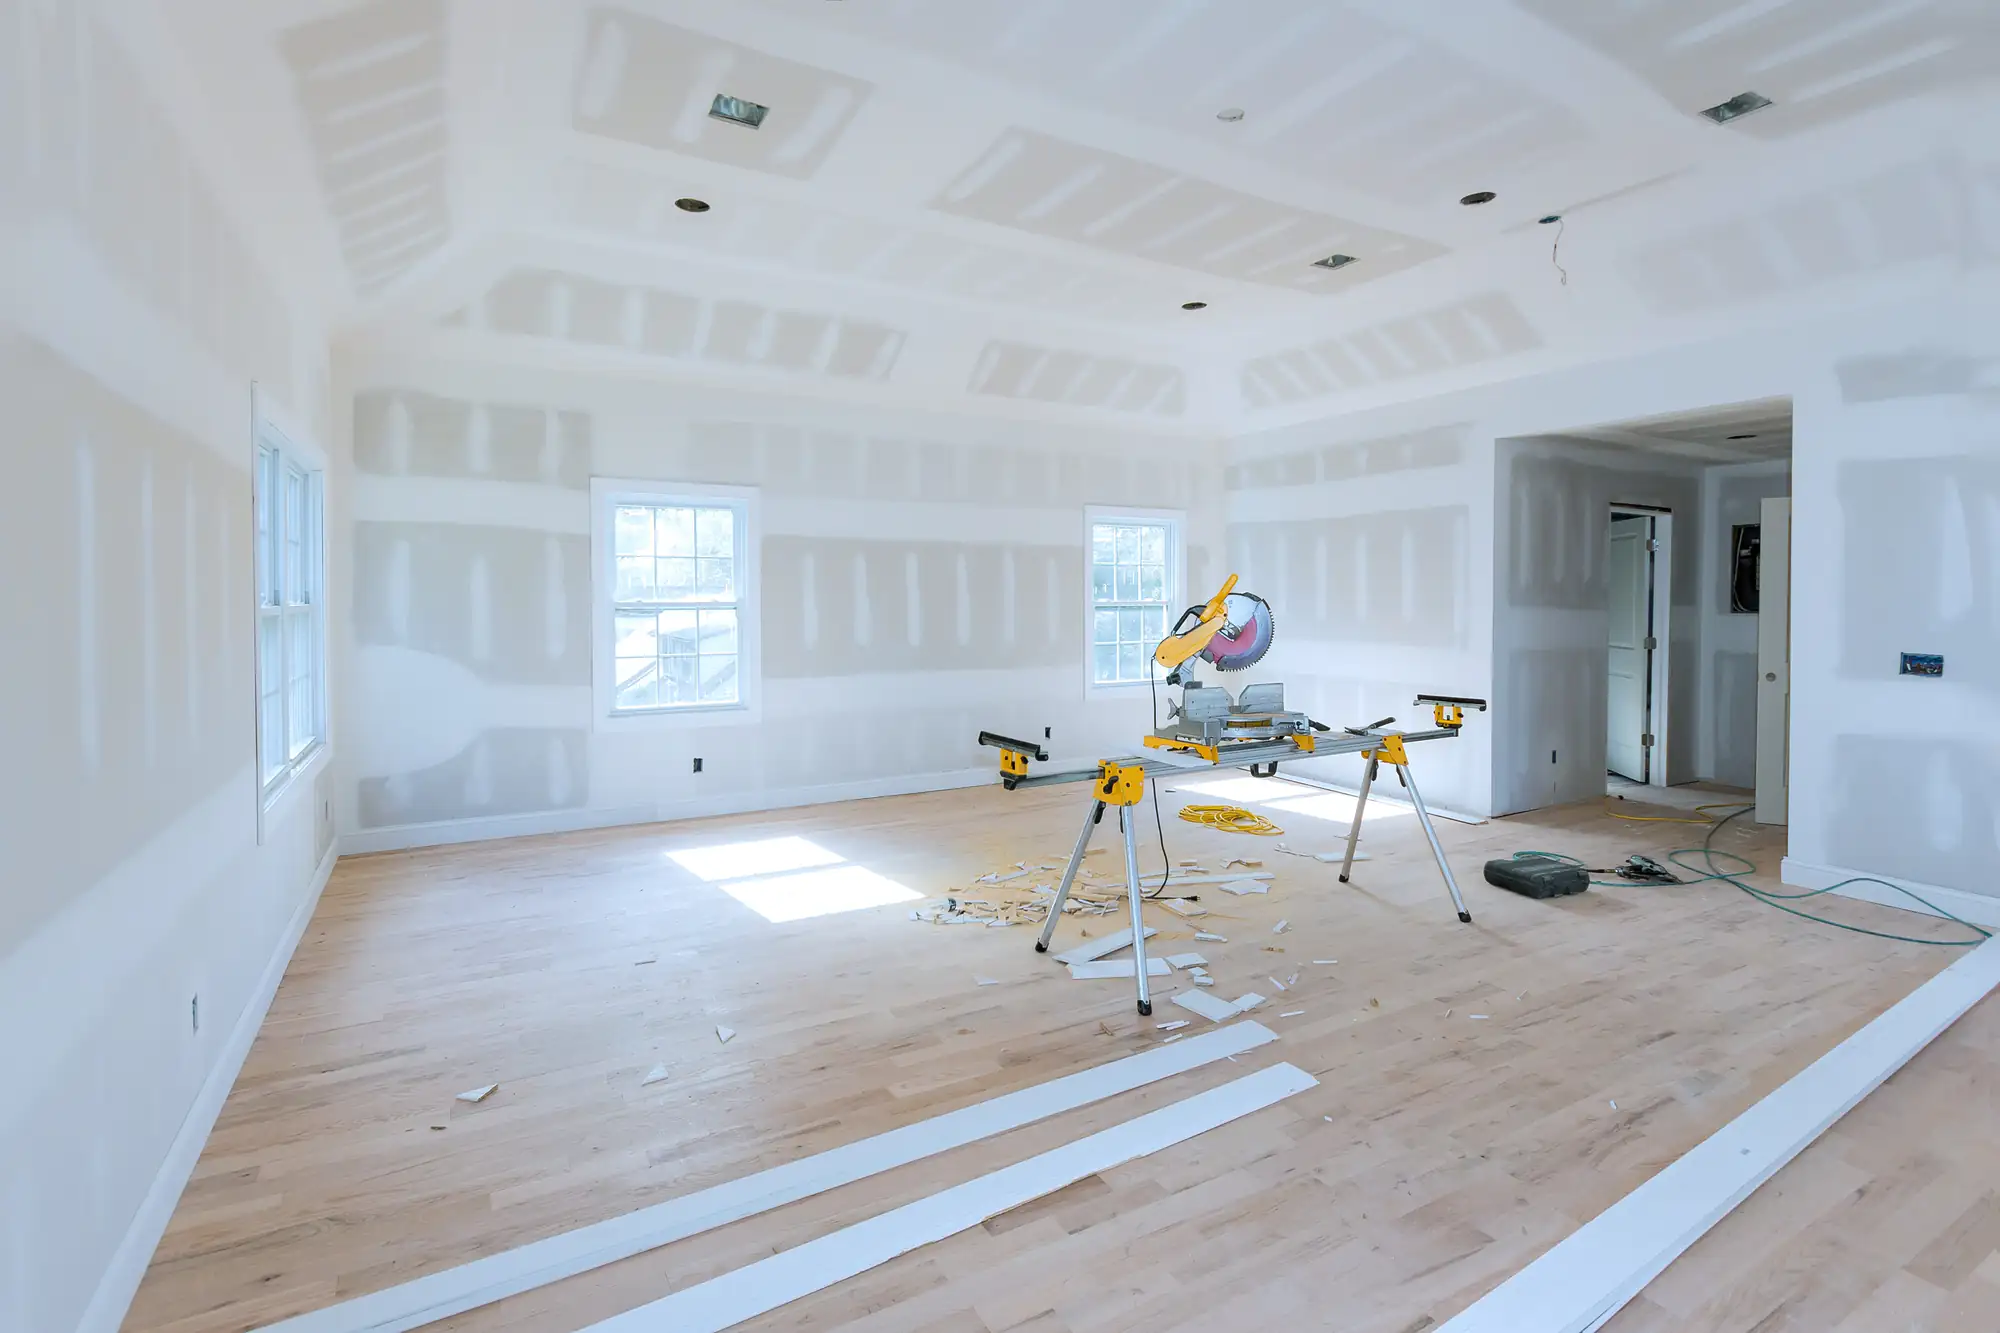
First, we assess what you’re working with. New construction is straightforward—hang, tape, finish. Repairs and renovations require matching existing texture and dealing with whatever’s behind those walls. We tell you what we find, not what we wish we’d find.
Hanging comes next. Proper fastener spacing, correct sheet orientation, appropriate gaps for expansion. This is where most problems get created or prevented. We use moisture-resistant drywall for bathrooms and kitchens, fire-rated where code requires it, standard everywhere else.
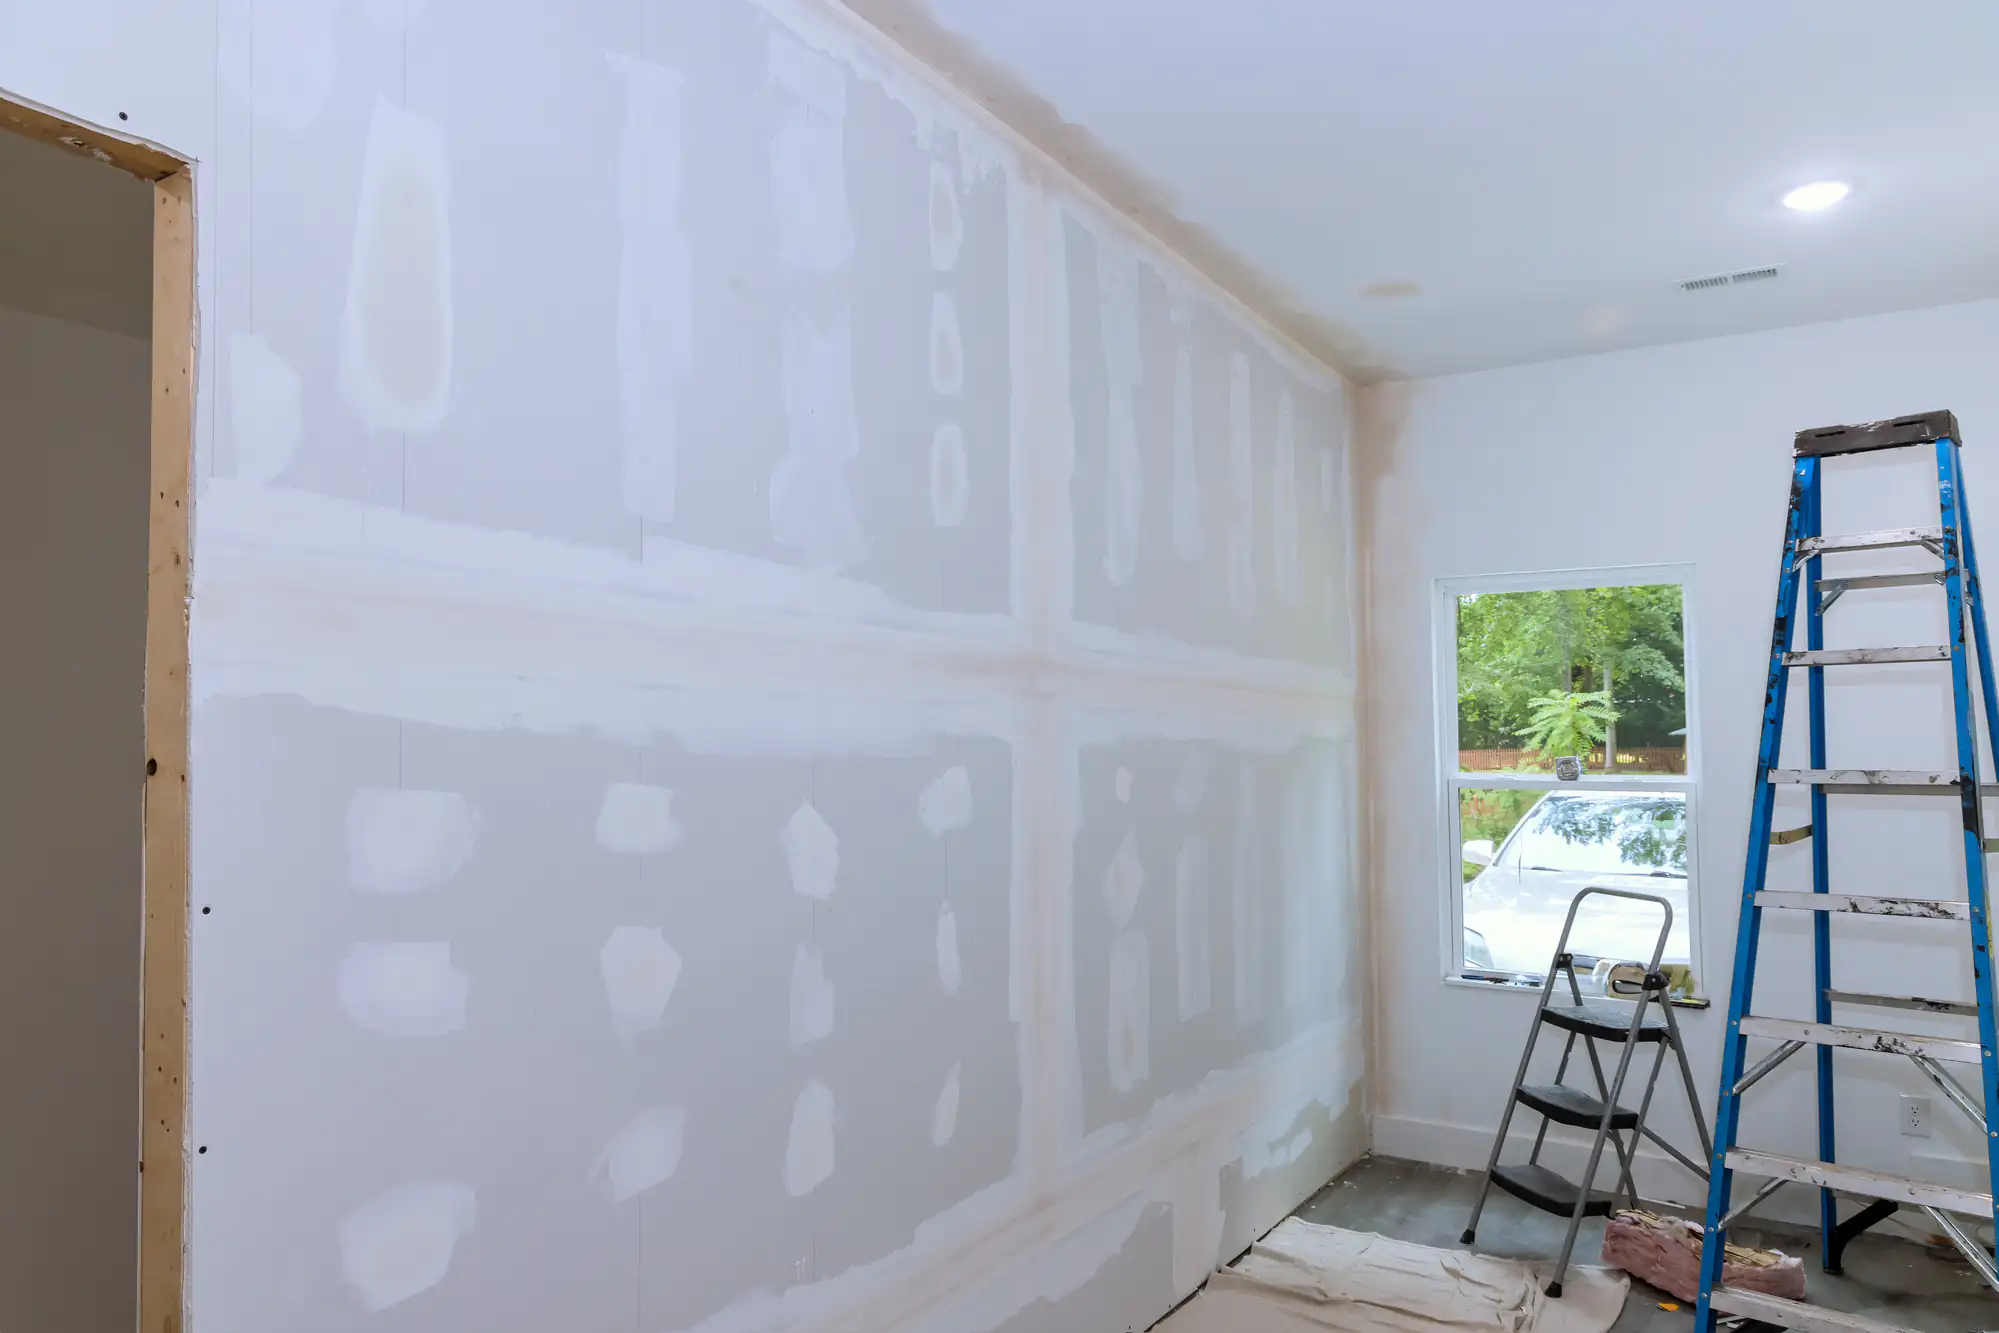
Taping and mudding takes three coats minimum. First coat embeds the tape. Second coat builds it out. Third coat feathers it smooth. Each layer needs to dry completely—rushing this is how you get cracks and visible seams later. We don’t rush it.
Sanding happens before we leave. You get walls ready for primer, not walls that need more work. Most painters will tell you they can spot a good drywall job in the first five minutes—the prep work either happened or it didn’t.
Ready to get started?
You get full sheetrock installation from studs to paint-ready finish. That includes all materials—sheets, compound, tape, corner bead, fasteners. We handle the hanging, all three coats of mud, sanding, and cleanup. Dust containment is part of the process, not an upcharge.
For Springs homeowners dealing with renovation projects, we coordinate with your other trades. Electricians and plumbers need access before we close up walls. HVAC needs pathways. We work around that timeline because that’s how renovation projects actually work.
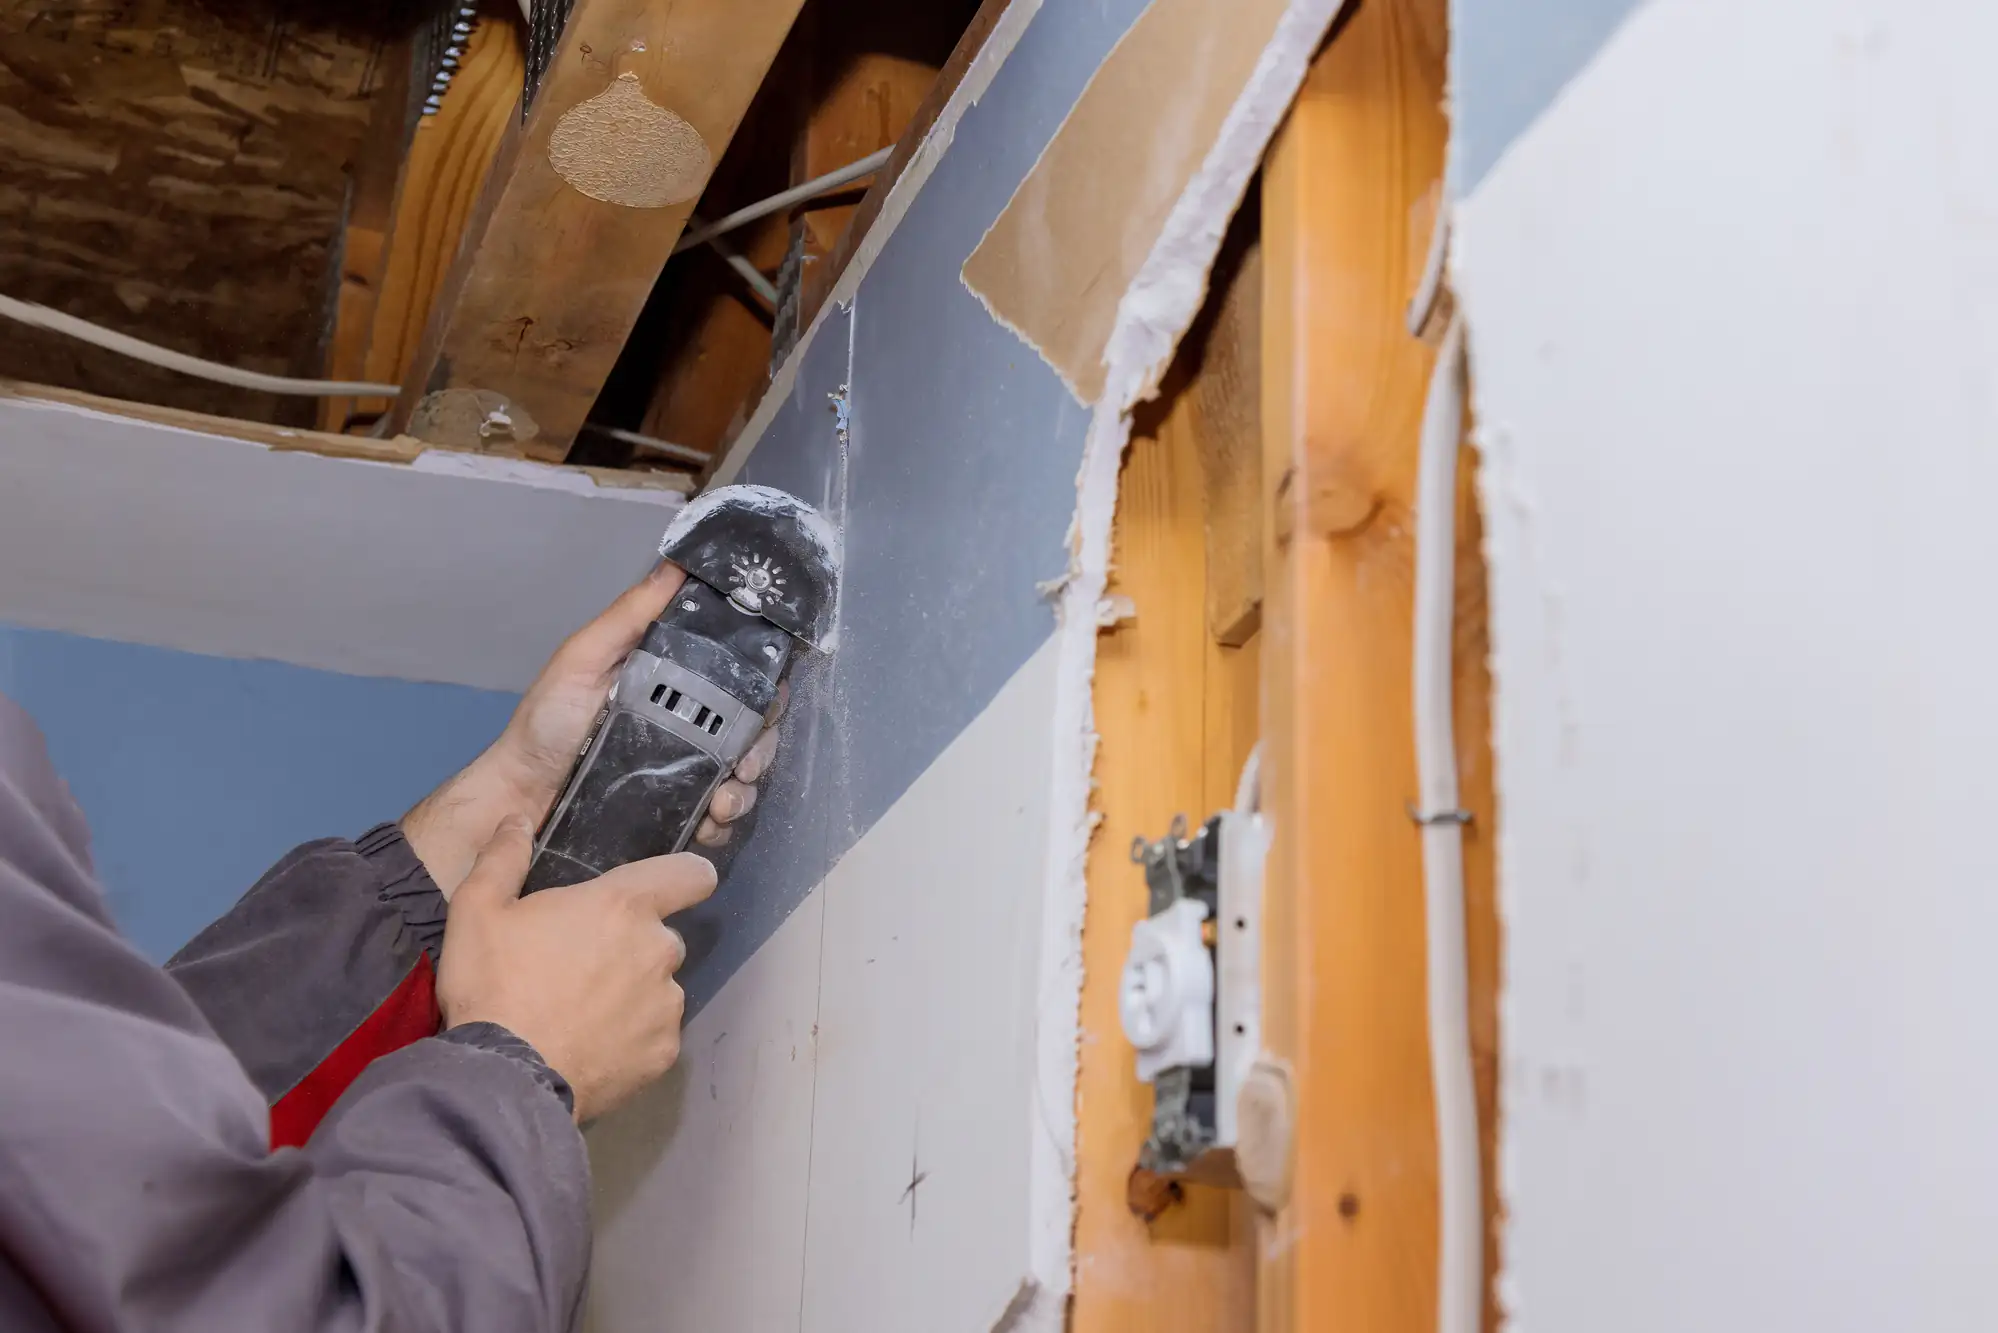
Repair work gets the same attention as new installation. Holes from old fixtures, water damage that needs cutting out, cracks from settling—we match your existing texture so the repair doesn’t announce itself. If your walls have that knockdown texture common in Springs homes from the 90s, we replicate it. If they’re smooth, we make the repair smooth.
Commercial drywall installation follows the same quality standards with added attention to fire rating requirements and ADA compliance where applicable. Suffolk County has specific codes for commercial spaces—we know them, we follow them, and we document them for your inspector.
A typical 12×14 room takes about three to four days from bare studs to paint-ready walls. That’s one day for hanging, two to three days for the three coats of mud with proper drying time between coats, and final sanding.
Trying to speed that up creates problems. Mud that isn’t fully dry will crack. Skipping coats means visible seams. We’ve repaired enough rushed jobs to know the timeline exists for good reasons.
Larger projects or rooms with complex angles, multiple windows, or high ceilings take longer. Repairs are usually faster—small holes can be done in a day or two, larger repairs might need three days depending on how many coats are required to blend the patch.
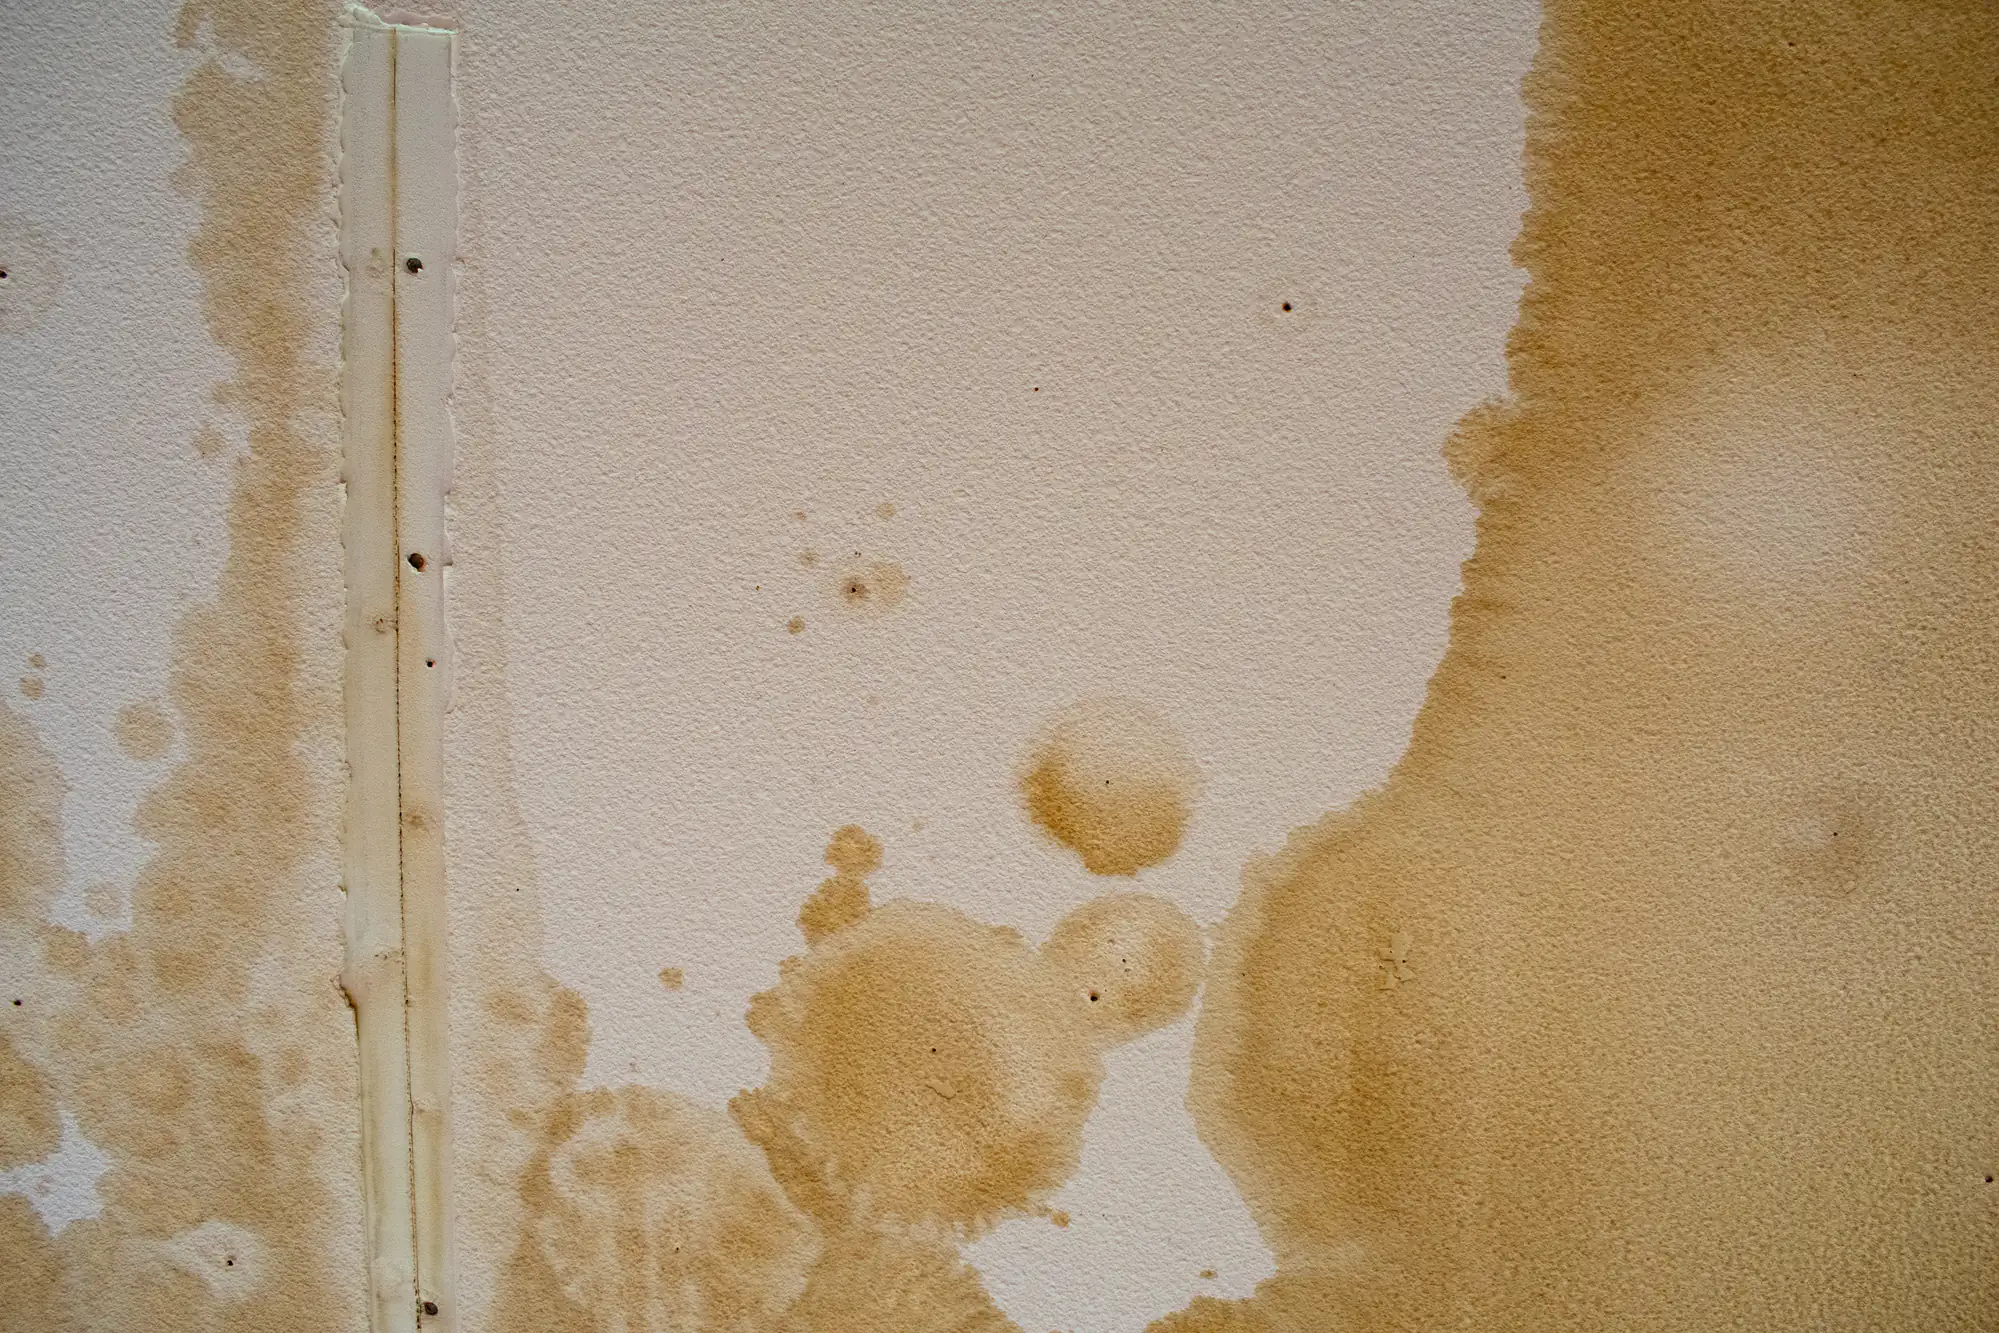
Moisture-resistant drywall (the green or purple board) has additives in the core and face paper that resist mold growth when exposed to humidity. Regular drywall will eventually break down in consistently damp conditions.
You need moisture-resistant in bathrooms, especially around tubs and showers. Kitchens benefit from it behind sinks and near dishwashers. Basements in Springs often need it due to coastal humidity—regular drywall in a basement can develop mold issues within a few years.
The cost difference is minimal, maybe 20% more per sheet. But the protection is significant. We’ve cut out enough moldy regular drywall from bathrooms to know it’s not worth the small savings. If the space gets regularly humid or has any water exposure risk, moisture-resistant is the right call.
Yes, texture matching is part of repair work. Most Springs homes have one of three textures: smooth, knockdown, or orange peel. Each requires different technique and tools to replicate accurately.
Smooth is actually the hardest—any imperfection shows. Knockdown (that flattened stipple look) is common in homes from the 80s and 90s. Orange peel is the light spray texture you see in newer construction. We carry the tools to match all of them.
The key is blending the repair into the surrounding area so your eye doesn’t catch the transition. That means feathering the edges of the patch wider than the actual damage and matching both the texture pattern and the depth. When it’s done right, you have to know where the repair was to find it. That’s the standard we work to.
We handle both, though the requirements differ. Residential sheetrock installation focuses on finish quality and matching existing conditions. Commercial drywall installation adds fire rating requirements, sound control specifications, and often more stringent inspection processes.
Commercial projects in Springs typically need Type X fire-rated drywall in specific locations—around stairwells, between units in multi-family buildings, and in mechanical rooms. The building inspector will verify this, so it needs to be documented and done correctly from the start.
We’re familiar with Suffolk County commercial building codes and work with inspectors regularly. The installation process is similar to residential, but material selection and documentation matter more. If your commercial project needs drywall work, we can walk you through what code requires for your specific situation.
Sheetrock installation typically runs between $1.50 and $3.00 per square foot for standard residential work, including materials and labor. That’s for new installation with standard finish. Repairs cost more per square foot because they’re more labor-intensive—expect $150 to $400 for typical hole repairs depending on size.
The range depends on ceiling height, room complexity, and finish level. A simple rectangular room with 8-foot ceilings costs less per square foot than a room with cathedral ceilings, multiple angles, or extensive trim work. Smooth finish (level 5) costs more than standard texture because it requires additional coats.
We provide written estimates before starting work. No hidden fees for “unexpected” conditions that any experienced contractor should anticipate. The estimate includes materials, labor, and cleanup. If we find something genuinely unexpected—like structural issues behind walls during a repair—we discuss it before proceeding, not after.
Clear the room of furniture and anything on the walls. Even with dust containment, drywall work creates fine dust that gets into everything. If we’re working in an occupied home, seal off the work area with plastic sheeting and cover HVAC vents.
Make sure electrical and plumbing rough-ins are complete and inspected if required. We can’t hang drywall until those trades finish their behind-the-wall work. For renovations, verify that insulation is in place if your project includes it.
If you’re keeping flooring in the space, we’ll protect it, but removing it makes the job cleaner and eliminates any risk of damage. For whole-house projects, consider moving out during the sanding phase—it’s the dustiest part of the process even with good containment. We’ll give you a timeline so you can plan around the messiest days.