
Hear from Our Customers
You’re looking at cracked corners. Uneven seams. Nail pops showing through fresh paint. Maybe you tried the DIY route and realized those 4×8 sheets are heavier and more awkward than you expected. Or maybe your last contractor left you with a mess that needed fixing before the job was even done.
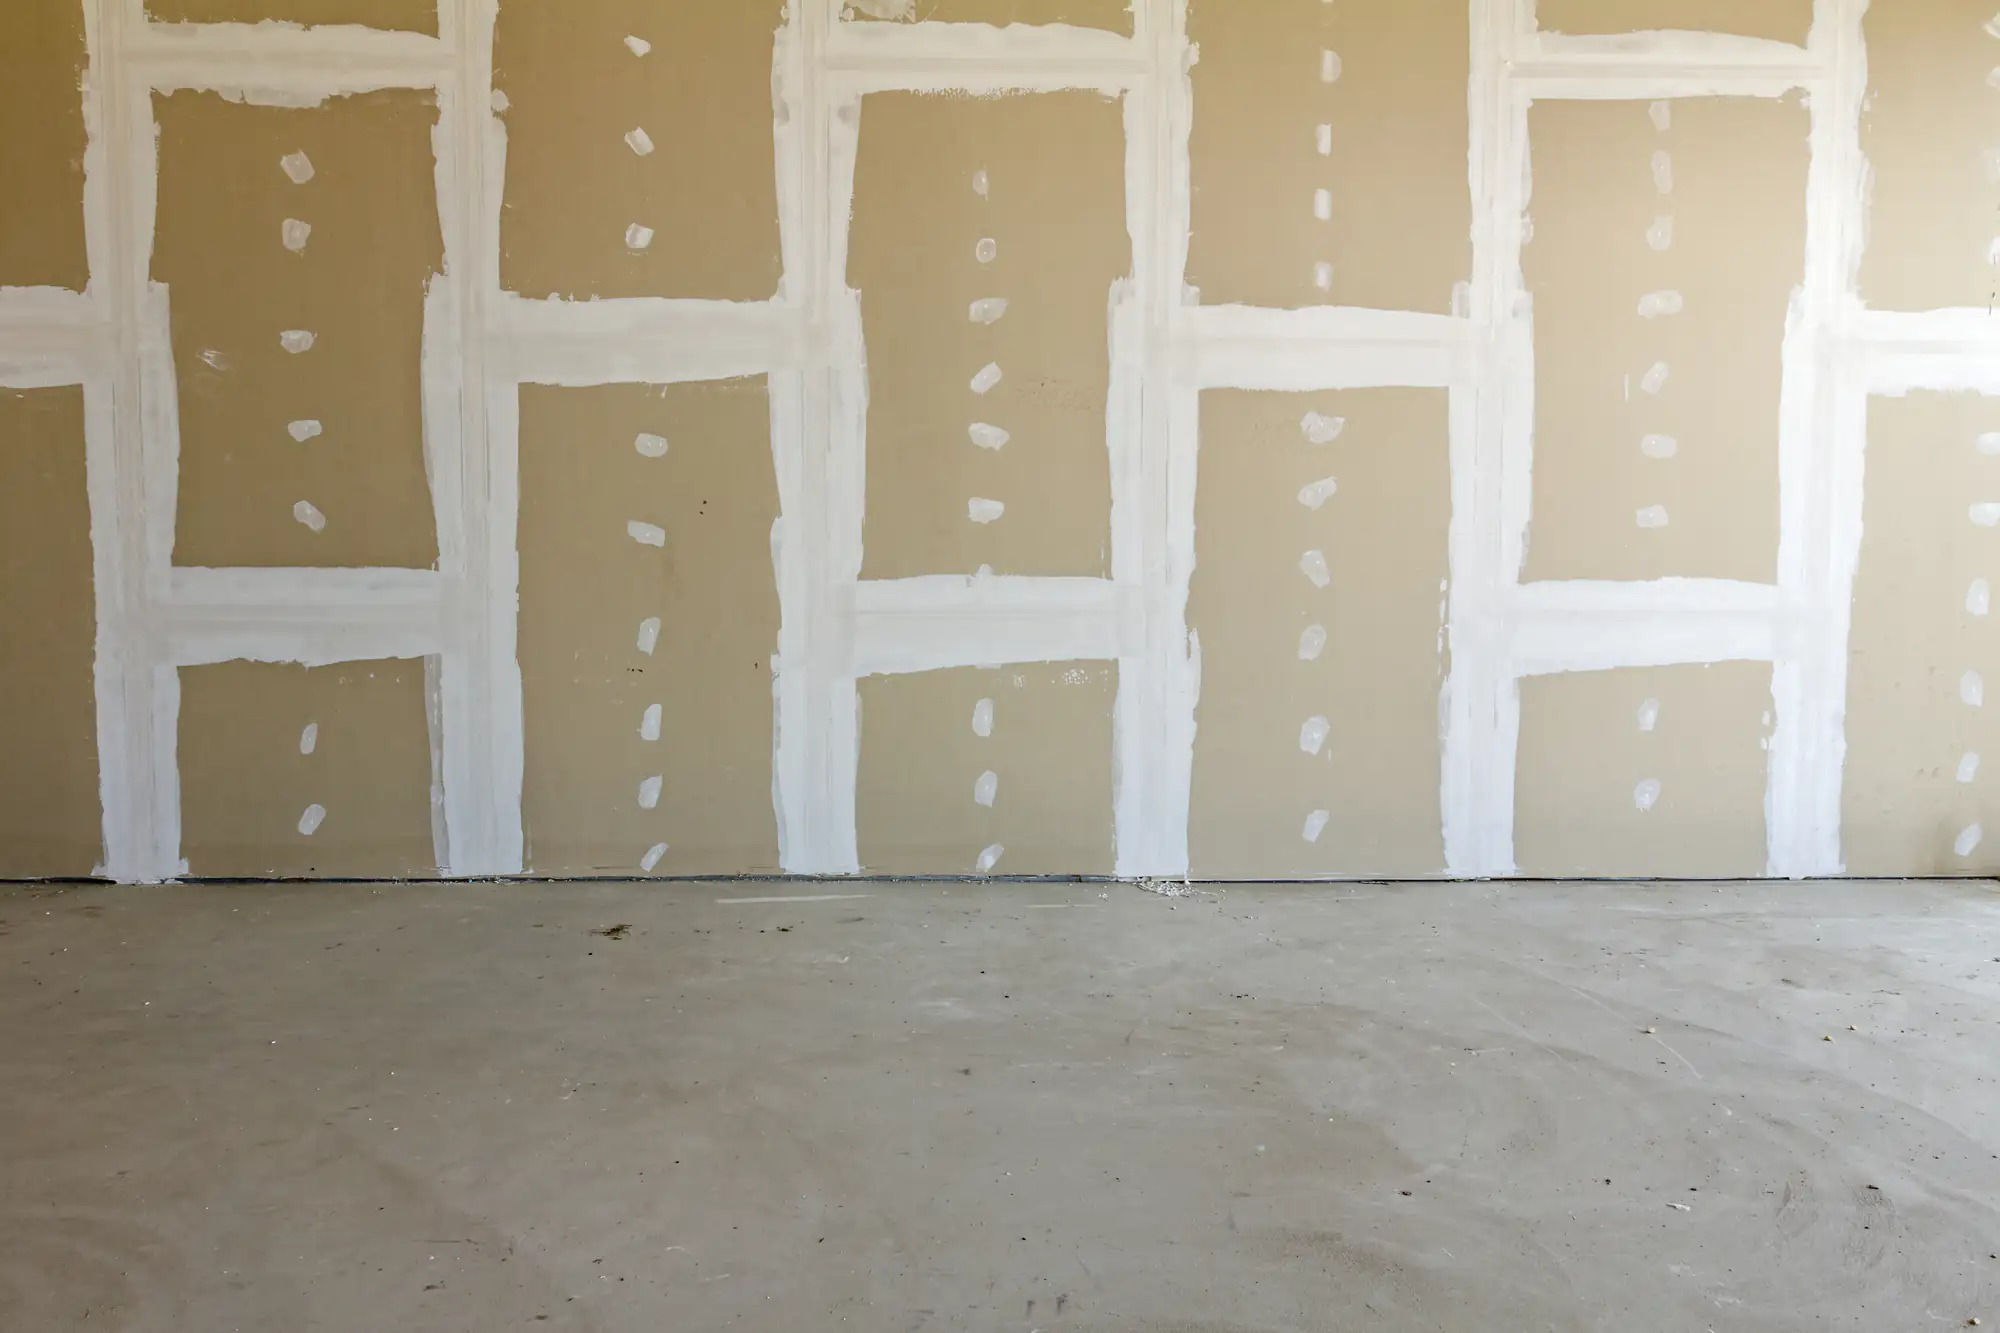
Here’s what changes when the work is done right. Your walls are smooth—actually smooth, not just “good enough.” Seams disappear. Corners stay tight. The finish holds up through humidity, temperature shifts, and daily wear without cracking or sagging.
You’re not dealing with change orders or surprise fees halfway through the job. You know what you’re paying before work starts, and that number doesn’t move. The timeline is clear, the crew shows up when they say they will, and you’re not left wondering what’s happening or when it’ll be finished.
That’s the difference between hiring someone who knows sheetrock and hiring someone who treats it like an afterthought. You get walls that look clean, last long, and don’t need a redo six months later.
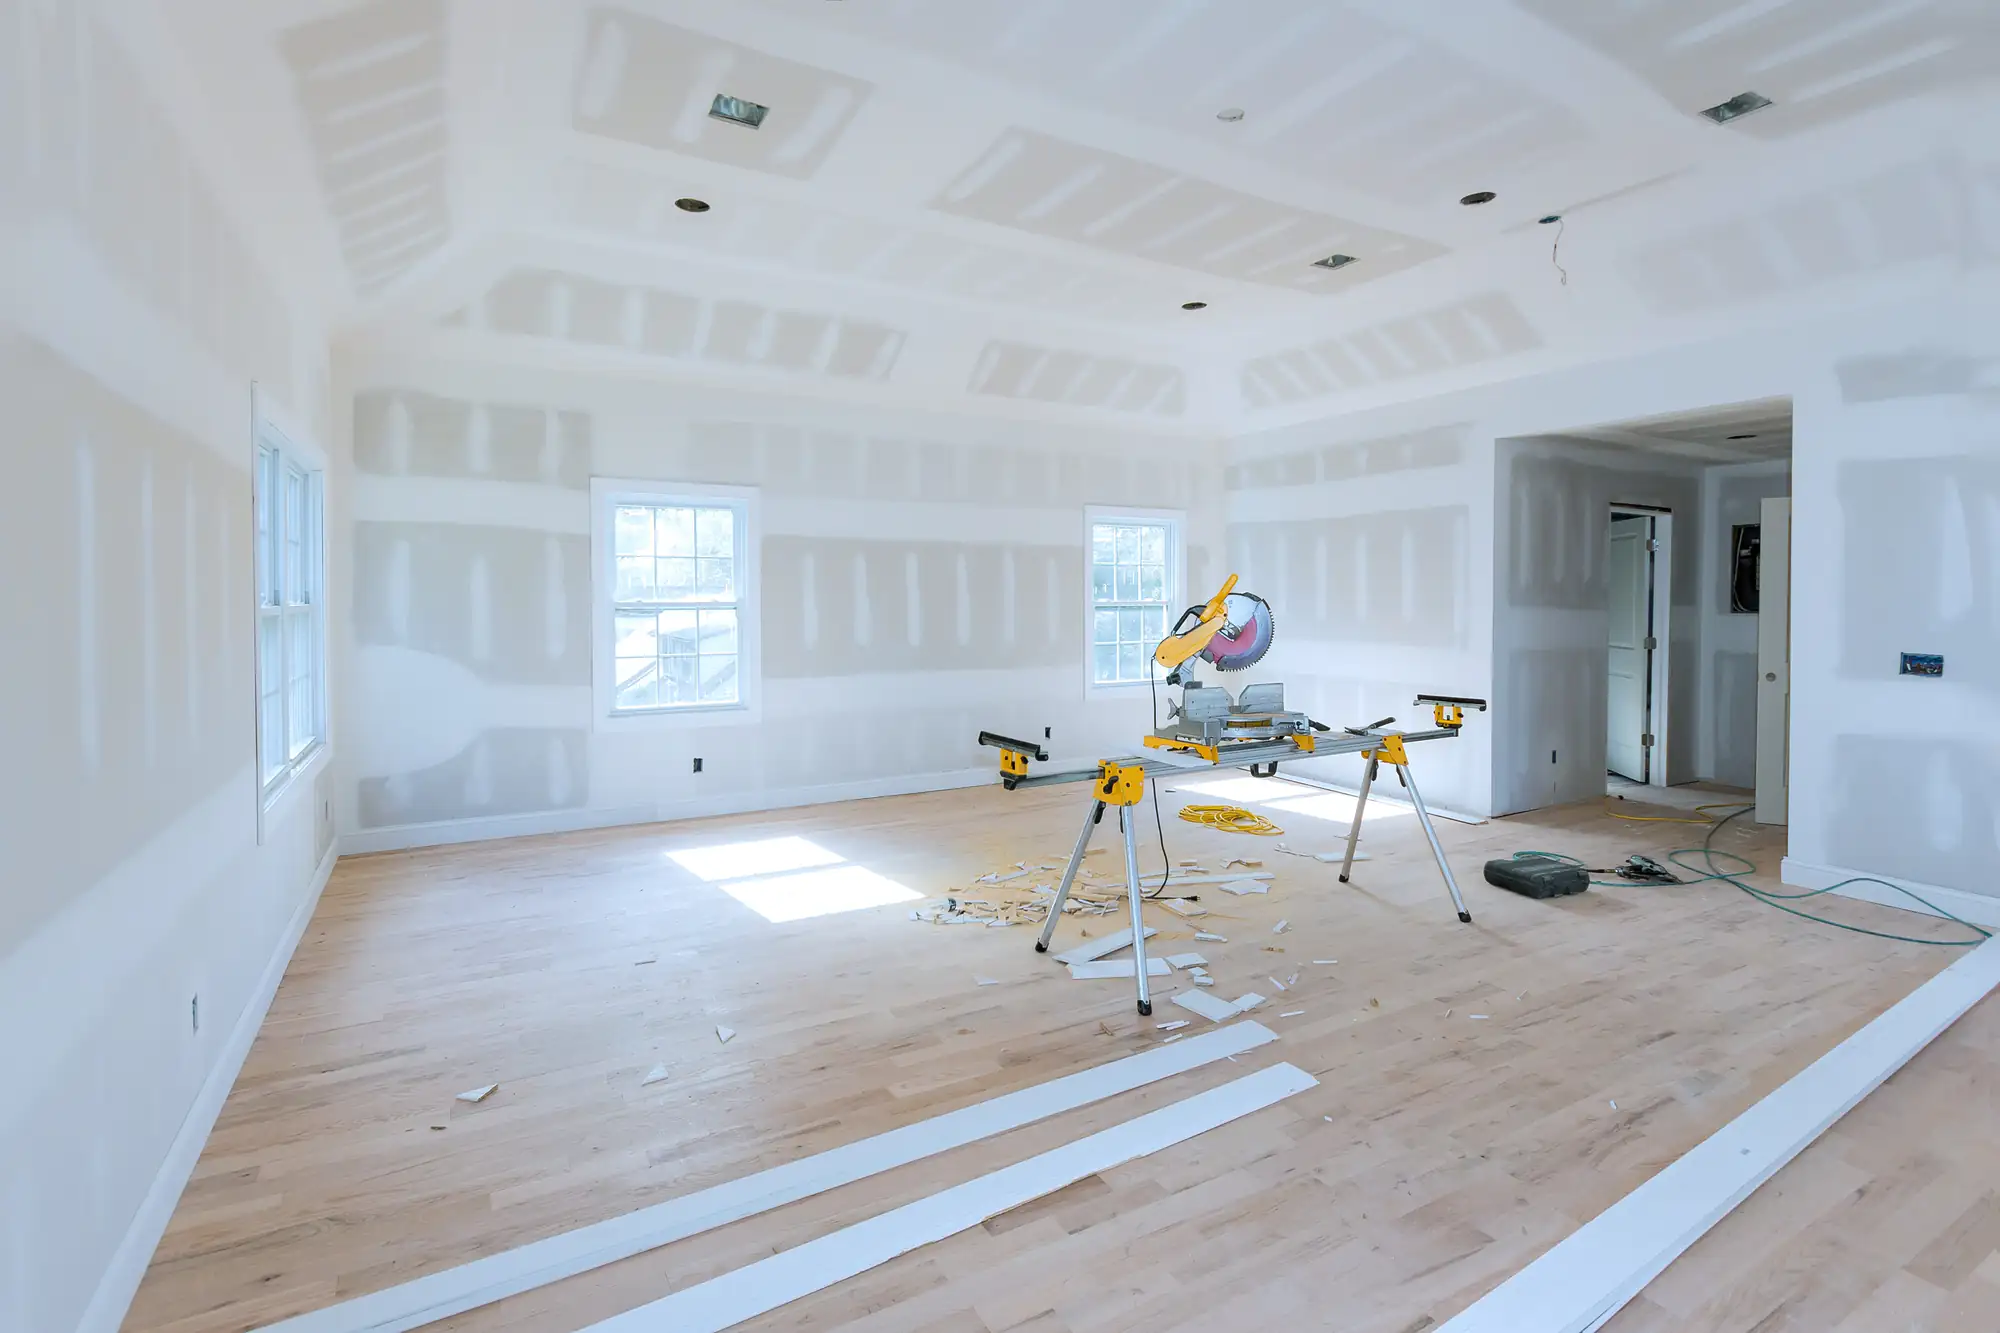
We’ve been doing this work in Hampton Bays and across Suffolk County for almost ten years. Not subbing it out. Not rushing through to get to the next job. Actually hanging, taping, and finishing sheetrock the way it’s supposed to be done.
You’re working with a team that handles the full scope—framing prep, material selection, installation, taping, mudding, sanding, and cleanup. We’re not handing pieces of your project off to someone else and hoping it goes well. We’re accountable from start to finish.
Hampton Bays homeowners deal with coastal humidity, older home layouts, and the reality that not every wall is perfectly square. We’ve worked in enough homes here to know what to expect and how to handle it without making excuses or adding costs. You get straight answers, fair pricing, and work that holds up in the conditions your home actually faces.
It starts with a walkthrough. We look at the space, check the framing, talk through what you’re trying to accomplish, and give you a clear price. No pressure, no upselling—just an honest assessment of what the job requires.
Once we’re on site, we handle the prep work. That means making sure studs are aligned, framing is solid, and everything is ready for clean installation. If something’s off, we fix it before hanging the first sheet. Skipping that step is how you end up with wavy walls and seams that crack.
Then comes installation. We measure, cut, and hang each sheet with attention to layout and joint placement. Fewer seams mean fewer potential problem areas. Proper fastening means no pops or sags later. We’re using the right screws, the right spacing, and the right techniques to make sure everything stays put.
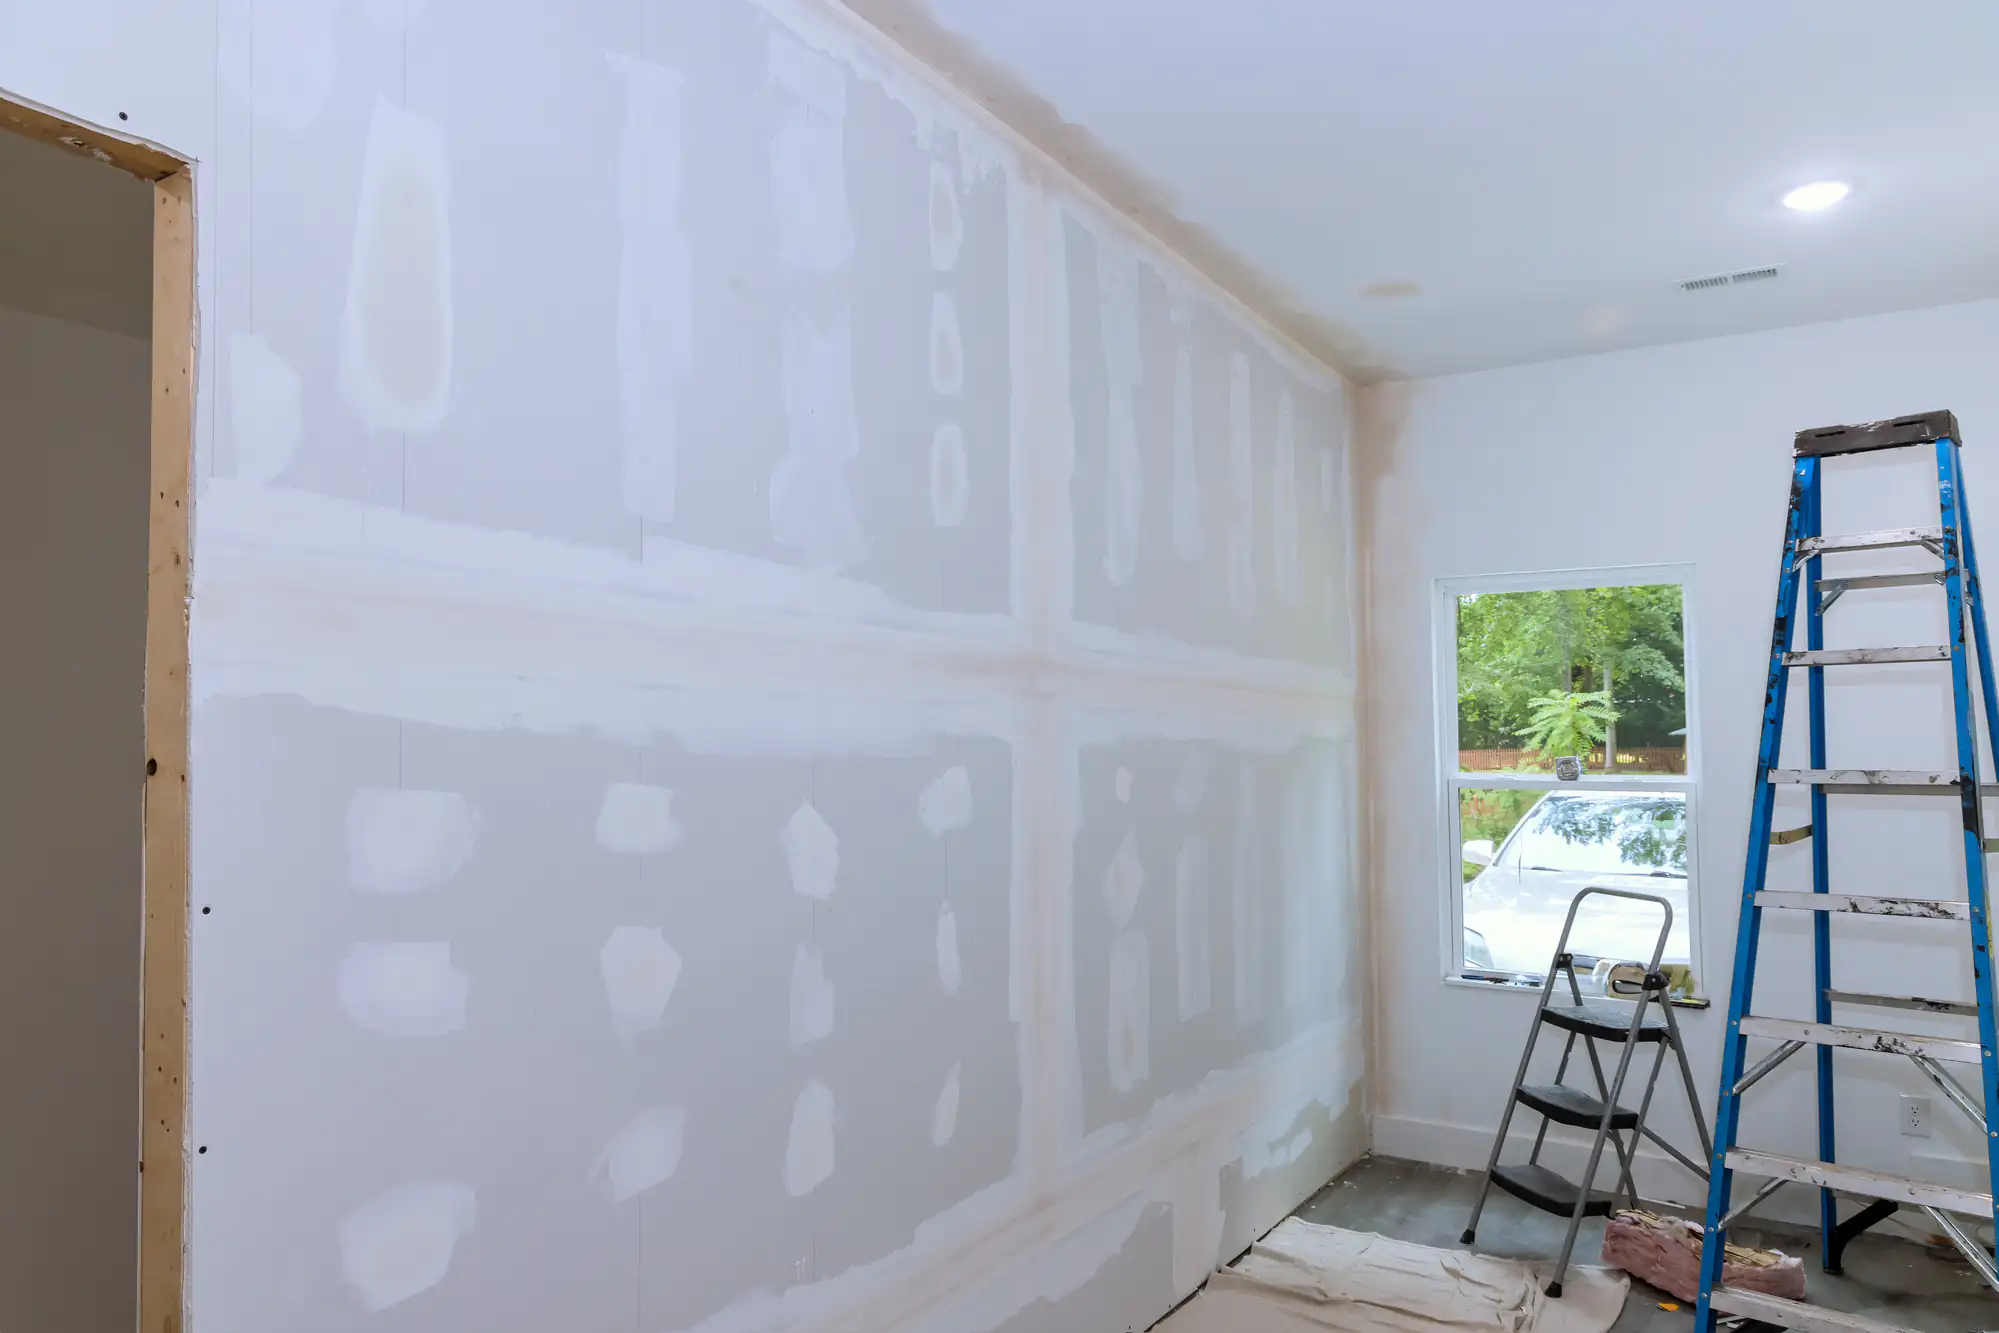
After that, it’s taping and mudding. Multiple coats, proper drying time between each one, and sanding that leaves you with a surface ready for paint. We don’t rush this part. It’s where good work separates from work that just looks okay until the light hits it wrong.
Cleanup happens as we go, and when we’re done, you’re left with walls ready for whatever comes next—paint, texture, trim, or just enjoying a room that finally looks the way it should.
Ready to get started?
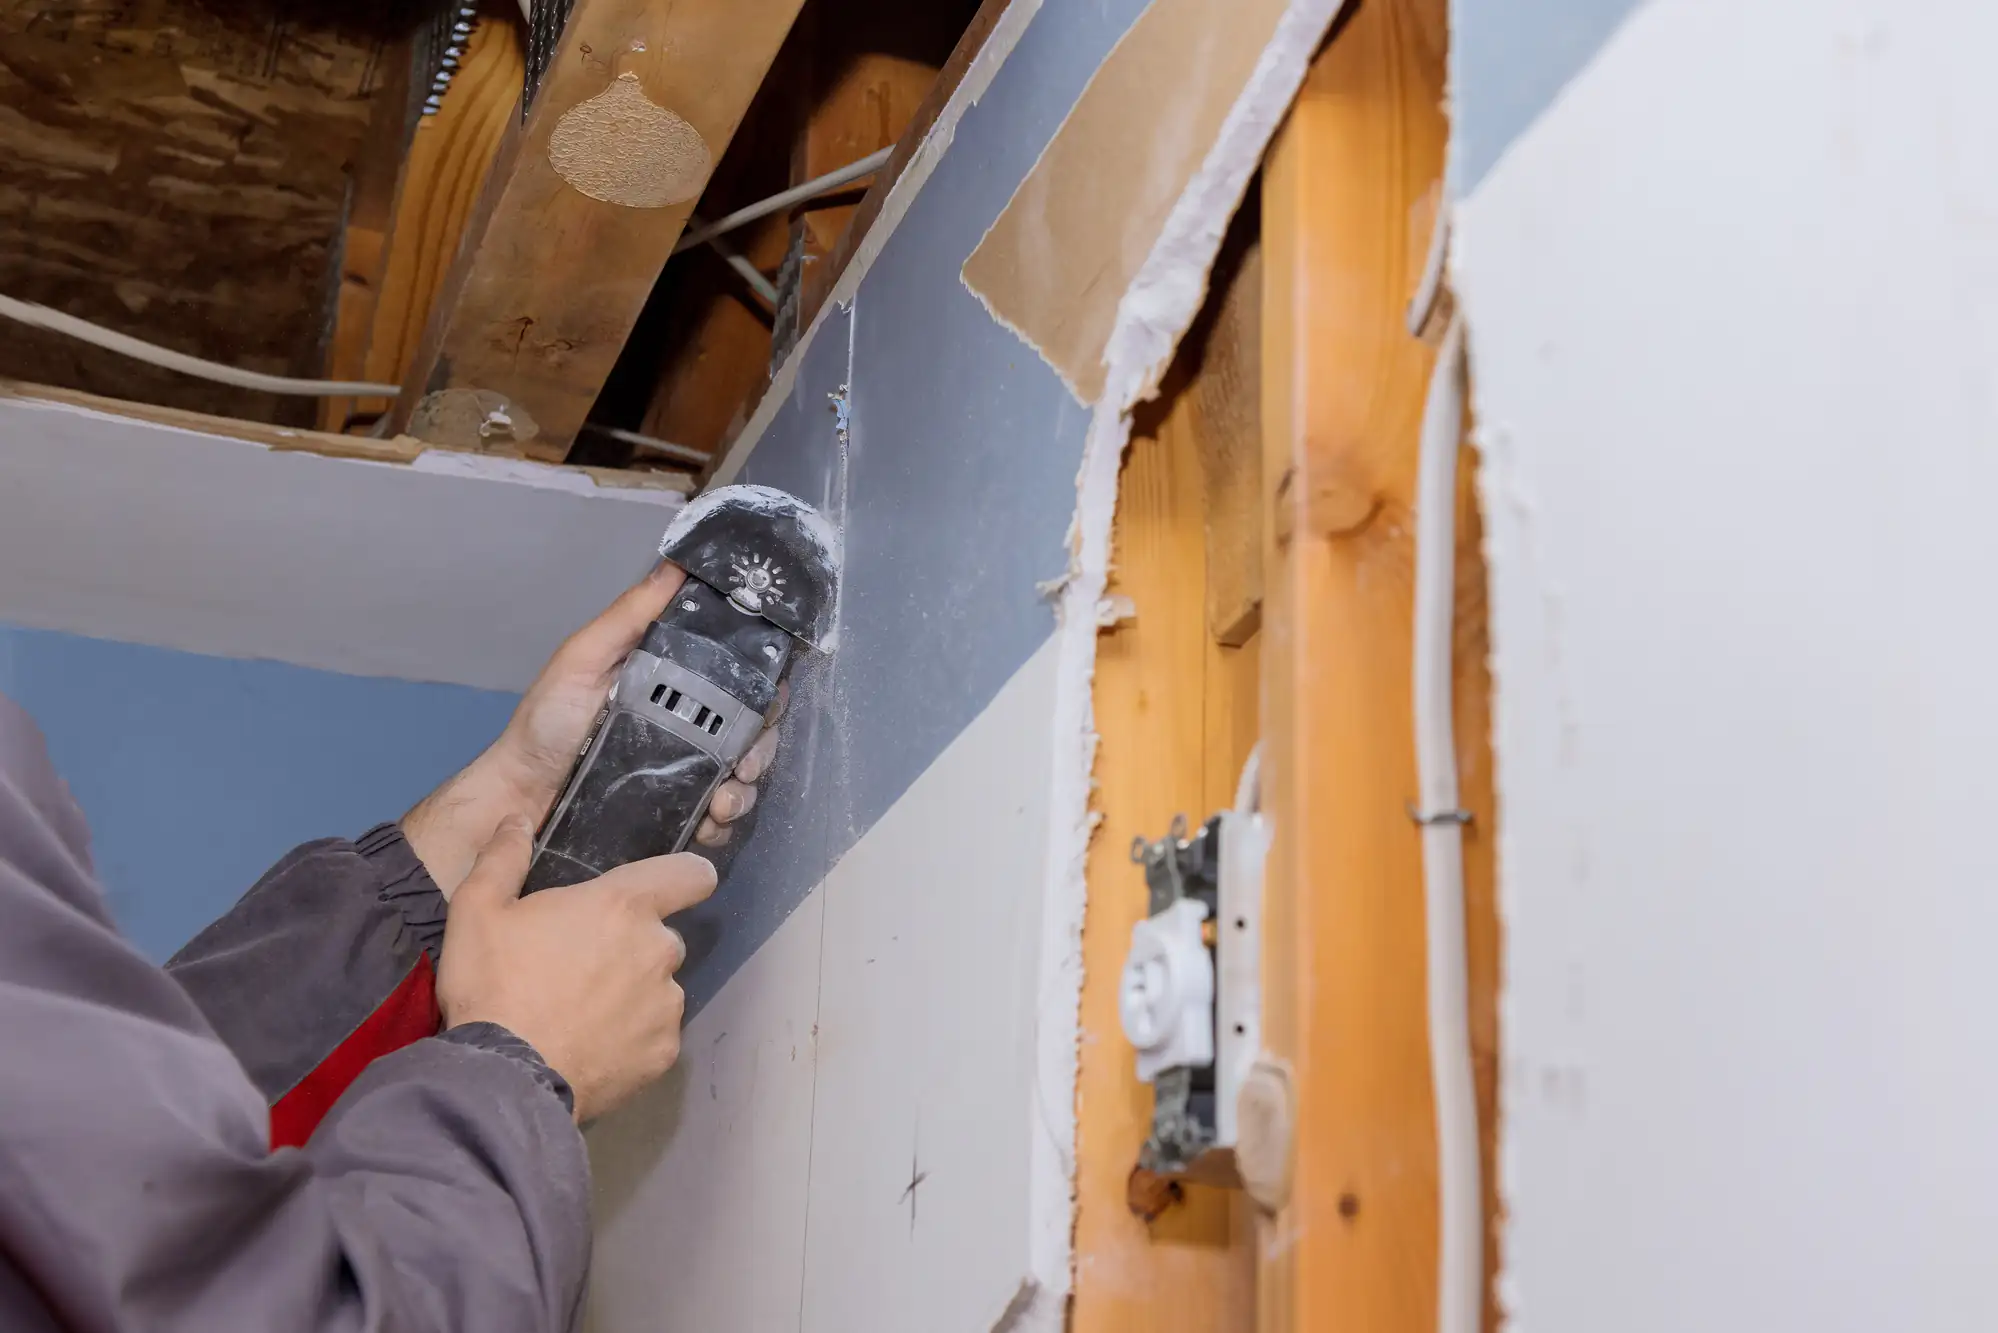
You’re getting full-service sheetrock work. That includes hanging new drywall for renovations, or new construction. It includes repairing damaged sections—whether that’s from water, impact, or just age. And it includes finishing work that leaves surfaces smooth and ready for whatever finish you’re planning.
We handle moisture-prone areas like bathrooms and basements with the right materials. Standard drywall doesn’t hold up well in high-humidity spaces, so we use moisture-resistant or mold-resistant board where it makes sense. Same goes for fire-rated drywall in garages or near furnaces—it’s about using the right product for the right application.
Hampton Bays homes range from newer builds to older properties with unique layouts and challenges. We’ve worked in beach cottages with uneven framing, older colonials with plaster-over-lath that needed replacing, and newer homes where precision and speed both matter. Every project gets the same attention to detail, whether it’s a single room or a whole-house renovation.
You’re also getting honest communication. If we find an issue—bad framing, hidden damage, something that needs addressing before we can move forward—you’ll know about it right away, along with what it’ll take to fix it and what it’ll cost. No surprises, no blame games, just clear information so you can make the right call.
For most residential projects, you’re looking at about a week to ten days from start to finish. That includes hanging, taping, mudding, and final sanding. Smaller jobs—like a single room or a repair—can be done faster, sometimes in a few days.
The timeline depends on the size of the space, how many coats of mud are needed, and drying time between coats. We don’t rush the drying process because that’s how you end up with cracks and uneven surfaces. Each coat needs time to cure properly before sanding and applying the next layer.
If you’re doing sheetrock as part of a larger renovation, we coordinate with your other trades so there’s no downtime or overlap issues. You’ll know the schedule upfront, and we stick to it unless something unexpected comes up—in which case, you’ll hear about it immediately, not after the fact.
Nothing. Sheetrock is a brand name that became so common people use it to describe all drywall, kind of like how people say “Kleenex” instead of tissue. Drywall, gypsum board, wallboard, sheetrock—they’re all the same product.
That said, not all drywall is created equal. Standard drywall works fine for most interior walls and ceilings. Moisture-resistant drywall (often called green board) is better for bathrooms, laundries, and basements. Mold-resistant drywall adds another layer of protection in high-humidity areas. Fire-rated drywall (Type X) is required in certain applications like garages and around furnaces.
We’ll recommend the right type based on where it’s going and what building codes require. You don’t need to know the technical specs—we handle that part. But if you want to understand why we’re suggesting one product over another, we’re happy to explain it in plain terms.
Yes, in most cases. Matching texture is part of making a repair invisible. Whether it’s orange peel, knockdown, skip trowel, or something custom, we can replicate it so the patched area blends with the rest of the wall or ceiling.
The process involves finishing the repair smooth first, then applying texture to match what’s already there. Sometimes that means using a spray texture, sometimes it’s hand-applied with a trowel or brush. We test it on scrap material first to make sure it’s a close match before applying it to your wall.
If your existing texture is old or unusual, it might take a little extra work to get it right, but it’s doable. The goal is that once it’s painted, you can’t tell where the repair was. That’s the standard we’re aiming for, whether it’s a small patch or a larger section.
It depends on the scope of the job. For whole-room or whole-house sheetrock installation, yes—you’ll want to clear the space or at least move everything to the center and cover it. Drywall work creates dust, even with good containment practices, and we need clear access to walls and ceilings.
For smaller repairs, we can often work around furniture. We’ll use drop cloths and plastic sheeting to protect your floors and belongings, and we do our best to contain dust with sanding tools that have vacuum attachments. But there’s no such thing as zero dust with drywall work—it’s part of the process.
We’ll talk through what needs to happen during the walkthrough so you’re not caught off guard. If moving heavy furniture is an issue, let us know. We can help shift things around or work in stages so you’re not living in total chaos. The goal is to get the work done with as little disruption as possible while still doing it right.
Most residential sheetrock projects in Hampton Bays run between a few hundred dollars for small repairs and several thousand for full-room or whole-house installations. The cost depends on square footage, ceiling height, the complexity of the layout, and what type of drywall you need.
A straightforward bedroom with standard 8-foot ceilings costs less than a vaulted living room with angles and cutouts. Repairs are priced based on the size of the damaged area and how much prep work is involved. If framing needs fixing or insulation needs replacing, that affects the price too.
We give you a clear, written estimate after seeing the space. That number includes materials, labor, and cleanup—no hidden fees or surprise charges. If something comes up during the job that changes the scope, we talk to you about it before moving forward. You’ll always know what you’re paying and why.
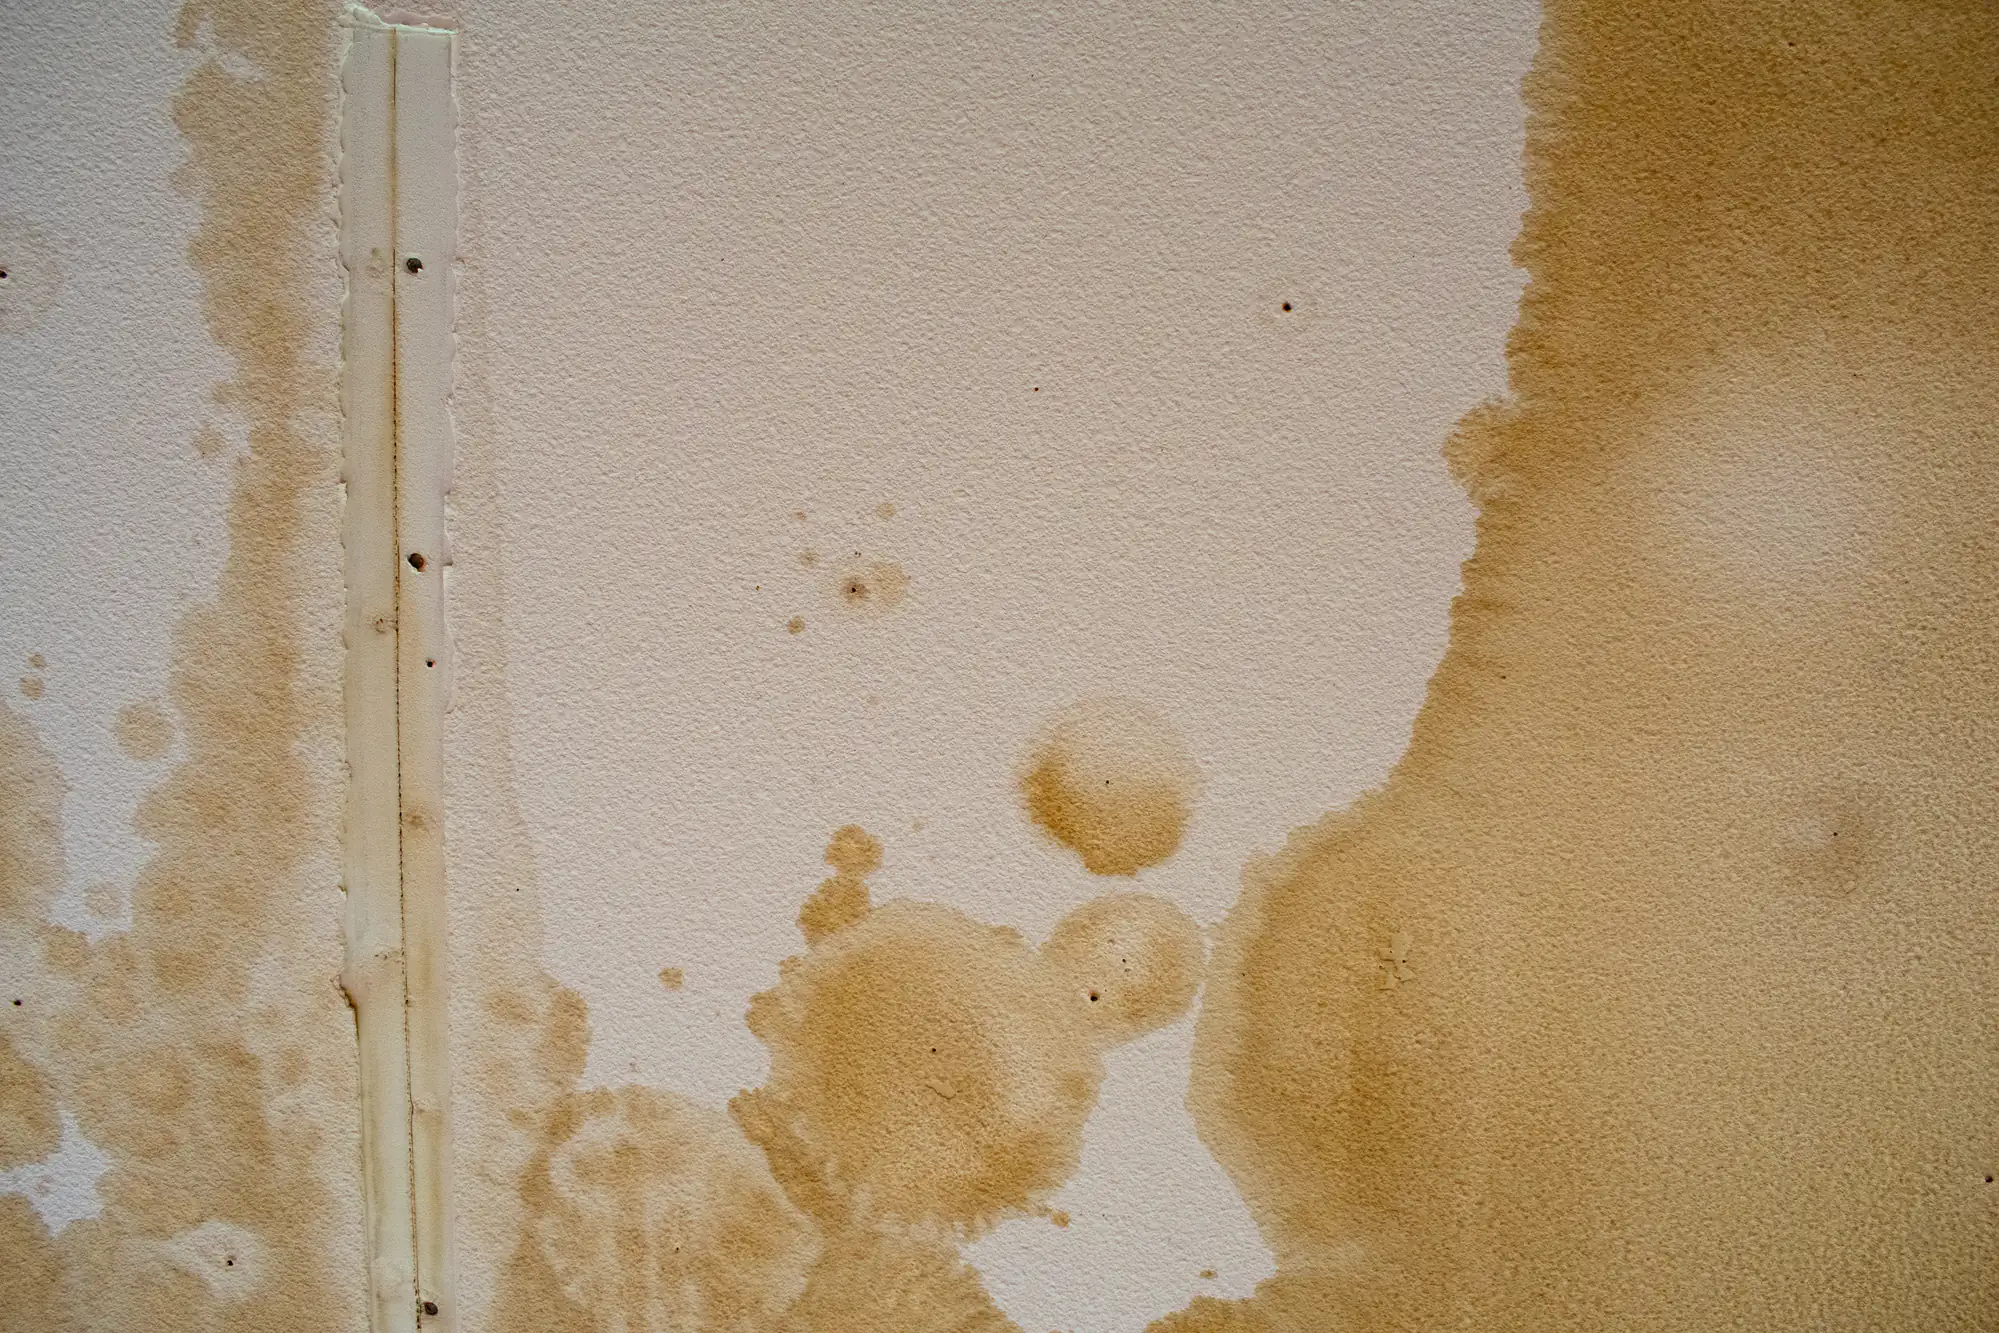
Cracks usually come from one of three things: settling, improper installation, or moisture. Settling happens in all homes, especially newer ones, as the structure adjusts. Improper installation—like not taping seams correctly or using too few fasteners—creates weak points that crack under stress. Moisture causes the gypsum core to break down, leading to sagging and cracking.
Prevention starts with proper technique. That means using the right fastener spacing, taping all seams with quality joint compound, and applying enough coats to build a strong, flexible joint. It also means using the right drywall for the location—moisture-resistant board in bathrooms, proper ventilation in basements, and making sure framing is solid before hanging anything.
If you’re seeing cracks in existing sheetrock, we can assess what’s causing them. Sometimes it’s a simple fix—retape and refinish. Other times it points to a bigger issue like a structural shift or water intrusion that needs addressing first. We’ll tell you what we find and what it’ll take to fix it for good, not just cover it up temporarily.
Other Services we provide in Hampton Bays