
Hear from Our Customers
You’ve probably seen what happens when drywall goes wrong. Visible seams that catch the light. Corners that don’t line up. Patches that stand out no matter how many coats of paint you add.
That’s what happens when installation gets rushed or when someone thinks watching a few videos makes them qualified. The wall might look okay at first, but give it a few weeks and every imperfection shows up.
Professional sheetrock installation means you get walls that are actually ready for paint. The seams disappear. The corners are crisp. The surface is smooth enough that you’re not second-guessing your finish choice. You’re working with someone who knows how different drywall types work in different spaces—standard half-inch for most rooms, thicker five-eighths for garages, moisture-resistant for bathrooms and basements.
The difference isn’t just how it looks. It’s knowing the job was done right, with proper materials, correct techniques, and no surprises when the bill comes.
We’ve been handling interior renovations across Smithtown and Suffolk County since 2016. We’re licensed, insured, and bonded—not because it sounds good, but because it protects you if something actually goes wrong.
Most of our work comes from referrals, which tells you something about how we operate. We don’t play games with pricing. We don’t disappear for weeks between estimate and start date. We show up when we say we will, protect your floors and furniture, and clean up when we’re done.
Smithtown homes come with their own challenges—older construction, varying wall thicknesses, unique layouts. We’ve worked in enough houses here to know what to expect and how to handle it without turning a simple repair into a three-week ordeal.
First, we measure and assess what you’re working with. If it’s new installation, we’re looking at stud spacing and room dimensions. If it’s repair work, we’re figuring out how much needs to come out and what’s salvageable.
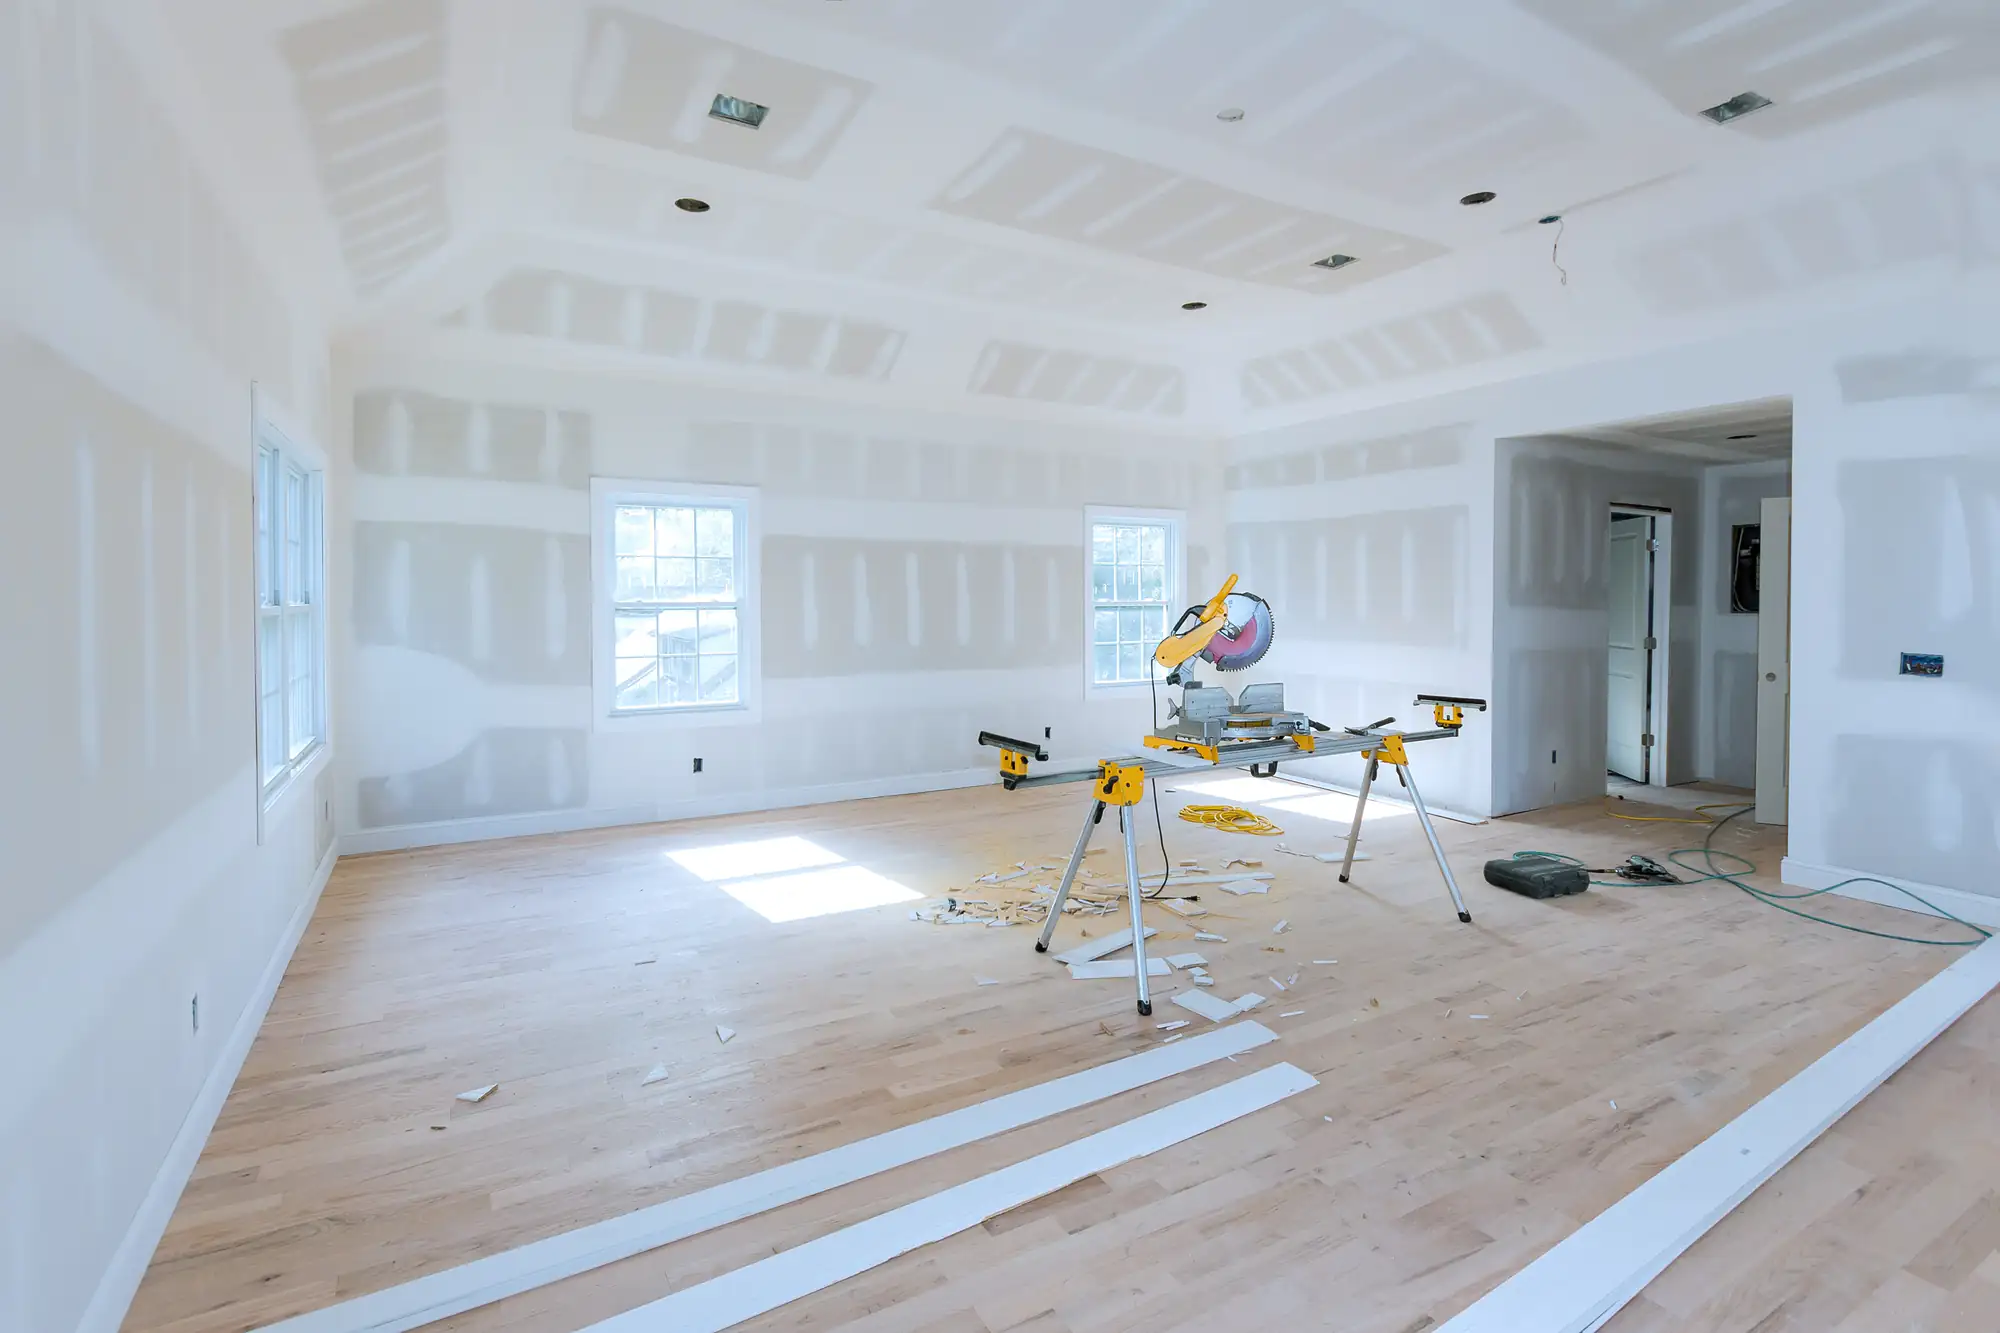
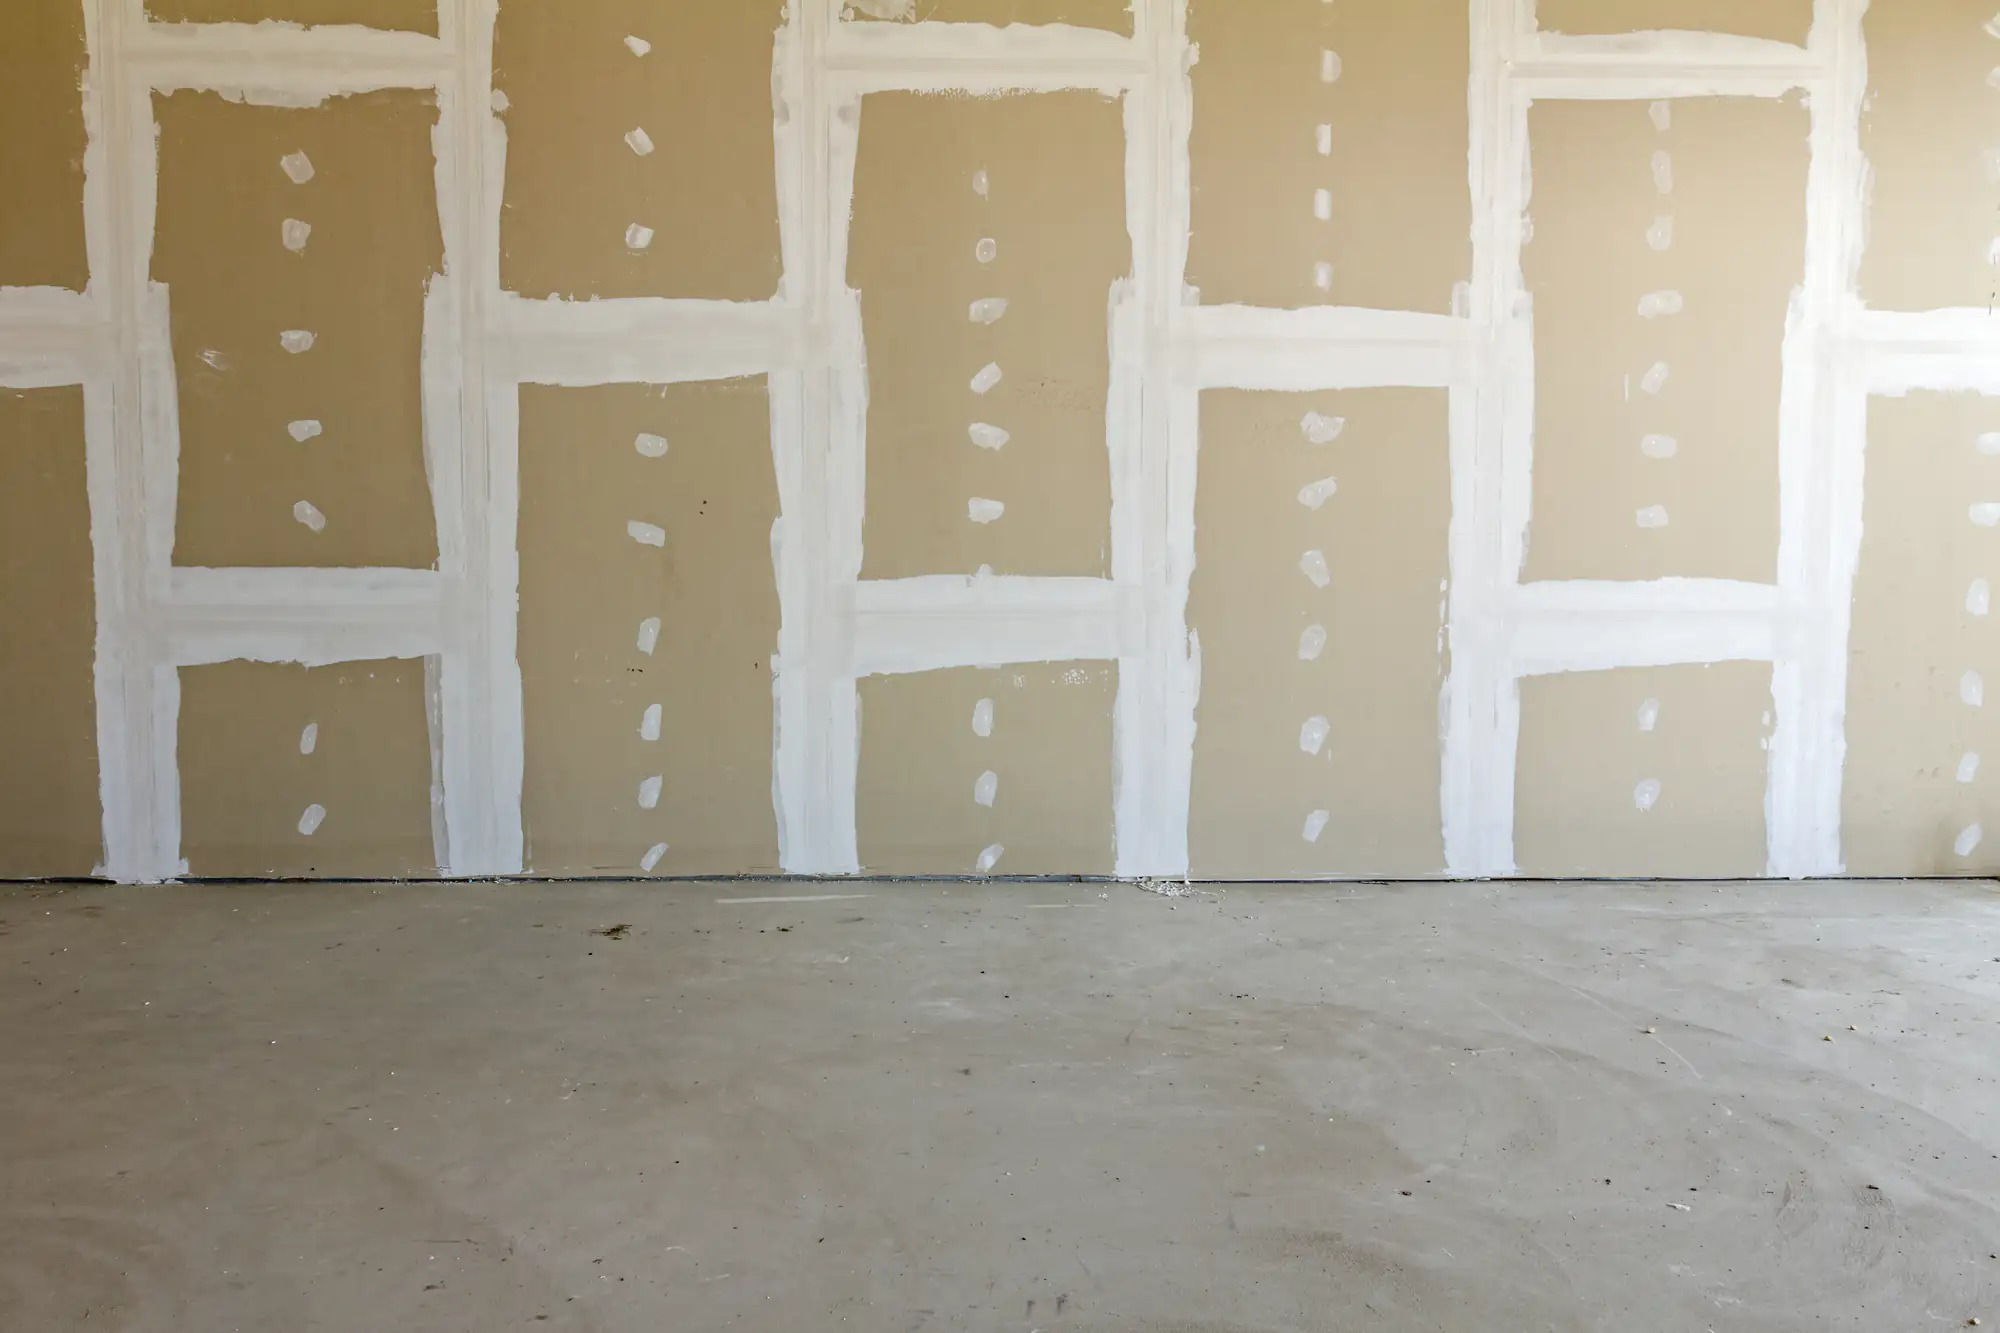
Next comes the actual installation. Sheets get cut to fit, secured to studs or joists, and positioned so seams fall where they’re supposed to. This isn’t the part that looks impressive—it’s just precise, methodical work that sets up everything else.
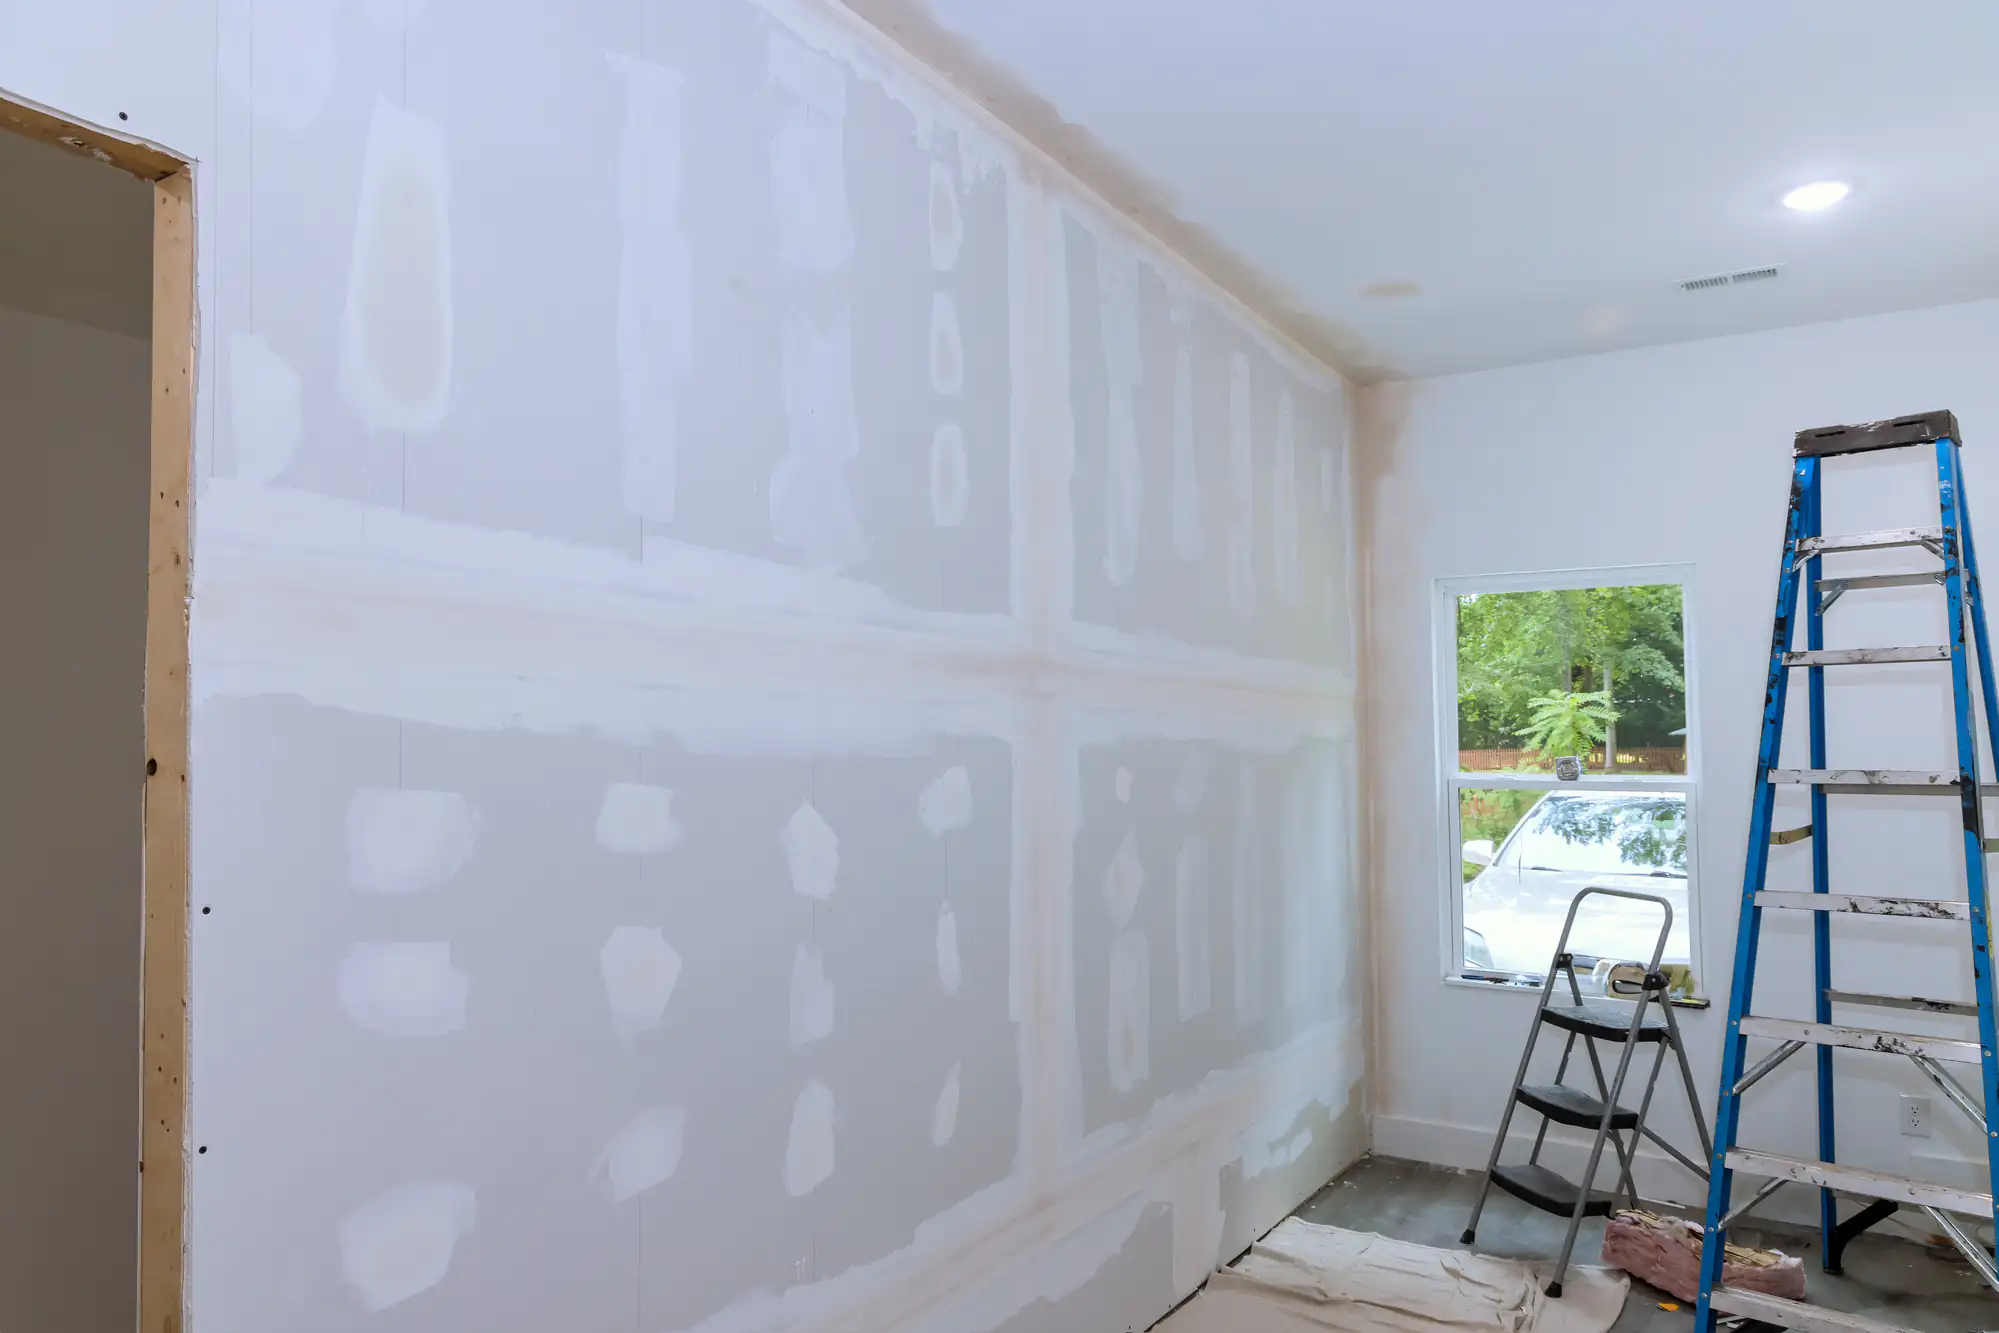
Then comes taping and mudding. This is where most DIY jobs fall apart and where experience actually matters. We apply joint compound to seams and screw holes, tape the joints, and build up layers until the surface is completely smooth. Each layer needs to dry properly before the next goes on.
Finally, we sand everything down using dustless equipment so your home doesn’t turn into a construction zone. What you’re left with is a surface that’s ready for primer and paint—no bumps, no ridges, no visible seams.
The timeline depends on the scope, but we’ll tell you upfront what to expect. Most residential projects take a few days once we start.
Ready to get started?
You get the right materials for your specific space. That means moisture-resistant drywall in bathrooms and basements where humidity is an issue. It means fire-rated drywall in garages where code requires it. Standard half-inch sheets work fine for most living spaces, but we’re not cutting corners just to save a few dollars on materials.
Installation includes proper fastening, correct spacing, and attention to how sheets align. Taping covers every seam and corner with fiberglass mesh or paper tape, depending on what works best. Mudding involves multiple coats of joint compound, each one feathered out and smoothed so transitions disappear.
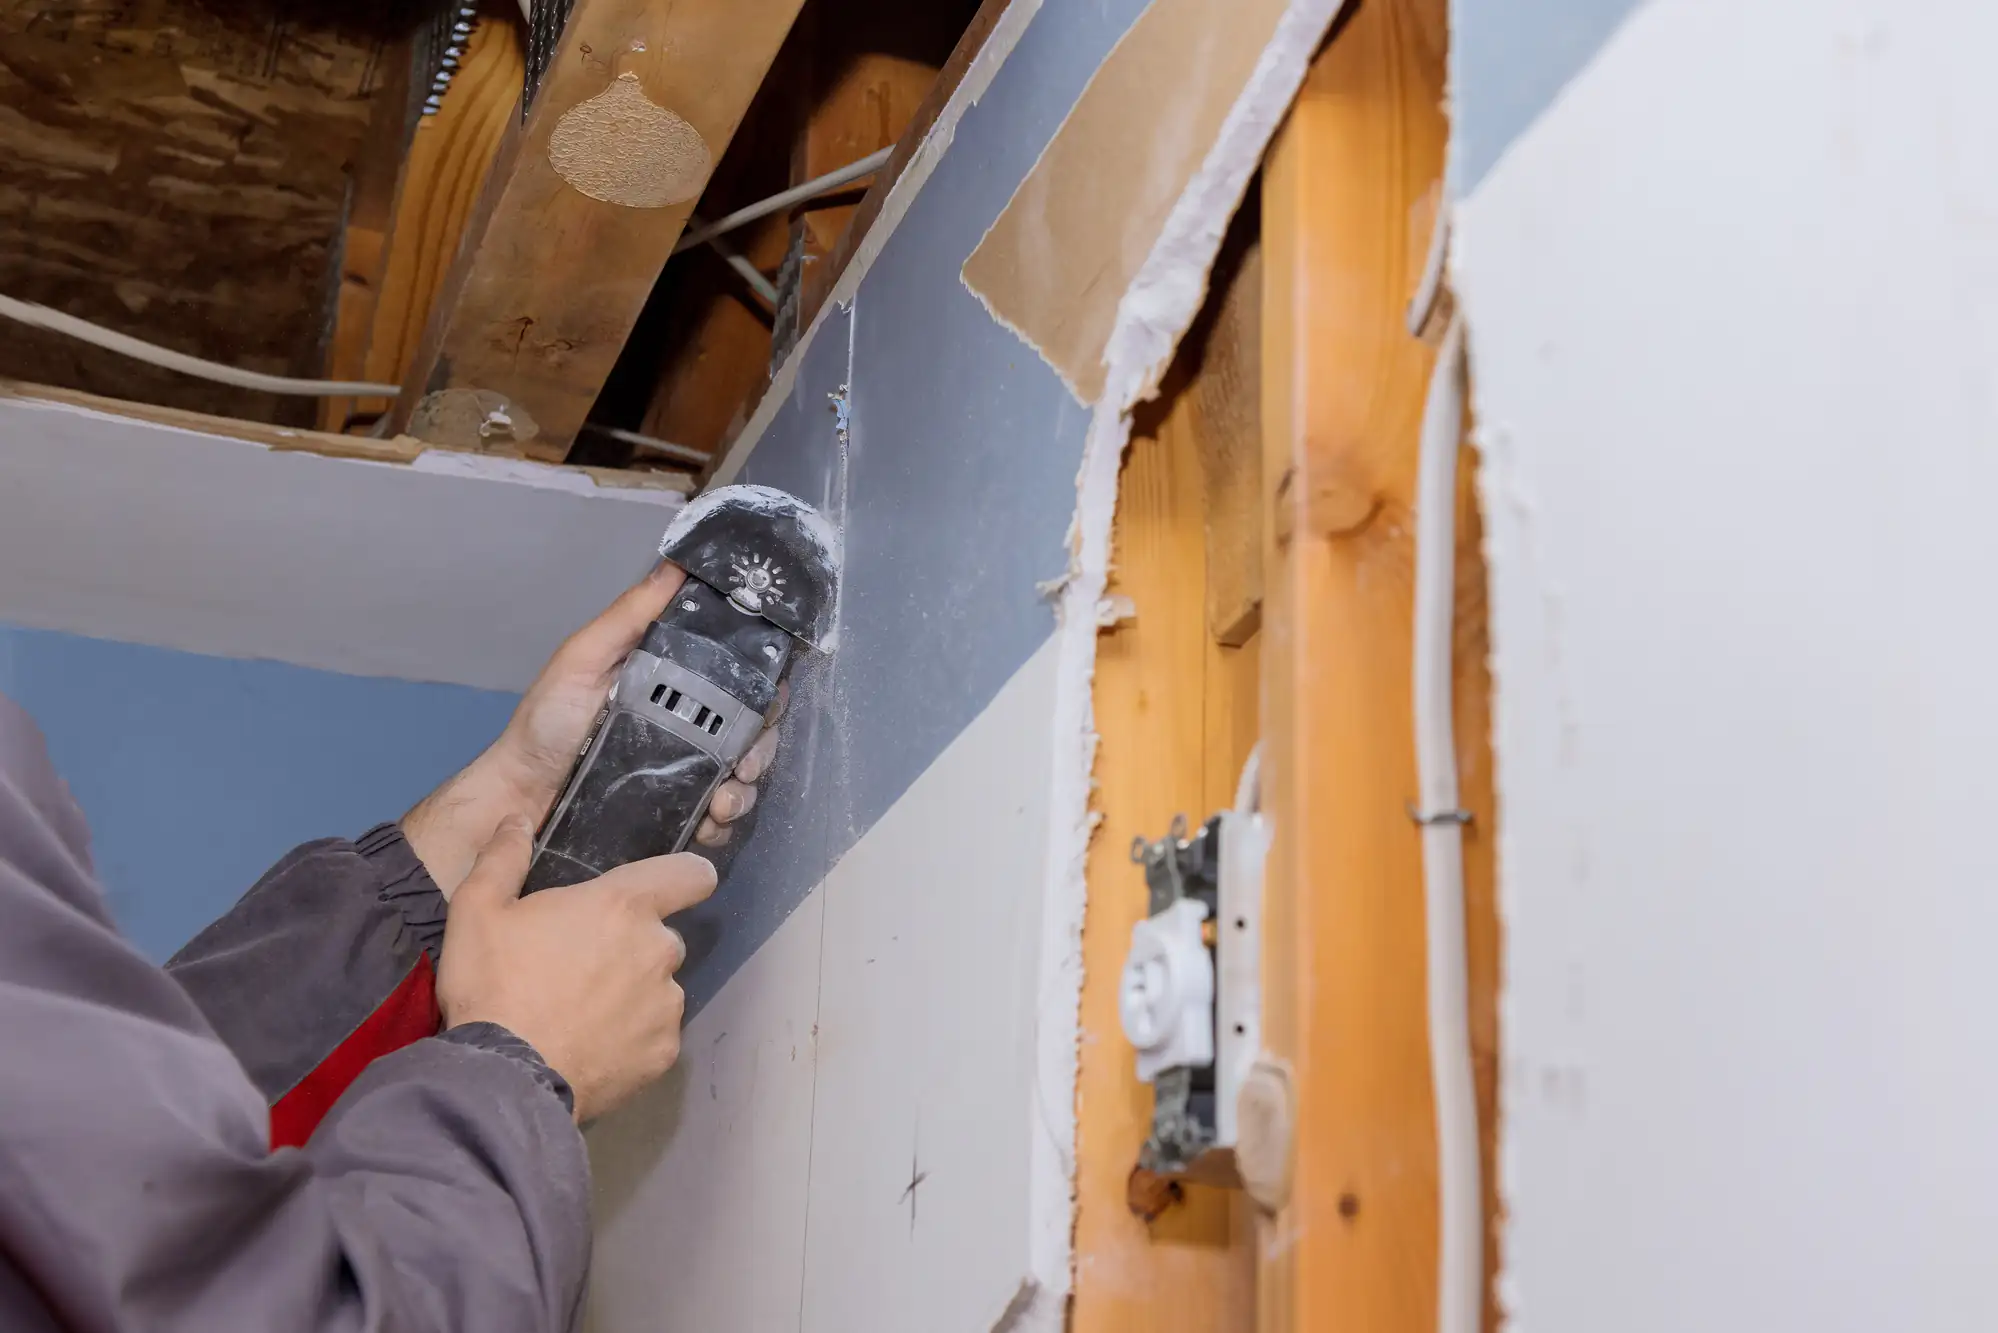
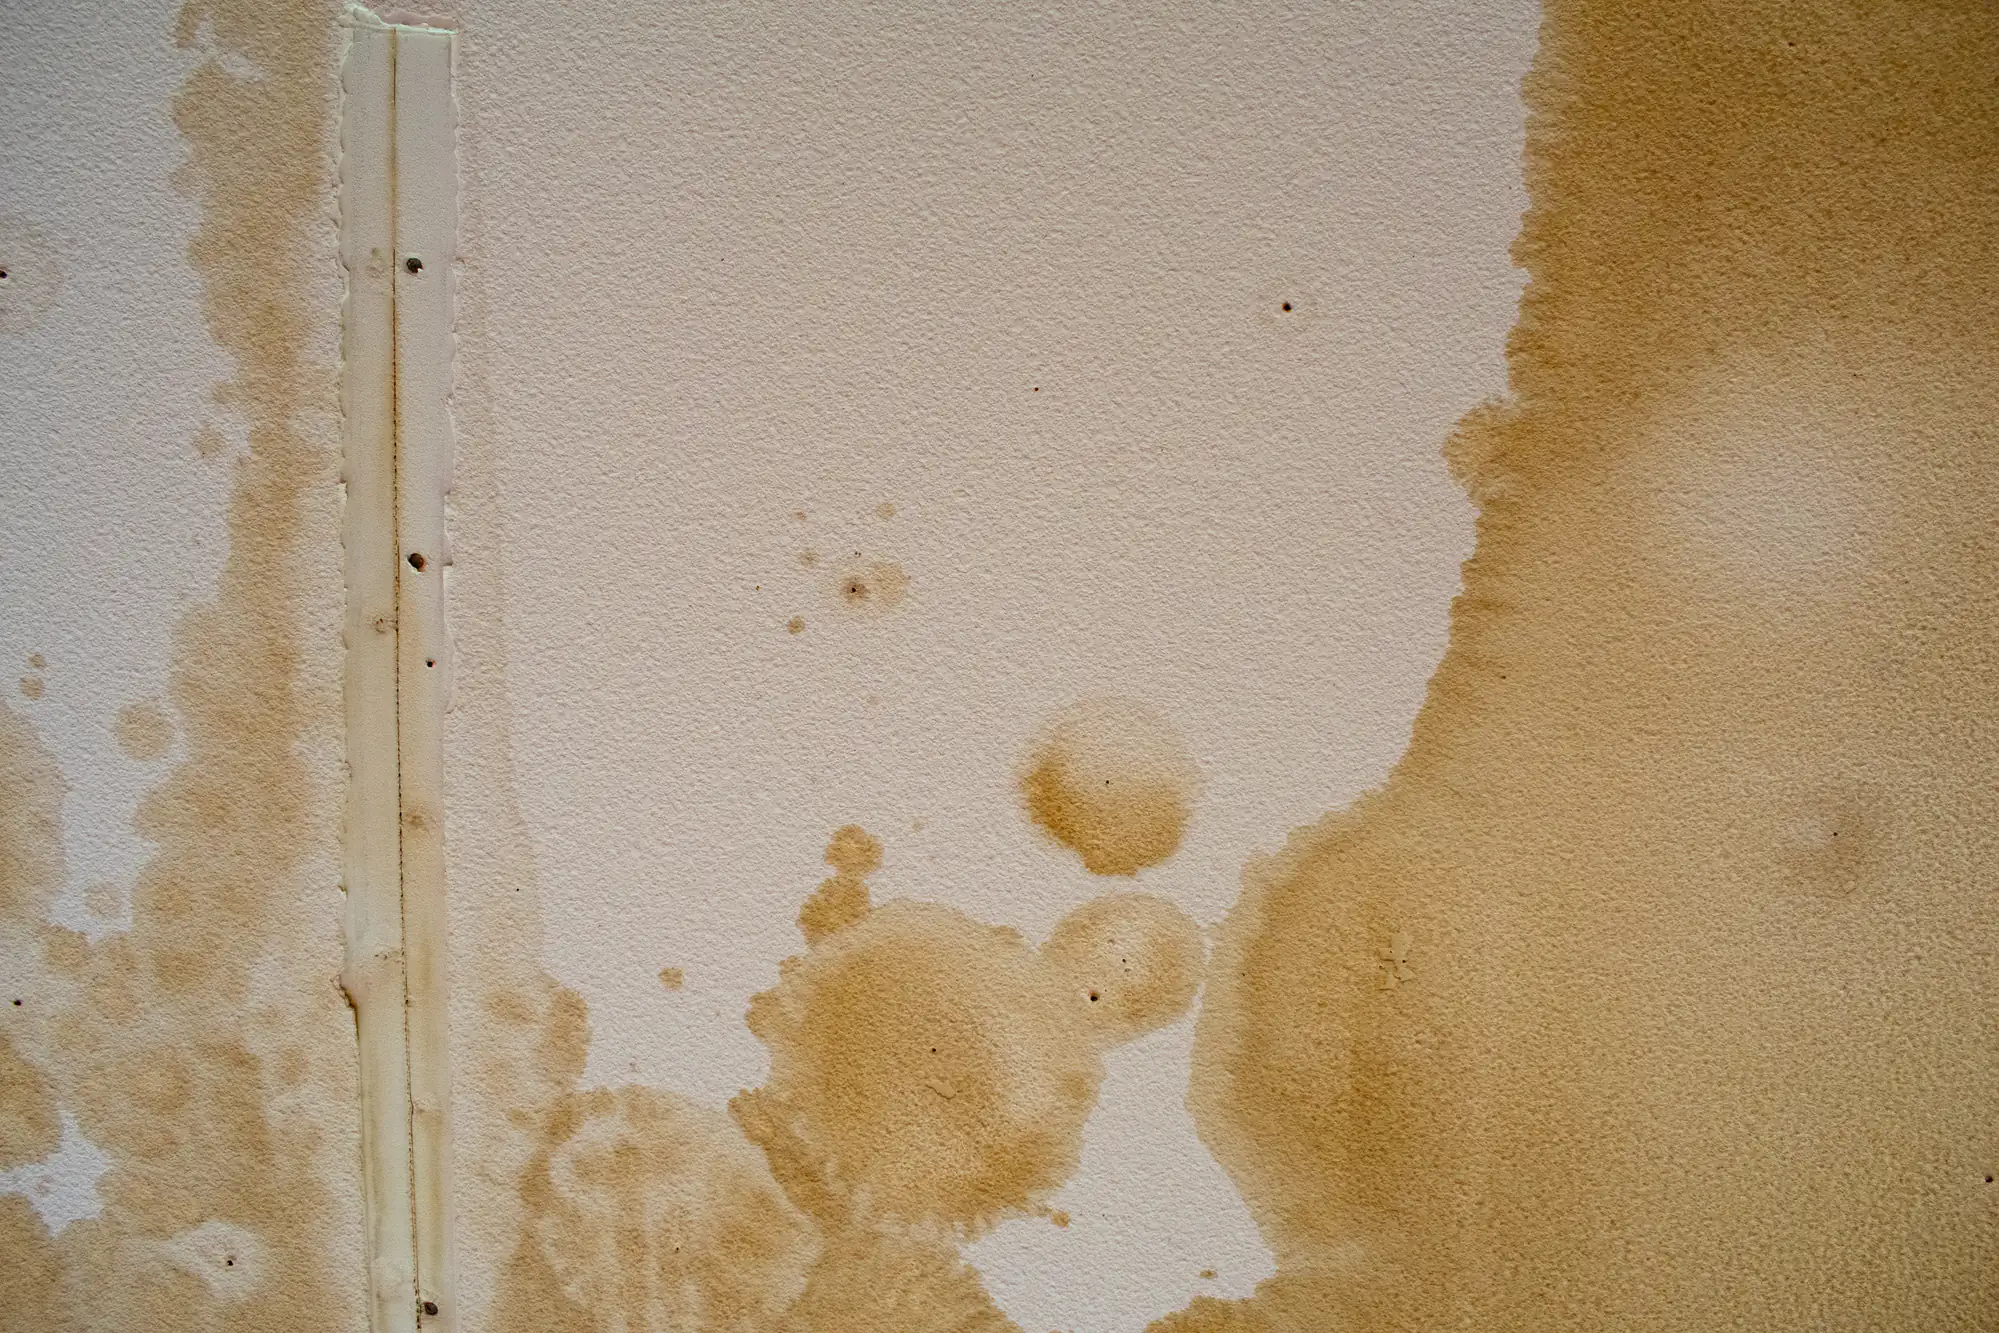
Smithtown homes often need repair work too—holes from doorknobs, cracks from settling, water damage from old leaks. We cut out damaged sections, patch them properly, and blend the repair into the existing wall so you can’t tell where the fix happened.
Everything gets protected during the job. Drop cloths go down. Furniture gets moved or covered. We use dustless sanding equipment because drywall dust gets everywhere if you’re not careful, and nobody wants to be cleaning that out of their vents for the next six months.
A standard bedroom or living room usually takes two to three days from start to finish. That includes hanging the sheets, taping the seams, applying multiple coats of joint compound, and sanding everything smooth.
The actual hanging might only take a few hours. It’s the finishing work that takes time because each layer of mud needs to dry completely before you can add the next one. Rushing this part is how you end up with visible seams and uneven surfaces.
Larger projects or whole-home installations take longer, obviously. If we’re doing multiple rooms or dealing with high ceilings, plan on a week or more. We’ll give you a realistic timeline upfront based on your specific project.
Nothing, really. Sheetrock is just a brand name that became so common people use it for all drywall, kind of like how people say Kleenex when they mean tissue.
Both terms refer to the same thing—gypsum panels that get installed over wall studs to create interior walls and ceilings. The material itself is identical whether you call it sheetrock, drywall, or wallboard.
What does matter is the type you’re using. Standard drywall works for most rooms. Moisture-resistant (green board or purple board) goes in bathrooms and basements. Fire-rated drywall is required in garages and some other spaces. We’ll recommend the right type based on where it’s going.
Yes, but it depends on what you’re working with. Smooth walls are the easiest—we just blend the repair into the surrounding surface until you can’t see where the patch is.
Textured walls are trickier. If you’ve got knockdown, orange peel, or popcorn texture, we can usually match it pretty closely using the right tools and techniques. It won’t be absolutely perfect under harsh light, but it’ll be close enough that you won’t notice it from normal viewing distance.
The hardest textures to match are really old or hand-applied ones where the original installer had a specific technique. In those cases, we’ll get it as close as possible, but you might need to consider re-texturing the entire wall if an exact match is critical. We’ll be straight with you about what’s realistic before we start.
Small repairs—fixing a doorknob hole or a small crack—usually run a few hundred dollars. Larger repairs where we’re replacing entire sections of damaged drywall cost more, typically starting around $500 and going up depending on the size and complexity.
The price depends on how much wall needs work, how many coats of mud it’ll take to blend everything in, and whether we’re matching existing texture. If there’s water damage, we might need to replace insulation or check for mold, which adds to the scope.
We give you a clear estimate before starting any work. No hidden charges for materials or “unexpected complications” that should’ve been obvious from the start. What we quote is what you pay, assuming the project doesn’t change once we open up the wall.
We focus primarily on residential work—homes, apartments, condos. That’s where our experience is strongest and where we’ve built our reputation over the past decade in Suffolk County.
Commercial projects have different requirements, timelines, and code considerations. Residential work lets us give each project the attention it needs without juggling the demands of large commercial schedules.
If you’ve got a home-based business or a small commercial space that’s similar in scope to residential work, we can discuss it. But for larger commercial buildings or projects with tight commercial deadlines, you’re better off with a contractor who specializes in that type of work.
It creates dust, especially during sanding, but we control it. We use dustless sanding equipment that connects to a vacuum system, which captures most of the dust before it spreads through your house.
We also put down drop cloths, move or cover furniture, and seal off work areas when possible. You’ll still want to keep bedroom and closet doors closed during the job, but you won’t be dealing with a layer of white powder on everything you own.
Cleanup is part of the job, not an afterthought. We haul away the debris, vacuum the work area, and wipe down surfaces before we consider the project done. Your home should look like we were there to improve it, not like a construction site exploded.