Thinking about refreshing your home with interior painting? Learn the prep work, color choices, and timing that separate professional results from disappointing DIY disasters.
Most homeowners focus on paint color. That’s the fun part. But the walls underneath that paint determine whether your project lasts two years or twenty.
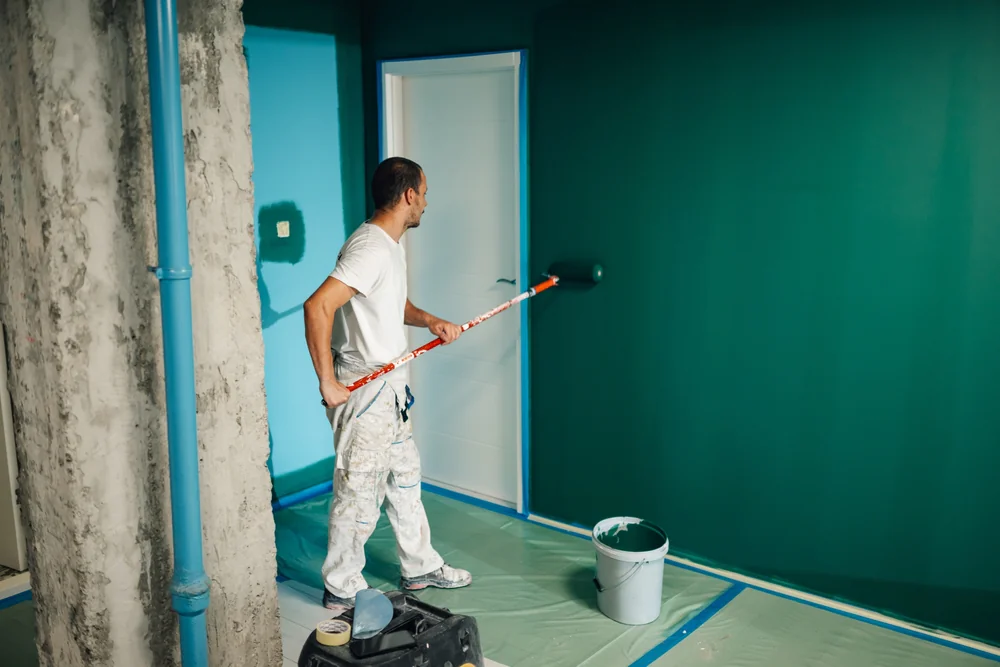
Surface prep isn’t glamorous. It’s cleaning, patching, sanding, and priming. It’s the difference between paint that adheres properly and paint that bubbles, cracks, or peels within the first year.
We spend more time prepping than painting. That’s not inefficiency. That’s understanding that no amount of premium paint fixes a poorly prepared surface. Your walls need to be clean, smooth, and sealed before the first coat goes on.
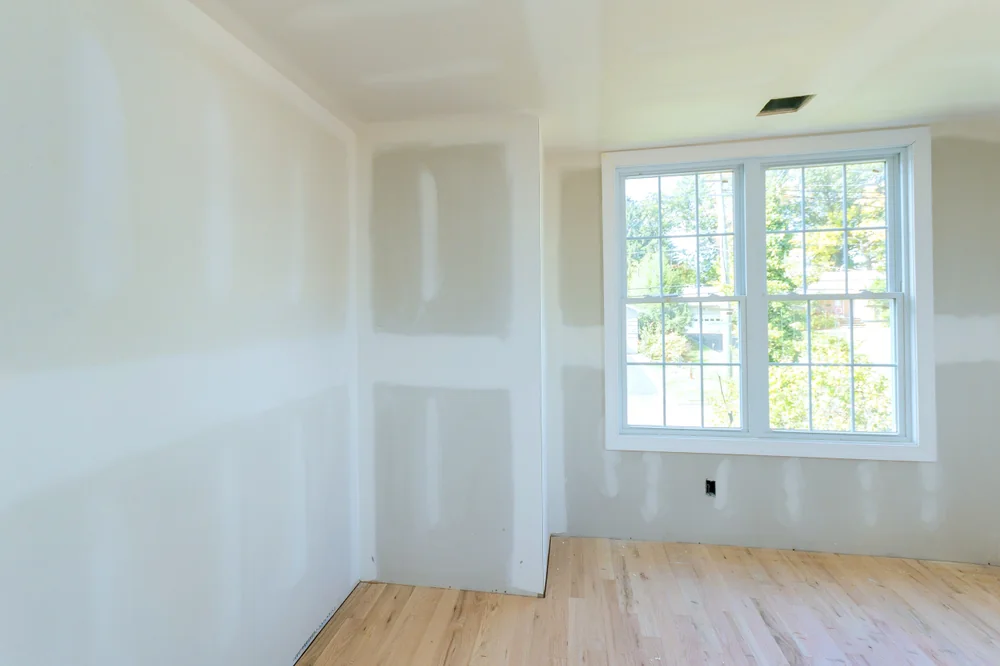
Walk through your home and look closely at the walls. You’ll see nail holes, cracks, scuff marks, maybe some water damage. Every imperfection telegraphs through paint.
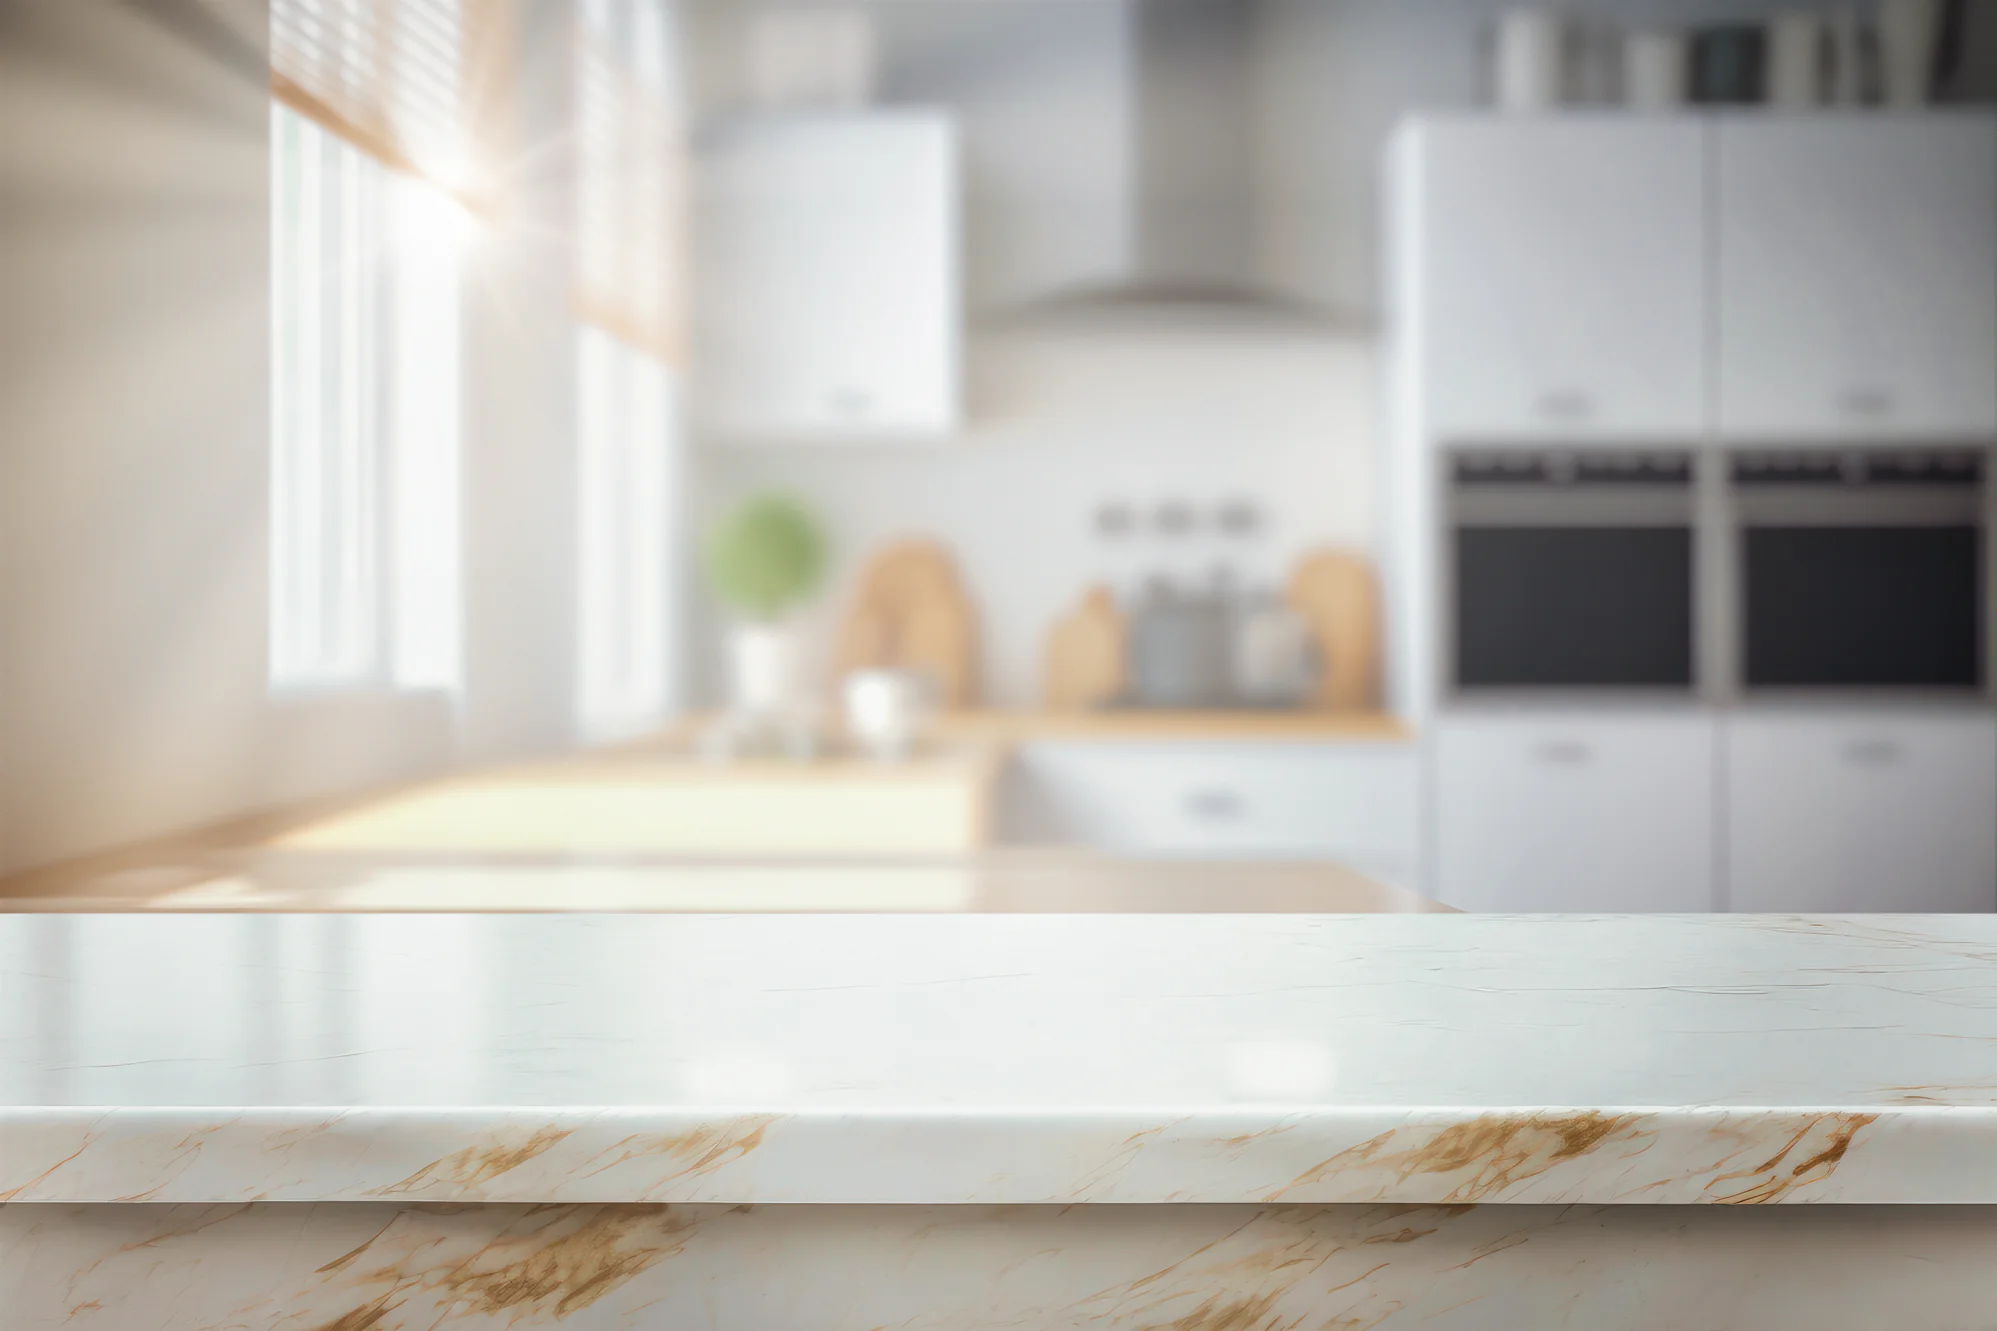
Start with cleaning. Dust, grease, and grime prevent paint from bonding to the surface. In kitchens especially, you’re dealing with cooking oils that have settled on walls over years. A simple wipe-down with TSP (trisodium phosphate) or a grease-cutting cleaner removes the buildup. Let everything dry completely before moving forward.
Next comes patching and spackling. Small nail holes need spackling compound. Larger holes or cracks require joint compound and sometimes mesh tape for stability. The key is building up thin layers rather than trying to fill everything at once. Each layer needs to dry fully before you add another or sand it smooth. This is where expert-level five spackling makes a visible difference—proper technique creates seamless repairs that disappear under paint.
Sanding creates the smooth wall finishing paint needs. Start with 120-grit sandpaper for leveling, then move to 150-grit or finer for the final pass. You’re not trying to remove material—you’re creating a uniform texture that helps paint grip. After sanding, wipe down walls with a damp cloth to remove all dust. Any particles left behind will show in your finished paint job.
Primer is the final prep step most people skip. It seals porous surfaces, covers stains, and creates consistent absorption across the wall. New sheetrock absolutely requires primer. So do patched areas, dark colors you’re painting over, and any walls with water stains or smoke damage. Primer costs less than paint and extends the life of your finish coat significantly.
This process takes time. For an average room, proper prep might take a full day before you even open a paint can. But it’s the foundation of everything that follows. Skip it, and you’re painting over problems that will resurface within months.
The biggest mistake is impatience. Homeowners want to see progress, so they rush through prep or skip steps entirely. Painting over dirty walls, wet spackling, or unprimed surfaces guarantees problems down the line.
Using low-quality materials is the second common error. Cheap spackling compound shrinks as it dries, leaving divots you’ll need to fill again. Bargain-bin primer doesn’t seal properly. Dollar-store brushes lose bristles in your paint. The few dollars you save upfront cost you hours of extra work and a finish that never looks quite right.
Not letting things dry is another frequent issue. Spackling needs time to cure. Primer needs time to seal. If you paint over surfaces that aren’t fully dry, you trap moisture that causes bubbling, poor adhesion, and early failure. The recommended dry time on the product label isn’t a suggestion—it’s the minimum you should wait, and in humid Suffolk County conditions, you often need even longer.
Ignoring texture matching causes obvious patches. If your walls have an orange peel or knockdown texture, you can’t just slap smooth spackling over a repair and expect it to disappear under paint. You need to recreate the existing texture using spray texture, a sponge, or a trowel, depending on what your walls have. Otherwise, every repair shows as a flat spot that catches light differently.
Finally, people underestimate the importance of proper taping. Having a Painter isn’t the same as masking tape. It’s designed to seal against the surface and release cleanly without pulling up paint. Apply it firmly, especially at edges, and remove it while the paint is still slightly tacky—not bone dry. This prevents the tape from bonding too strongly and tearing the fresh paint when you pull it off.
These mistakes compound. One shortcut leads to another, and suddenly you’re looking at a finished room that doesn’t meet your expectations. The walls show every flaw you thought paint would hide. The color looks uneven. Within a year, you’re seeing cracks and peeling. Proper prep prevents all of it.
Want live answers?
Connect with a Jaguar Renovation expert for fast, friendly support.
Color selection paralyzes homeowners. You’re staring at thousands of paint chips, and somehow they all look different once you get them home. Then there’s the finish question—flat, eggshell, satin, semi-gloss—and suddenly a simple interior painting project feels impossibly complicated.
Here’s the reality: color trends change, but certain principles don’t. You want colors that make your space feel larger, brighter, and more cohesive. You want finishes that match how each room actually gets used.
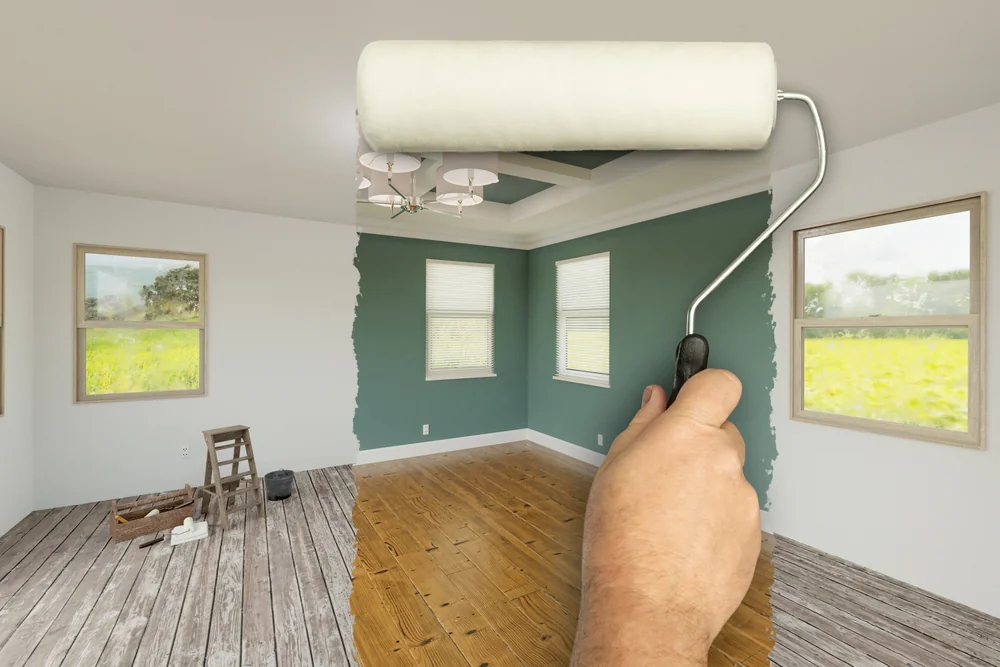
The best paint colors for 2026 are leaning into warm neutrals and earthy tones. Think less stark white, more soft beige. Less cool gray, more warm taupe. Colors that ground a space rather than making it feel clinical. But trends matter less than finding colors that work with your lighting, furniture, and how you actually live.

Benjamin Moore’s 2026 Color of the Year is Silhouette—a deep, sophisticated brown with burnt umber and charcoal notes. It’s part of a broader shift toward colors that feel grounded and substantial. Warm khakis, soft oatmeals, muted terra-cottas, and earthy greens are replacing the cool grays and stark whites that dominated for years.
These colors work because they respond well to natural light. In Suffolk County, NY homes, where you’re dealing with varying amounts of natural light depending on the season, warm neutrals maintain their appearance better than cooler tones. They don’t shift dramatically from morning to evening light, which means the color you see at 10 AM is close to what you’ll see at 7 PM.
For smaller rooms or spaces with limited natural light, lighter warm neutrals open things up. Colors like Benjamin Moore’s Swiss Coffee or Sherwin-Williams’ Universal Khaki create the illusion of more space without feeling cold. They reflect light effectively while adding subtle warmth that makes a room feel inviting rather than sterile.
If you’re considering accent walls—though the trend is shifting away from traditional single-wall accents—go deeper rather than brighter. Instead of one wall in a bold primary color, consider color-drenching the entire room in a sophisticated mid-tone, or painting the ceiling in a complementary shade. This creates dimension without the dated look of a single accent wall that feels like an afterthought.
The most important step in color selection is testing. Buy sample sizes and paint large swatches directly on your walls—at least two feet by two feet. Look at them in morning light, afternoon light, and evening light with your lamps on. Colors shift dramatically based on lighting conditions, and what looks perfect on a two-inch paint chip often looks completely different at scale.
Don’t forget about undertones. Every paint color has undertones—hints of other colors that emerge depending on lighting and surrounding elements. A beige might have pink, yellow, or green undertones. A white might read warm or cool depending on what’s next to it. Understanding undertones prevents surprises when you’re living with the color every day.
Paint finish affects both appearance and durability. The same color in different finishes will look and perform completely differently. Here’s what you need to know about each type for interior painting.
Flat or matte finish has no shine. It hides imperfections better than any other finish because it doesn’t reflect light. This makes it ideal for ceilings and low-traffic areas like adult bedrooms or formal dining rooms. The downside is durability—flat paint marks easily and doesn’t clean well. Scuffs, fingerprints, and stains are difficult to remove without damaging the finish.
Eggshell has a subtle, soft sheen—like the surface of an eggshell. It’s more durable than flat while still hiding minor wall imperfections. This makes it the go-to choice for living rooms, dining rooms, and bedrooms. It cleans better than flat but still maintains a relatively low-sheen appearance that doesn’t highlight every flaw.
Satin finish has a smooth, pearl-like appearance with more noticeable sheen. It’s highly durable and cleans easily, making it perfect for high-traffic areas, hallways, kids’ rooms, and family spaces. The increased sheen means it shows wall imperfections more readily, so your prep work needs to be thorough. But the tradeoff is paint that stands up to daily wear.
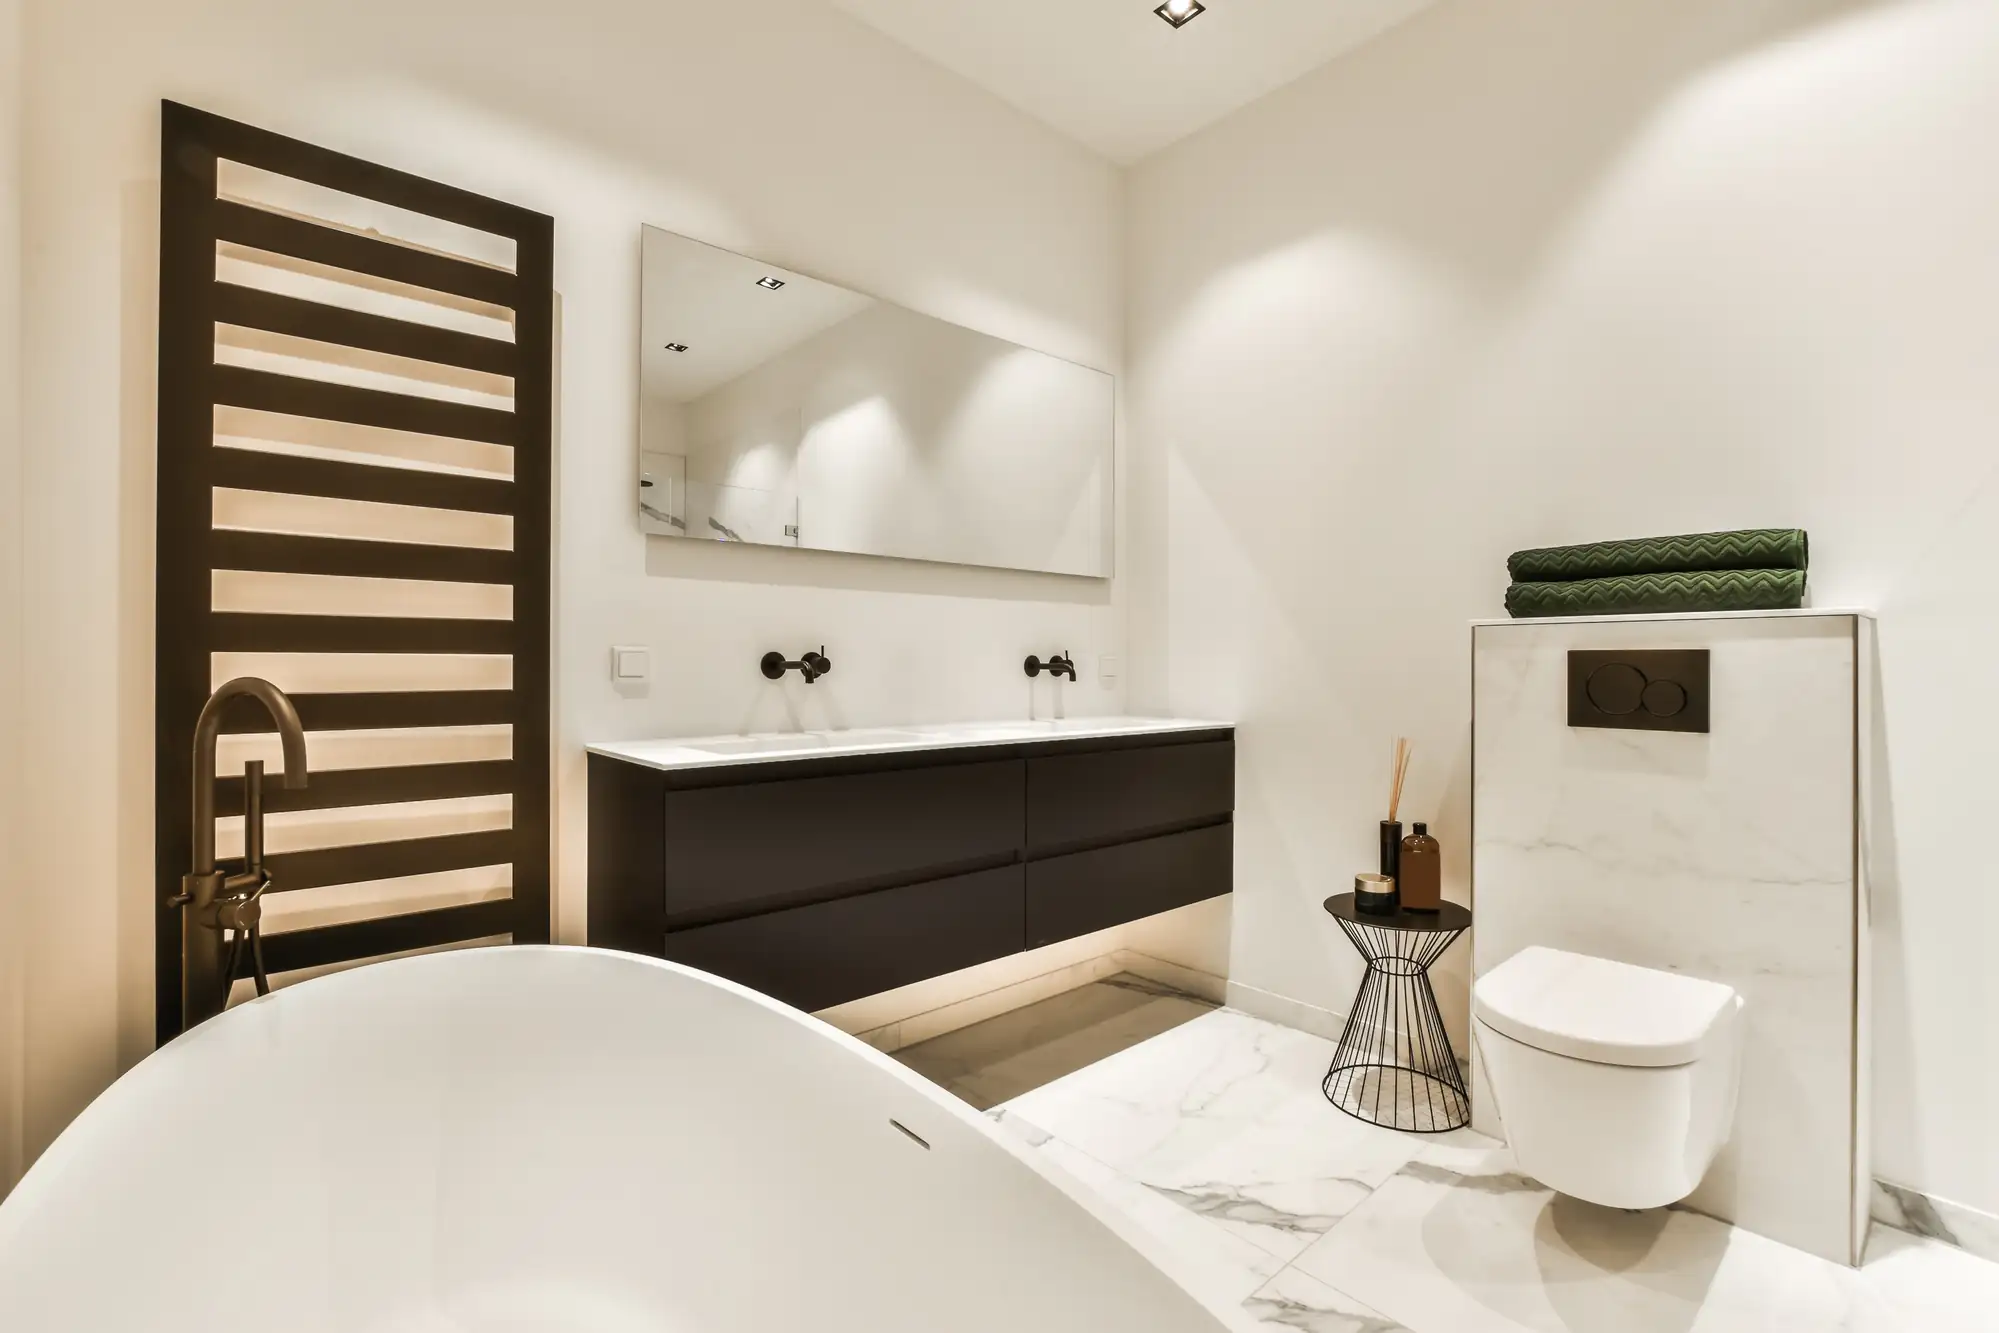
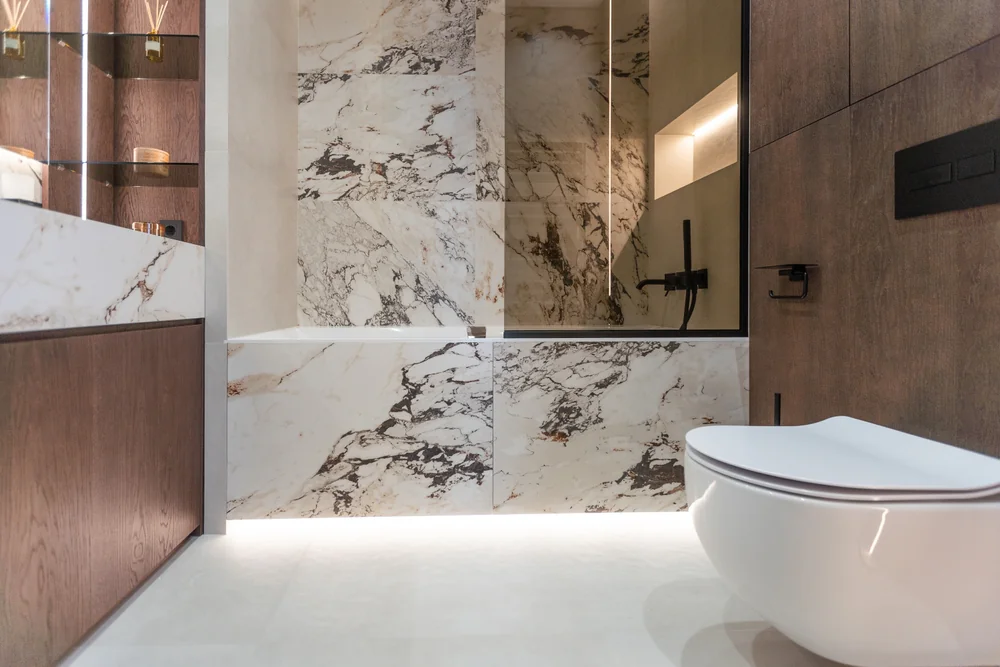
Semi-gloss has obvious shine and maximum durability. Use it in kitchens, bathrooms, trim, doors, and cabinets—anywhere that needs frequent cleaning or deals with moisture. The high sheen highlights every surface imperfection, so walls need to be perfectly smooth. But once applied, semi-gloss resists moisture, mildew, and scrubbing better than any other finish.
The mistake homeowners make is using the same finish throughout the house. Each room has different needs. Your kitchen needs semi-gloss on the walls to handle cooking splatters. Your bedroom needs eggshell for a softer, more restful appearance. Your trim and doors need semi-gloss or gloss for durability and easy cleaning.
Matching finishes to room function extends the life of your paint job and makes maintenance easier. When you can wipe down walls without worrying about damaging the finish, you’re more likely to keep them clean. When walls hide minor imperfections, you’re not staring at every tiny flaw. The right finish in the right place makes your paint job look better and last longer.
Interior painting transforms spaces when it’s done right. That means proper surface prep, quality materials, appropriate finishes for each room, and understanding when painting fits into your larger renovation timeline.
The homeowners who get the best results are the ones who understand what matters. They don’t skip prep work to save a day. They don’t buy the cheapest paint to save fifty dollars. They don’t rush through steps that determine whether the finish lasts two years or twenty.
If you’re planning an interior painting project in Suffolk County, NY and want it done without the hidden costs or sales pressure that plague this industry, we bring nearly a decade of experience to every project. From expert-level spackling and surface prep to color consultation and flawless application, our focus is on transparent communication and honest work that actually lasts. When you’re ready to refresh your home with contractors who respect both your space and your budget, reach out to start the conversation.
Summary:
Share: