Planning a renovation in Suffolk County? This guide walks you through six critical steps—from your initial vision to that final walkthrough—so you know exactly what to expect.

Before you pick out paint colors or browse tile samples, you need a plan. Not just a Pinterest board—a real, grounded understanding of what you want to accomplish and what it’s going to cost.
Start by asking yourself why you’re renovating. Are you trying to add value before selling? Creating more functional space for your family? Fixing something that’s been driving you crazy for years? Your answer shapes everything that follows. It determines which rooms get priority, what materials make sense, and how much you should realistically spend.
Once you’re clear on the why, it’s time to talk numbers. Suffolk County, NY isn’t the cheapest place to renovate. Kitchen remodeling projects typically run anywhere from $20,000 to $75,000 depending on scope and finishes. Bathroom remodeling starts around $15,000 and can easily climb past $40,000 for high-end work. If you’re tackling multiple rooms or a full interior renovation, you’re looking at $150 to $250 per square foot—sometimes more if you’re going custom with carpentry, specialty flooring, or high-end painting and finishes.
Here’s where most people go wrong. They add up the big-ticket items—cabinets, countertops, flooring—and think that’s the budget. Then reality hits.
Your budget needs to account for more than materials and labor. Permits in Suffolk County, NY cost $250 for projects up to $50,000 and $500 for projects up to $100,000. If you’re moving plumbing or electrical, expect inspections. If you’re working with a designer or architect, set aside another chunk for their fees. And don’t forget the small stuff that adds up fast: hardware, paint, trim, delivery fees, disposal costs.
The smartest move you can make? Add a 10 to 20 percent contingency. Not because you’re planning to go over budget, but because renovations have a way of revealing issues you couldn’t see until walls are opened up. Old wiring. Water damage behind sheetrock. Structural quirks that need addressing. Homeowners who skip this buffer end up stuck mid-project, forced to cut corners or pause work while they scramble for more funds.
Be honest with your contractor about what you can spend. A good one won’t try to upsell you into oblivion. They’ll help you make smart choices that fit your budget without sacrificing quality where it matters. If your wishlist exceeds your wallet, prioritize. Decide what’s non-negotiable and where you’re willing to compromise. Maybe you splurge on custom carpentry in the kitchen but go with standard flooring in the hallway. That clarity keeps your project moving forward instead of stalling out halfway through.
Transparency works both ways. If a contractor won’t give you a detailed, written estimate that breaks down costs by category, that’s a red flag. You should know exactly what you’re paying for before any work begins. No vague line items. No “we’ll figure it out as we go.” A solid budget is your best defense against the chaos that derails so many renovations.
You can have the perfect plan and a bulletproof budget, but if you hire the wrong contractor, none of it matters. This is the decision that makes or breaks your renovation.
Start by looking for someone who’s licensed and insured. In Suffolk County, NY, that’s non-negotiable. Licensing means they’ve met local requirements and know the building codes. Insurance protects you if something goes wrong. Ask to see proof of both before you even talk numbers.
Next, check their track record. How long have they been doing this? Do they specialize in the type of work you need? A contractor who’s great at exteriors might not be the best fit for a detailed kitchen remodeling project. Look for someone with experience in interior renovations—someone who’s handled kitchen remodeling, bathroom remodeling, carpentry, flooring, painting, and sheetrock work. Someone who can show you examples of completed projects similar to yours.
References matter. Talk to past clients. Ask about communication, timelines, and whether the contractor stayed on budget. Did they show up when they said they would? Were there surprises? How did the contractor handle problems when they came up? You’re not just hiring someone to swing a hammer. You’re bringing someone into your home for weeks or months. You need to trust them.
Pay attention to how they communicate during the hiring process. Do they listen to what you’re saying, or are they already pushing their own agenda? Do they answer your questions clearly, or do you feel like you’re being sold? A contractor who rushes you, pressures you to sign, or dodges direct questions is showing you exactly how the rest of the project will go.
Avoid the trap of choosing based solely on price. The lowest bid usually means corners will be cut—either in materials, labor, or both. You’ll pay for it later in repairs, delays, or work that doesn’t meet code. On the flip side, the highest bid doesn’t automatically mean the best quality. Look for someone who offers fair pricing, clear timelines, and a detailed scope of work in writing.
One more thing: ask about their process. How do they handle permits? Who manages subcontractors? How often will they update you on progress? What happens if you need to make a change mid-project? The answers tell you whether they have a system in place or if they’re winging it. You want the former.
Want live answers?
Connect with a Jaguar Renovation expert for fast, friendly support.
Once you’ve got your contractor locked in and your budget set, it’s time to turn ideas into actual plans. This is where you make all the big decisions—layout, materials, finishes, fixtures. It’s also where you handle the paperwork that keeps your project legal and up to code.
If your renovation involves moving walls, relocating plumbing, or upgrading electrical systems, you’ll need permits from Suffolk County, NY. Your contractor should handle this, but it’s your responsibility to make sure it gets done. Skipping permits might seem like a shortcut, but it’s a gamble that can cost you later. Unpermitted work can complicate insurance claims, tank your home’s resale value, or force you to undo completed work if it doesn’t meet code.
Design decisions need to happen now, not halfway through construction. Pick your cabinets, countertops, tile, paint colors, light fixtures—all of it. Waiting until the last minute creates delays and can blow your budget with rush orders or change fees. If you’re indecisive, work with your contractor or a designer to narrow down options before work starts. The more decisions you make upfront, the smoother everything goes once construction begins.
This is the phase that feels the most dramatic. Walls come down. Old cabinets get ripped out. Floors get torn up. Sheetrock gets demolished. It’s loud, it’s messy, and it’s the point where a lot of homeowners start to panic because their house looks like a disaster zone.
Demolition is necessary. You can’t build the new without clearing out the old. Your contractor should protect areas that aren’t being renovated—covering floors, sealing off rooms with plastic to contain dust, and making sure your home stays as livable as possible during construction. If you’re doing a major kitchen remodeling or bathroom remodeling project, expect to lose access to those spaces for a while. Plan ahead. Set up a temporary kitchen if needed. Arrange alternate bathroom access. The more you prepare for the disruption, the less stressful it’ll be.
Once demo is done, the structural work begins. This is where the real transformation starts, even if you can’t see it yet. Framing goes up if you’re changing the layout. Plumbing and electrical get roughed in. HVAC work happens. This phase is all about what’s behind the walls—the infrastructure that makes everything else possible.
This is also when hidden problems tend to surface. Old wiring that needs replacing. Plumbing that’s not up to code. Water damage or mold that wasn’t visible before. It’s frustrating, but it’s better to find these issues now than after everything’s closed up. A good contractor will walk you through what they found, explain why it needs fixing, and give you options. This is where that contingency fund comes in handy.
Communication is critical during this phase. You should know what’s happening, what’s next, and if anything’s changed from the original plan. If your contractor goes silent for days or you’re finding out about problems after they’ve already been “fixed,” that’s a problem. Speak up. Ask questions. Stay involved. It’s your home, and you have every right to know what’s going on inside it.
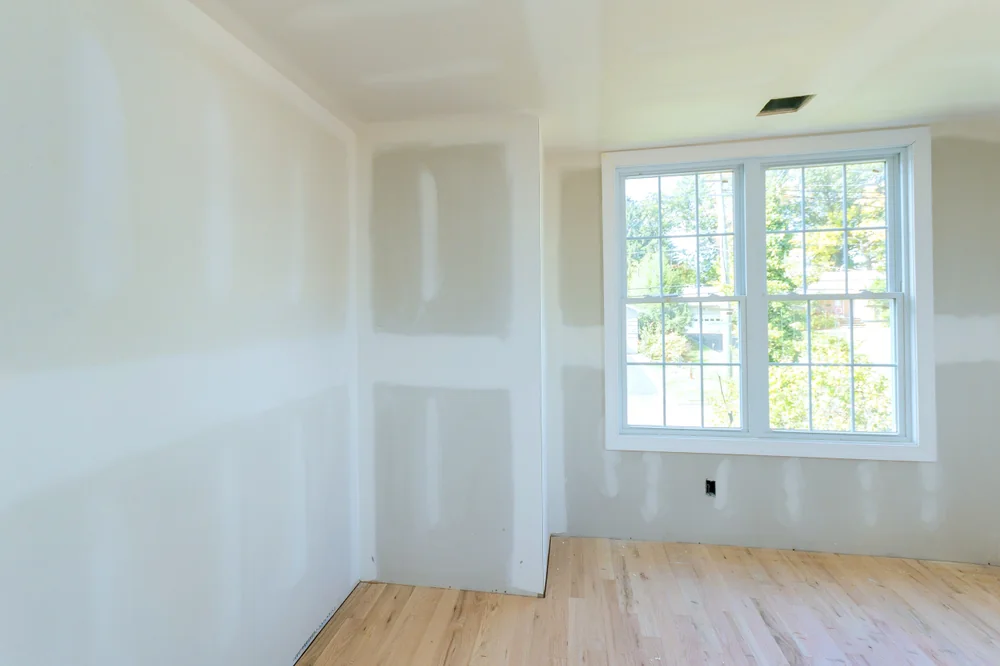
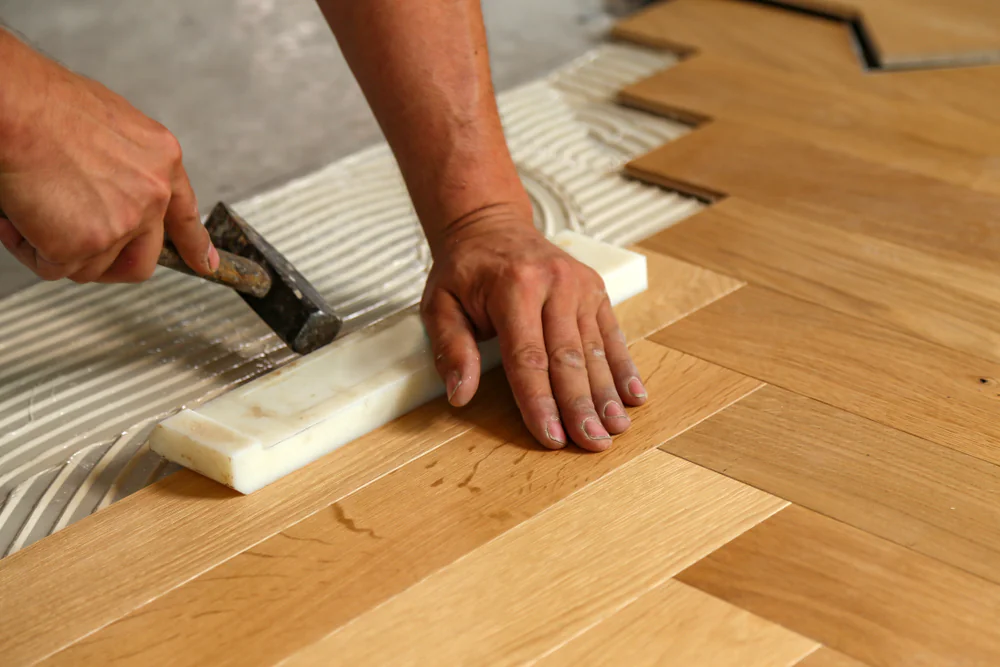
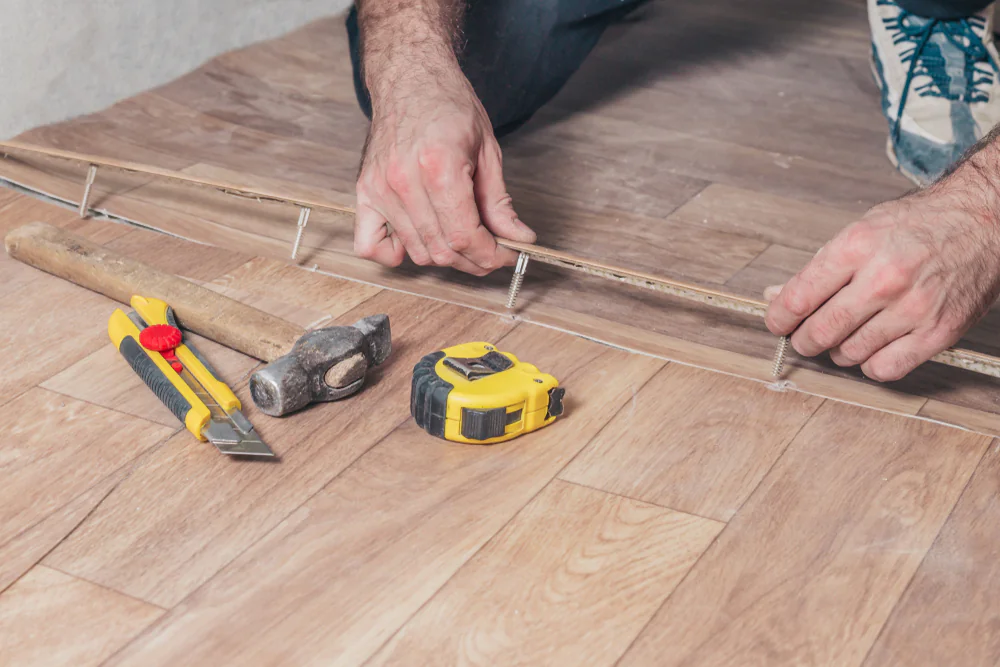
After weeks of demolition, framing, and rough-ins, this is the phase where everything starts to look like an actual room again. New sheetrock goes up and gets taped, mudded, and sanded smooth. Paint goes on walls and trim. Flooring gets installed—whether that’s hardwood, tile, or luxury vinyl. Cabinets, countertops, and fixtures arrive and get put in place. Custom carpentry work adds those final touches that make the space feel finished. This is when you finally see the vision you’ve been holding in your head for months.
It’s also the phase where small details matter most. Trim work needs to be precise. Paint lines need to be clean. Tile needs to be level. Hardware needs to align. These finishing touches separate a renovation that looks good from one that looks great. A skilled contractor pays attention to these details without you having to point them out.
This is also when you’ll start making a lot of small decisions if you haven’t already. Exact placement of light switches. Height of towel bars. Direction cabinet doors swing. It might feel tedious, but these choices affect how you use the space every single day. Take the time to think through how you’ll actually live in this room, not just how it looks in photos.
Expect some back-and-forth during this phase. You might see something installed and realize it’s not quite what you pictured. Or you might want to tweak a detail now that you see it in person. That’s normal. A good contractor will work with you to make adjustments, within reason. Just remember that changes at this stage can affect timeline and cost, so choose your battles.
Stay in regular communication with your contractor. Weekly check-ins help you stay aligned on progress and catch any issues before they become bigger problems. Ask to see completed work as it happens. If something doesn’t look right, say so immediately. It’s much easier to fix a problem now than after everything’s finished and the crew has moved on.
The final stretch can feel slow because you’re so close to being done, but rushing through finishing work is a mistake. Quality takes time. Whether it’s the precision of carpentry joints, the smoothness of painted surfaces, or the alignment of flooring transitions, let your contractor do it right. You’re about to live with this renovation for years. A few extra days now to make sure everything’s perfect is worth it.
You’re almost there. The work is done, the space looks incredible, and you’re ready to start using your newly renovated home. But before your contractor packs up and leaves, there’s one more critical step: the final walkthrough.
This is your chance to inspect everything with fresh eyes and make sure the work meets the standards you agreed on. Walk through every inch of the renovated space. Open and close every cabinet and drawer. Turn on every faucet and light switch. Check that outlets work. Look for any scratches, dents, or unfinished spots. Test appliances if they were part of the project. Run your hand along painted surfaces to check for smoothness. Inspect carpentry joints for gaps. Check flooring transitions. This isn’t about being picky—it’s about making sure you’re getting what you paid for.
Bring a notepad and write down anything that needs attention. This becomes your punch list—the final items your contractor will address before the project is officially complete. Most contractors expect this. It’s a normal part of the process. What’s not normal is discovering issues weeks later and trying to get someone back to fix them.
Ask questions during the final walkthrough. How do you maintain the new finishes? Are there warranties on materials or workmanship? Where are shut-off valves for new plumbing? How do you operate new systems or appliances? Get copies of all warranties, manuals, and receipts. File them somewhere you’ll remember. You’ll thank yourself later if something needs service or repair.
The final walkthrough is also when you confirm that permits were closed out properly and inspections passed. This matters for your home’s value and your peace of mind. If your contractor handled permits, make sure you get documentation showing everything was approved by Suffolk County, NY.
Once you’ve walked through everything, addressed the punch list, and confirmed all the details, you’re done. You’ve successfully navigated the renovation process from that first idea all the way through to completion. Now you get to enjoy the space you created—and the confidence that comes from knowing exactly what to expect every step of the way.
If you’re ready to start your renovation with a team that values transparency, quality craftsmanship, and honest communication, we’re here to help. We’ve spent nearly a decade helping Suffolk County homeowners transform their spaces with kitchen remodeling, bathroom remodeling, custom carpentry, flooring, painting, and sheetrock work—without the stress, pressure, or hidden costs that make renovations miserable. Let’s talk about your project.
Summary:
Share: