
Hear from Our Customers
You’re not looking at walls every day thinking about the drywall behind them. That’s the point.
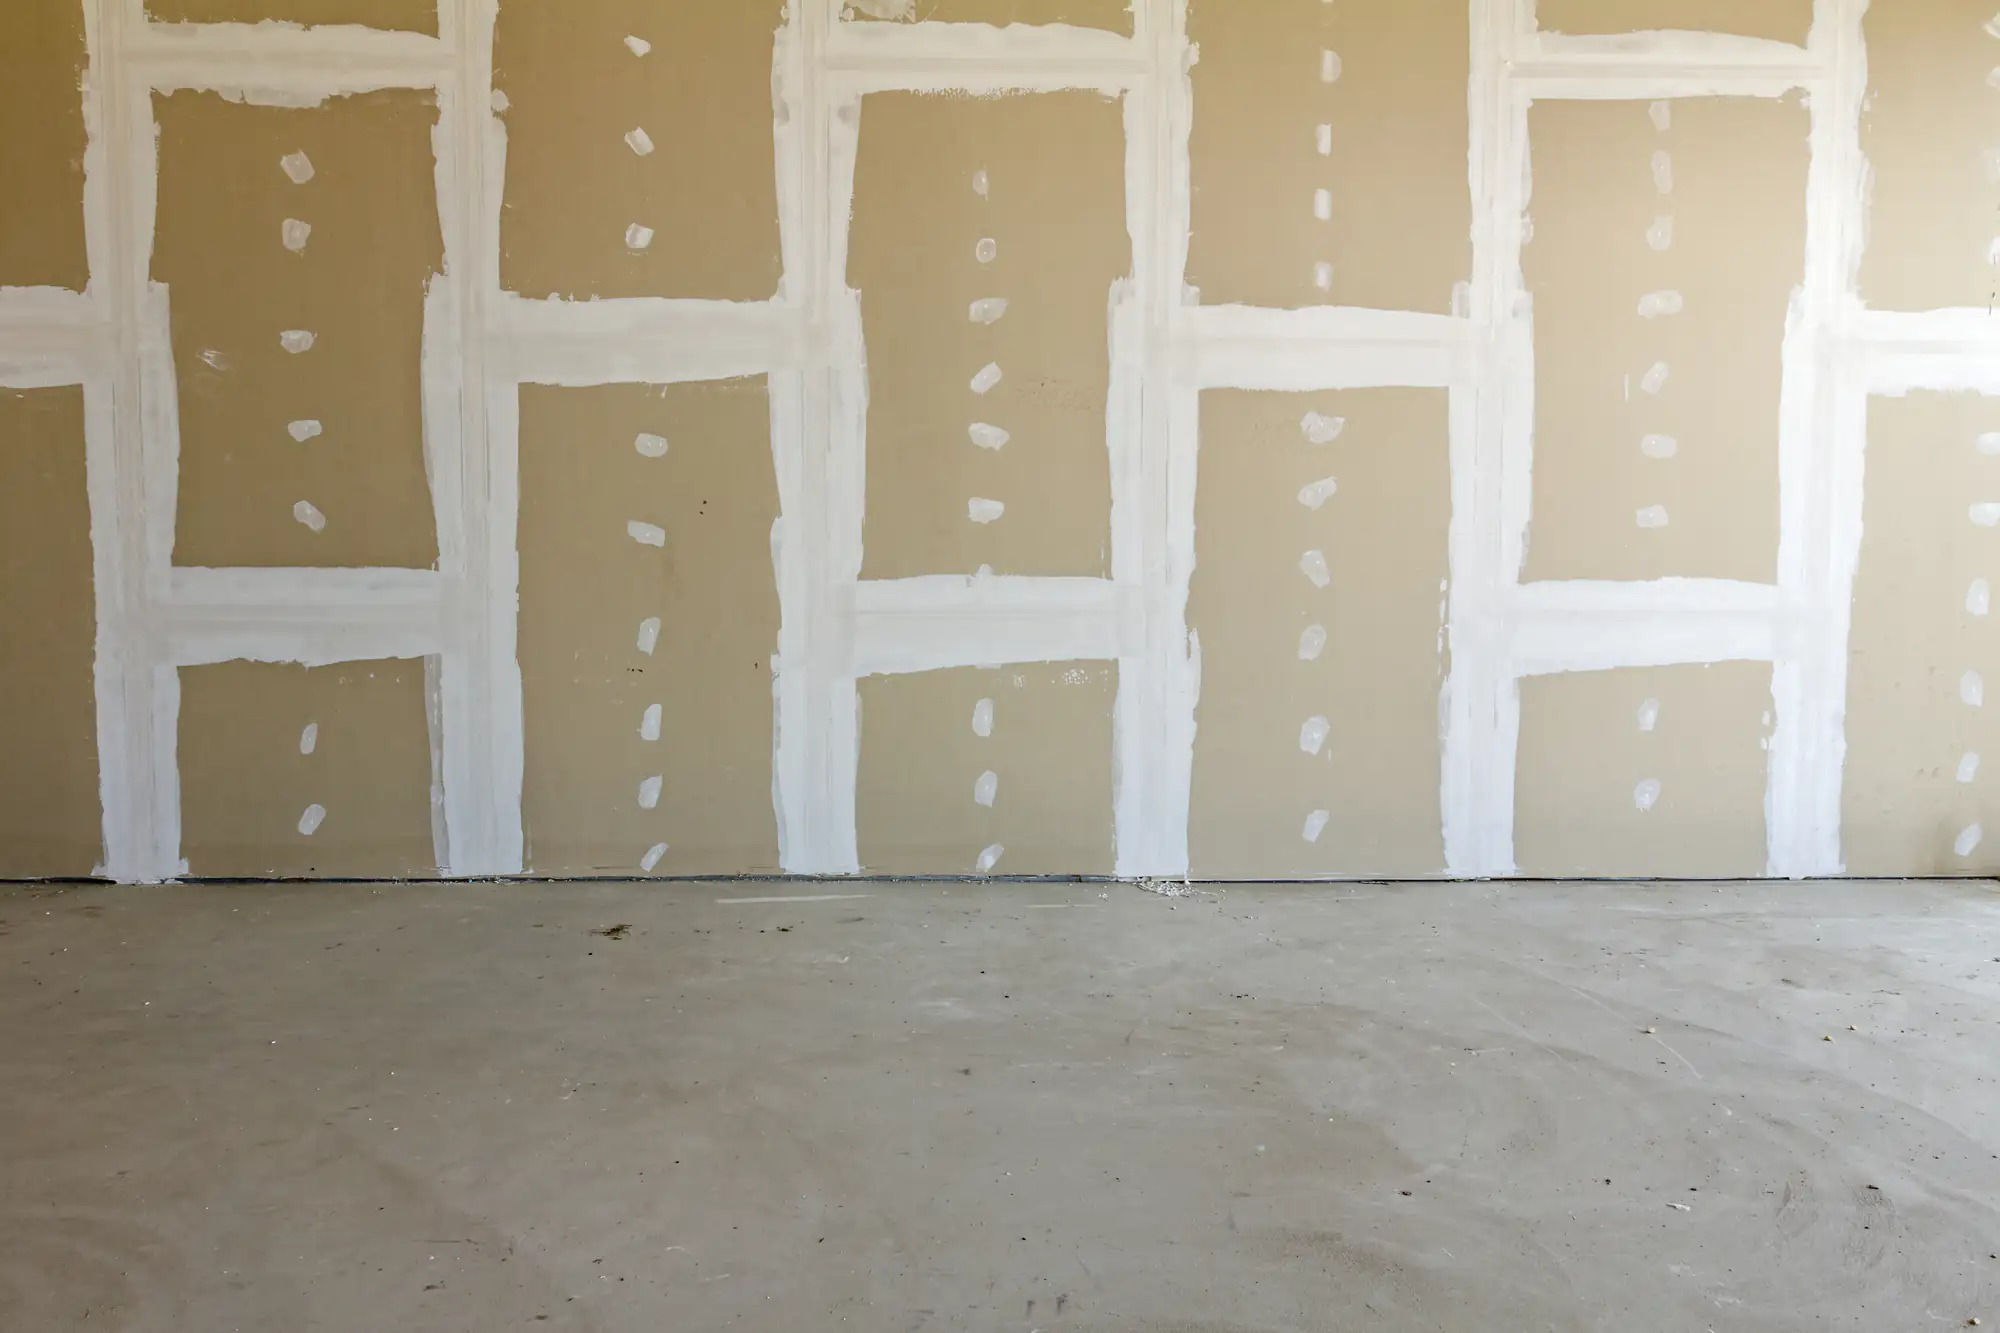
When sheetrock is installed correctly, you don’t see seams. You don’t feel bumps when you run your hand across the surface. Corners are crisp, not rounded off or cracked. And when you paint, the finish looks even because the surface underneath is flat and smooth.
Bad drywall work shows up fast. Cracks appear within months. Seams telegraph through paint. Screws pop. Corners separate. You end up repainting sooner than you should, or worse, you’re calling someone back to fix what should’ve been done right the first time.
Good work means you move in, hang your pictures, and forget about the walls. That’s what you’re paying for.
We’ve been handling interior renovations across Suffolk County for nearly a decade. We’re licensed, insured, and we’ve worked in enough homes around Northwest Harbor to know what matters here—quality that holds up in coastal humidity, clean work sites, and straightforward communication.
We’re not the cheapest option. We use the right materials, take the time to prep correctly, and don’t cut corners on taping or finishing. That costs a little more upfront, but it means you’re not dealing with callbacks, cracks, or uneven paint jobs six months later.
You’ll talk to the same people from estimate to cleanup. No sales reps, no subcontractor shuffle. Just experienced professionals who show up when we say we will and leave your home cleaner than most contractors would.
First, we walk the space with you. We look at what needs to be done, measure everything, and talk through options—whether it’s new construction, repair work, or replacing damaged sections. You’ll get a written estimate that breaks down materials and labor with no surprise fees.
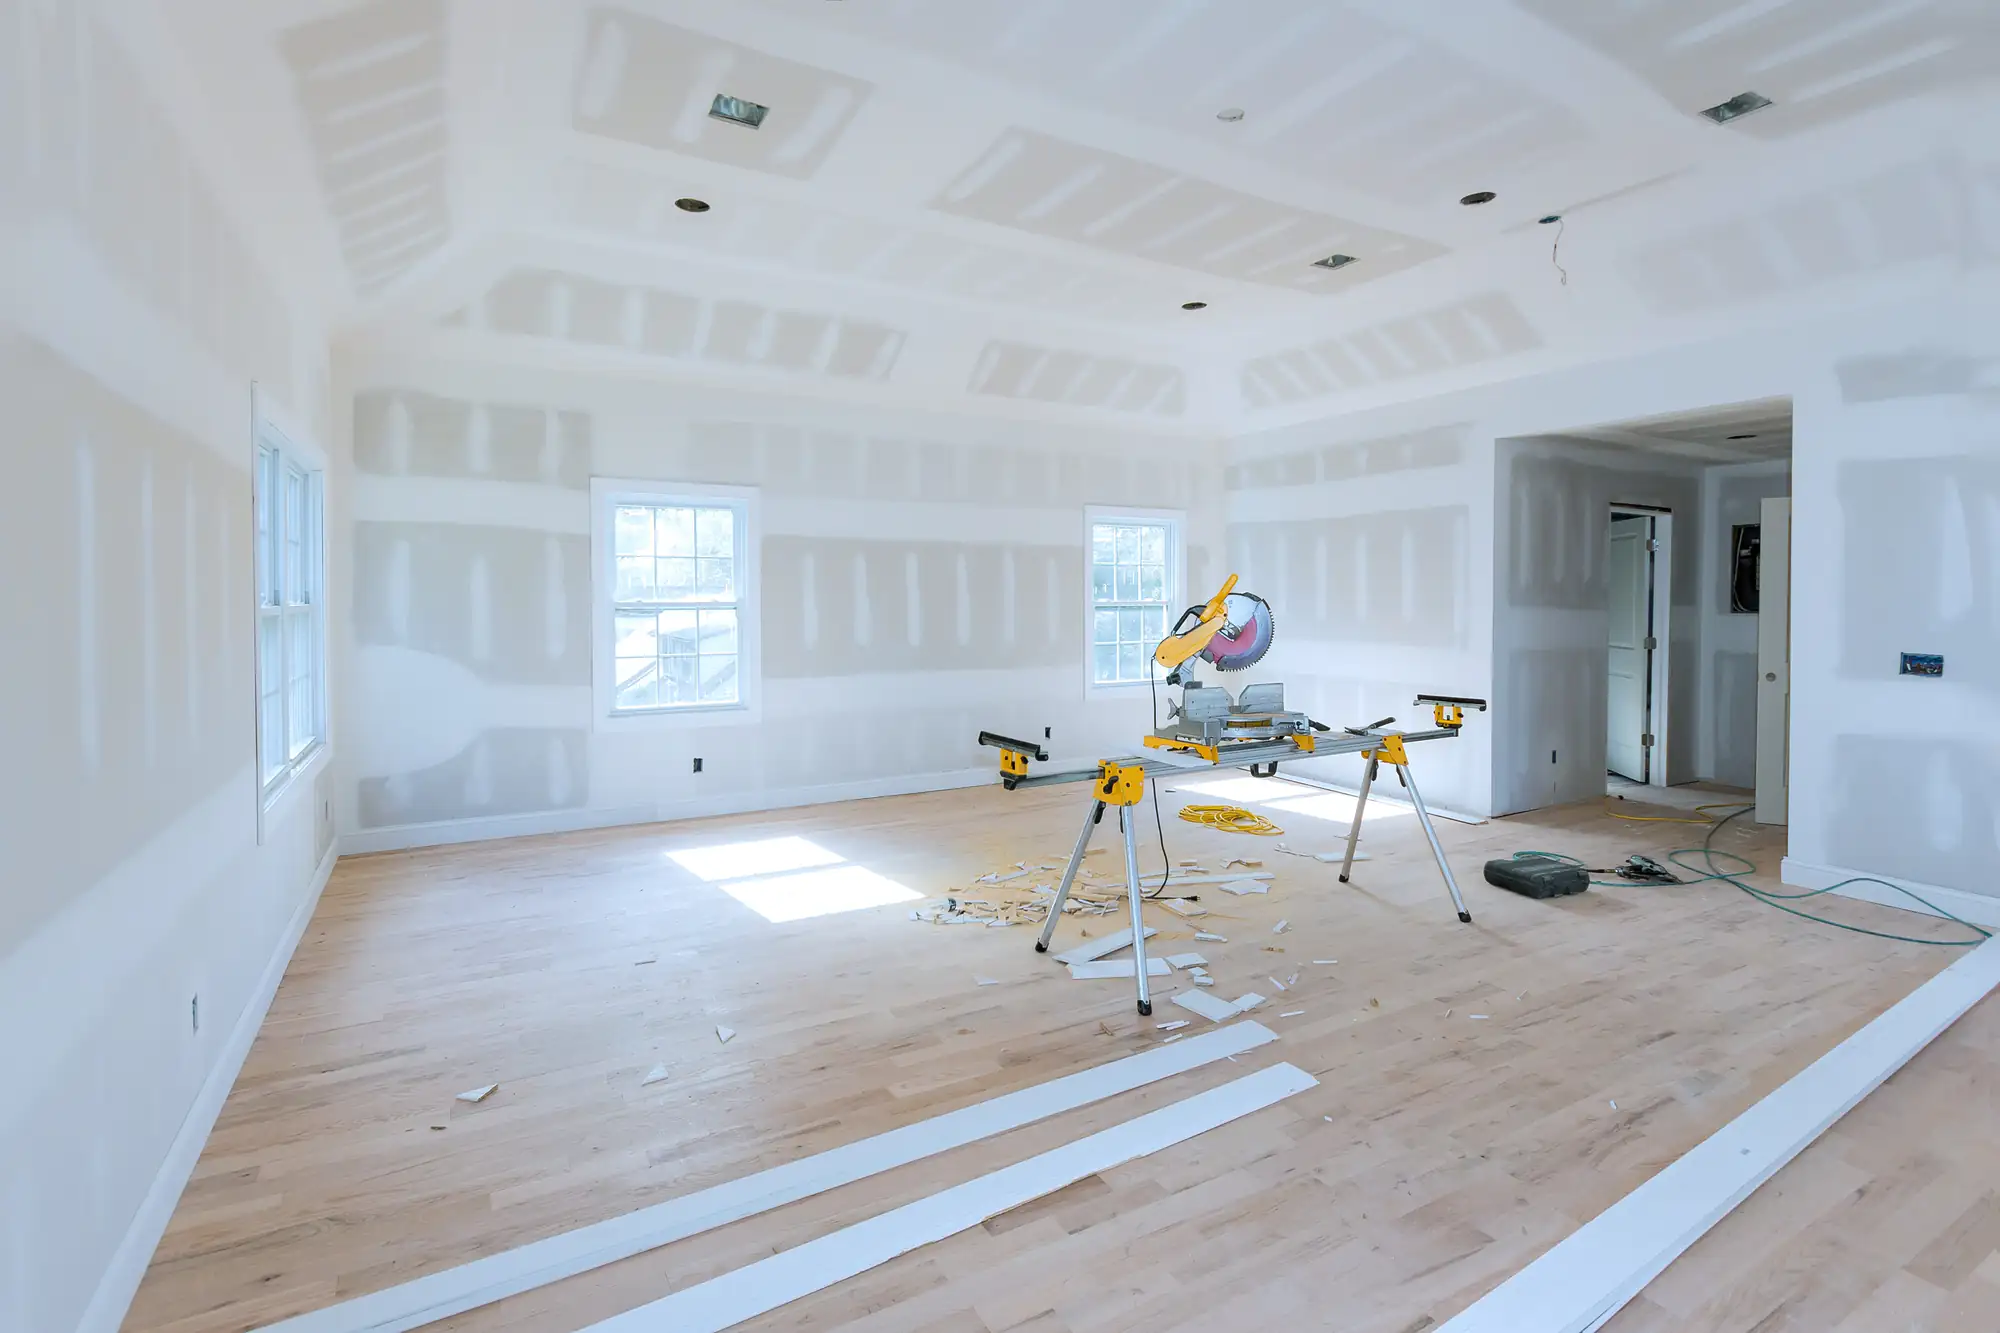
Once you’re ready to move forward, we schedule the work around your timeline. We protect your floors and furniture, then get to work hanging sheets. Every panel is measured, cut to fit, and secured properly with the right fasteners spaced correctly. Gaps get filled, seams get taped with quality compound, and corners get reinforced.
After hanging comes finishing. That’s where the skill really shows. We apply multiple coats of joint compound, sanding between each one until the surface is smooth and ready for primer. The goal is a Level 4 or Level 5 finish depending on your paint and lighting—basically, a surface where you can’t see seams or fasteners even under harsh light.
We clean up daily and haul away all debris when we’re done. What you’re left with is a paintable surface that’s ready to go.
Ready to get started?
Every sheetrock project we take on includes proper surface prep, professional-grade materials, and the finishing work that actually makes the difference. We’re not just hanging sheets and walking away.
In Northwest Harbor and the surrounding Suffolk County area, humidity is a real factor. We use moisture-resistant drywall in bathrooms, kitchens, and basements where it makes sense. For standard interior walls, we use quality gypsum board that’s consistent and free of defects. We don’t mix product lines or use whatever’s cheapest that week.
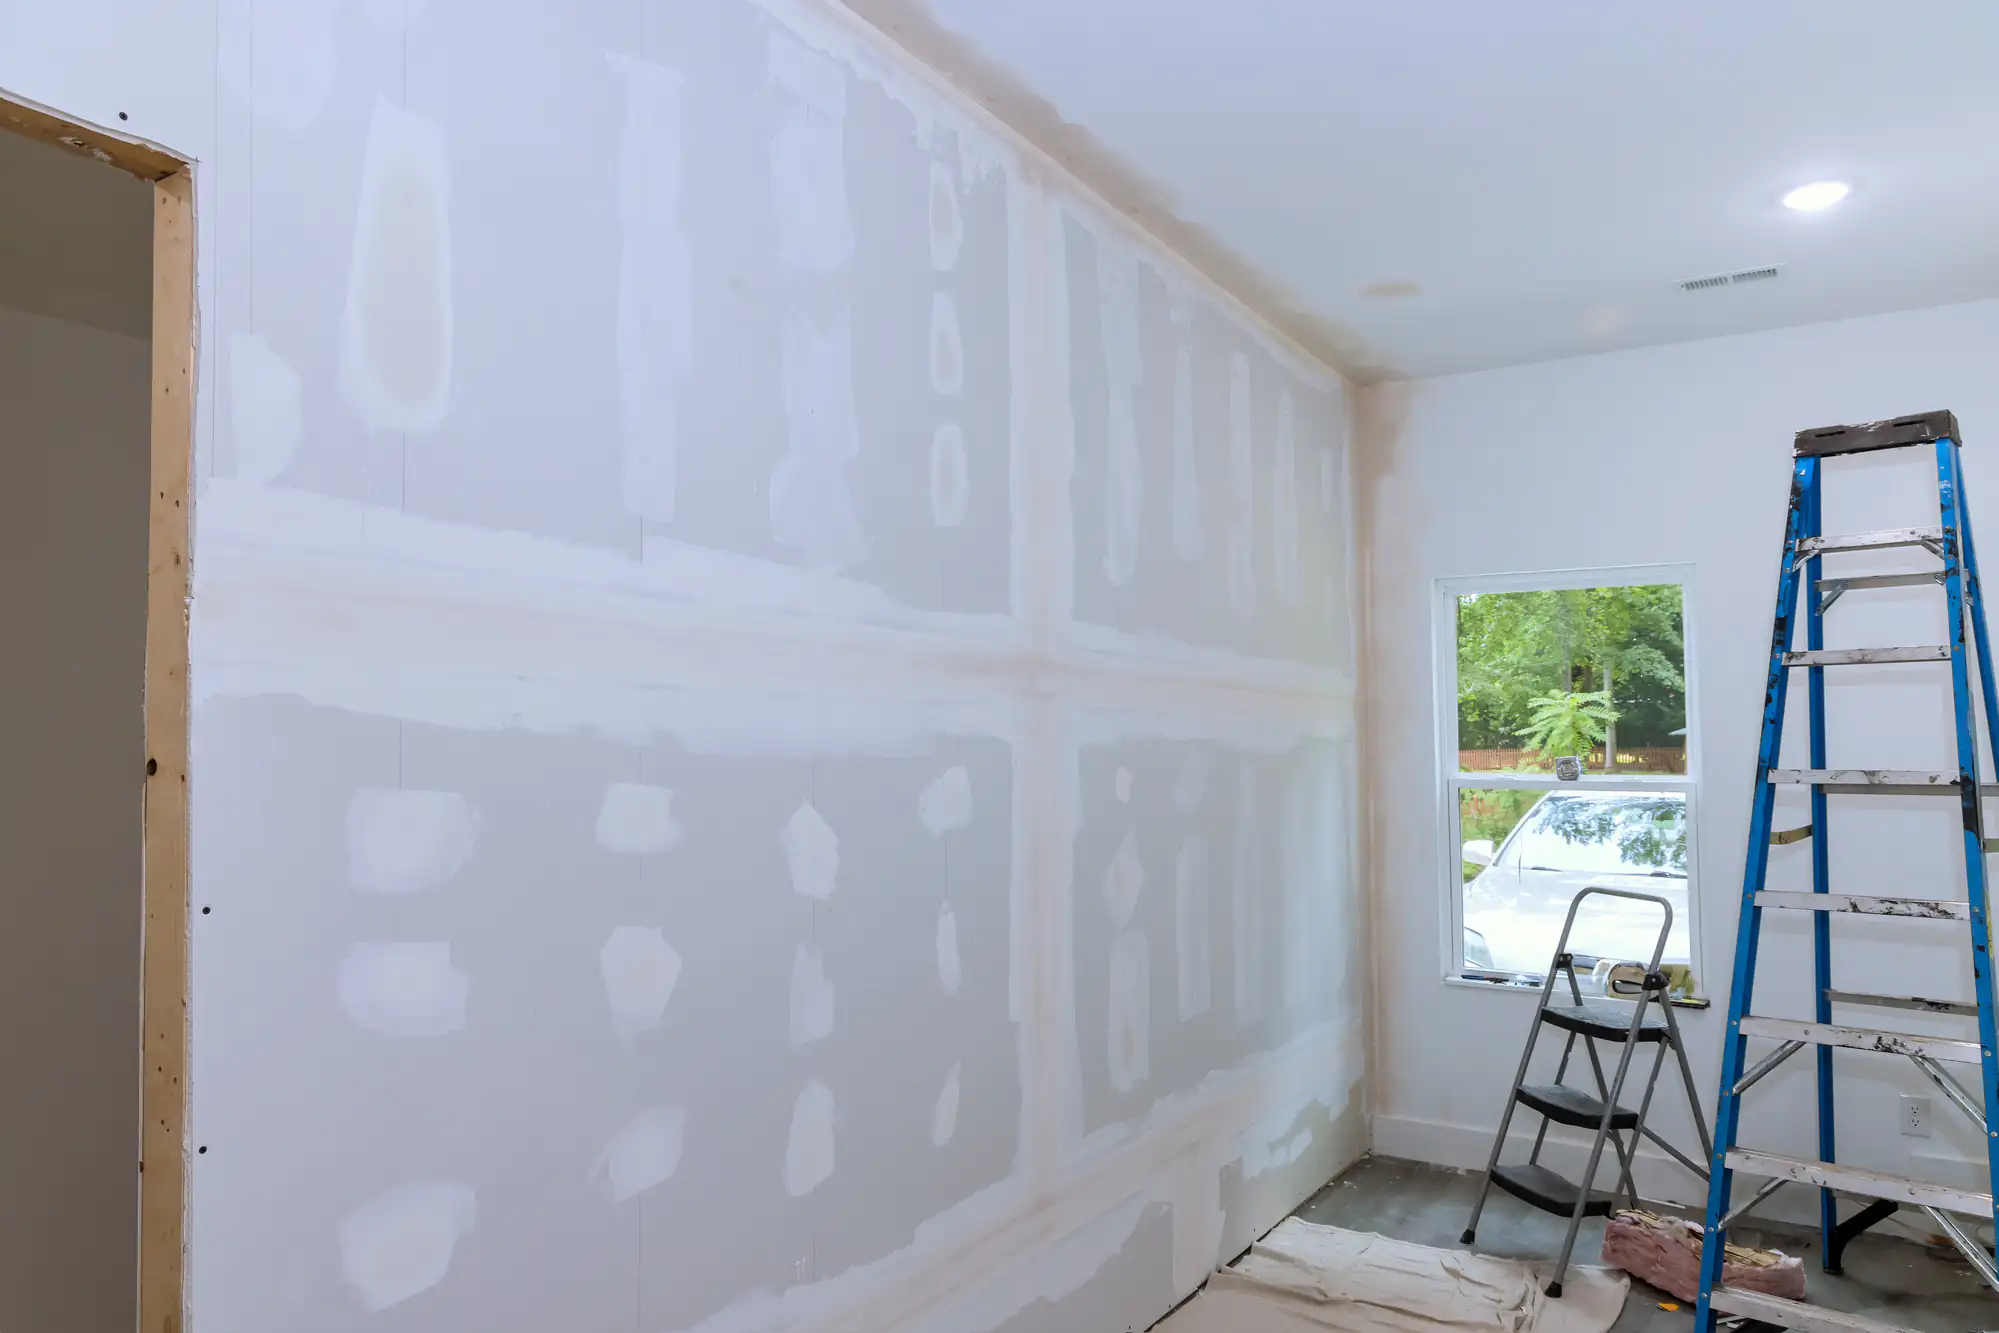
Our taping process involves paper tape on flat seams and metal corner bead on all outside corners. We use setting-type compound for the first coat because it’s stronger and shrinks less. Topping compound comes next for easier sanding and a smoother finish. Most jobs get three coats minimum, and we sand between each one.
You also get transparent communication throughout. If we find something unexpected—old damage, framing issues, wiring problems—we stop and talk to you before moving forward. No surprise charges, no assumptions. Just a conversation about what needs to happen and what it’ll cost.
For a standard 12×12 room with 8-foot ceilings, hanging the drywall usually takes half a day to a full day depending on the number of cuts, outlets, and corners. But that’s just the hanging part.
Finishing is where the time really adds up. Each coat of joint compound needs to dry completely before the next one goes on—usually 24 hours between coats in normal conditions, longer if it’s humid. With three coats plus sanding, you’re looking at four to five days minimum for a proper finish.
Rushing this process is how you end up with visible seams and rough surfaces. The compound needs time to cure and shrink. If you try to speed it up, you’ll see the shortcuts as soon as you paint. We’d rather give you a realistic timeline upfront than promise something fast and deliver something subpar.
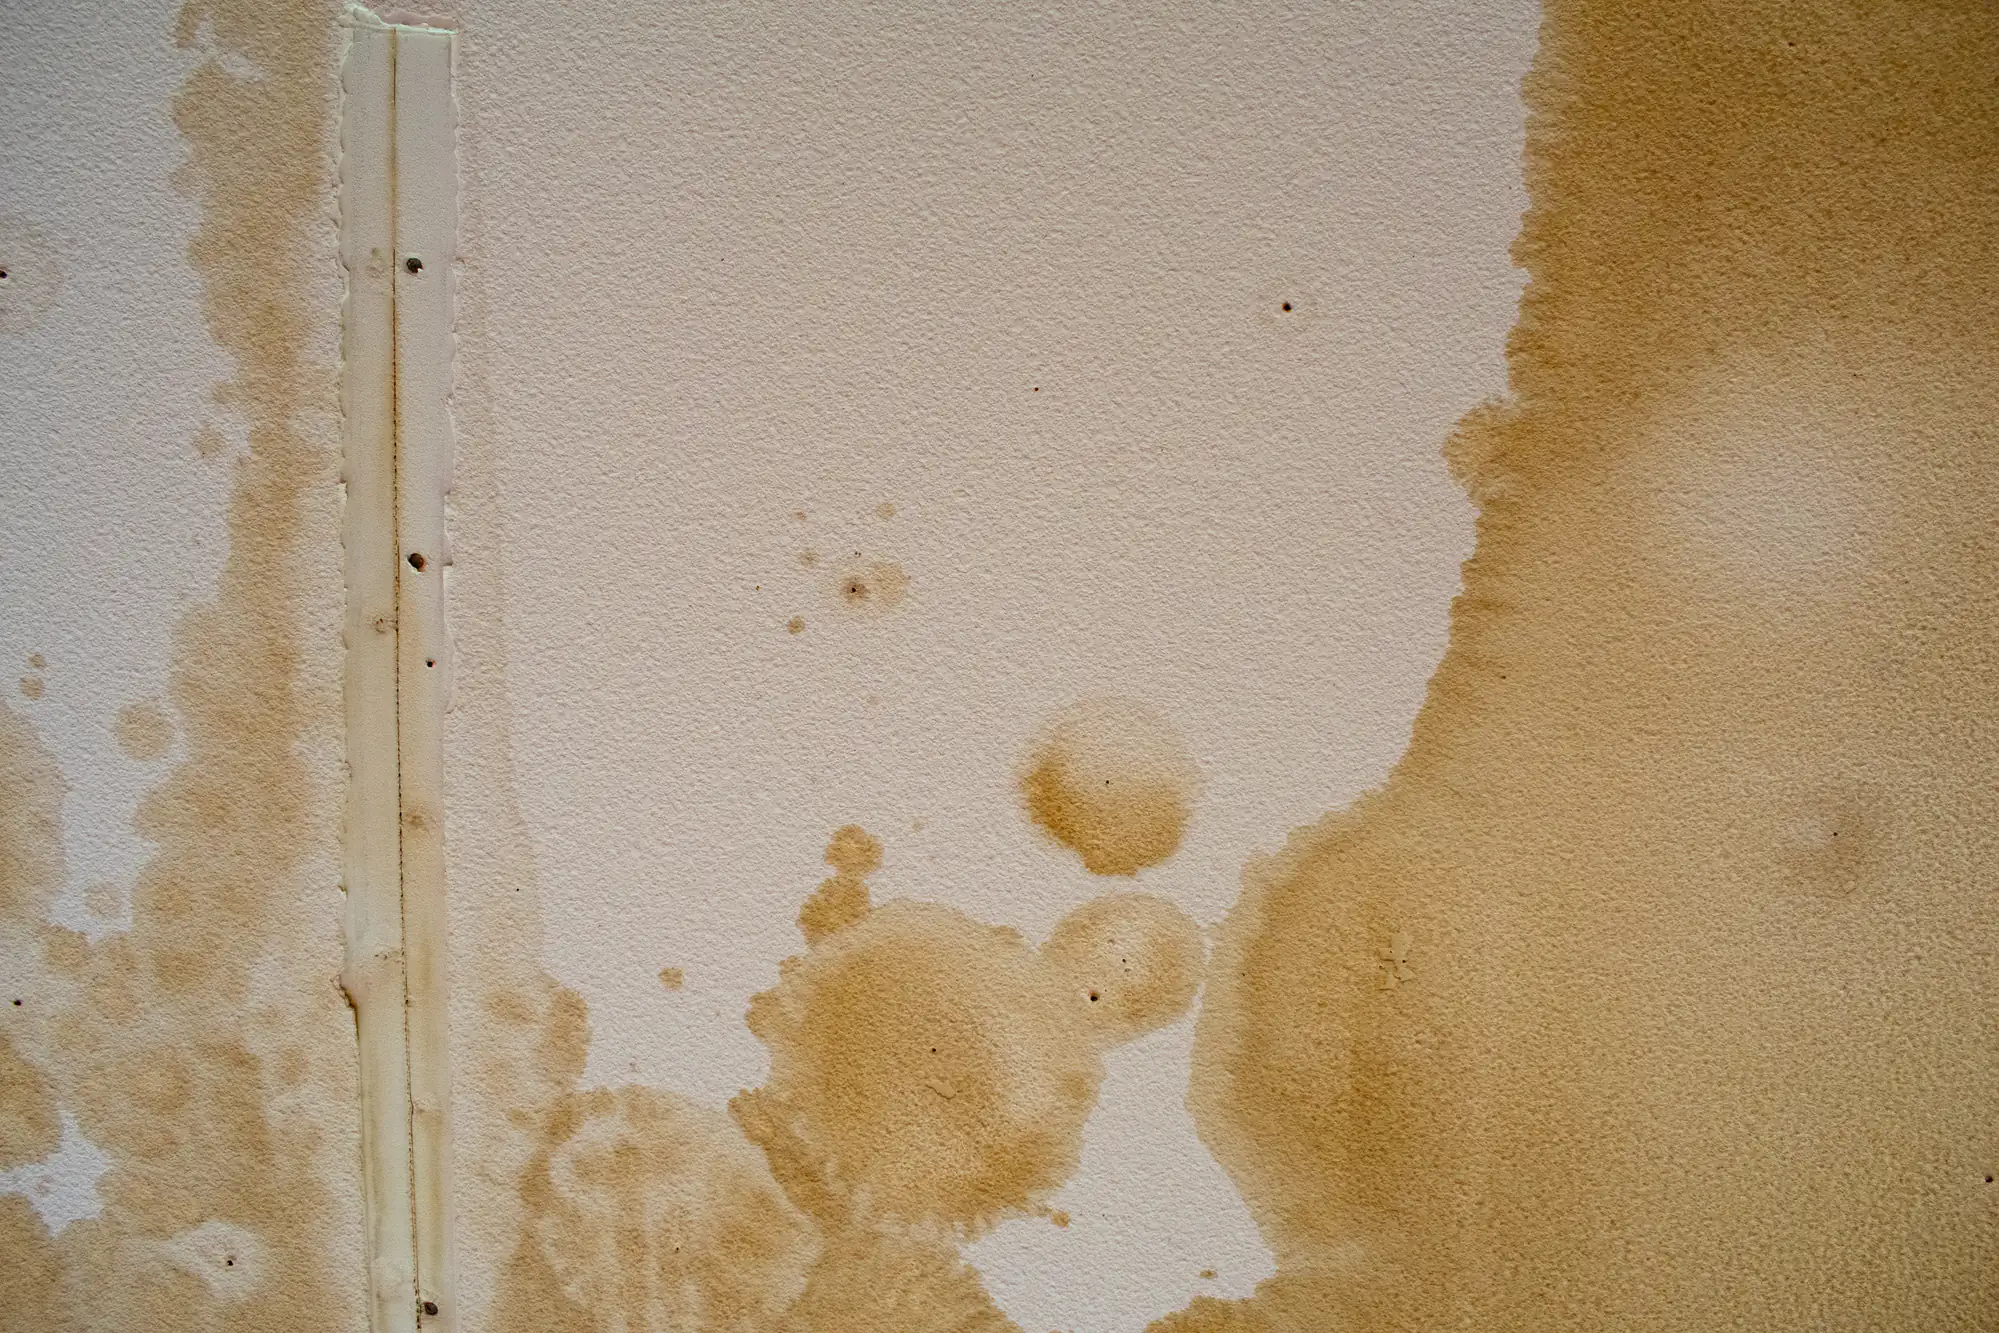
Most cracks come from one of three things: house settlement, improper installation, or moisture issues. You can’t always prevent settlement—houses move, especially newer construction—but you can minimize cracking with proper technique.
The biggest installation mistake is not leaving enough space at corners and seams. Drywall expands and contracts with temperature and humidity changes. If sheets are butted too tight or fasteners are placed too close to edges, the board has nowhere to go and it cracks. We leave appropriate gaps and use the right fastener spacing to allow for movement.
Moisture is the other major factor, especially in coastal areas like Northwest Harbor. If drywall gets wet repeatedly—from a roof leak, plumbing issue, or poor bathroom ventilation—it weakens and cracks. That’s why we use moisture-resistant board in wet areas and always recommend addressing any water issues before we start. A proper vapor barrier and adequate ventilation go a long way toward preventing future problems.
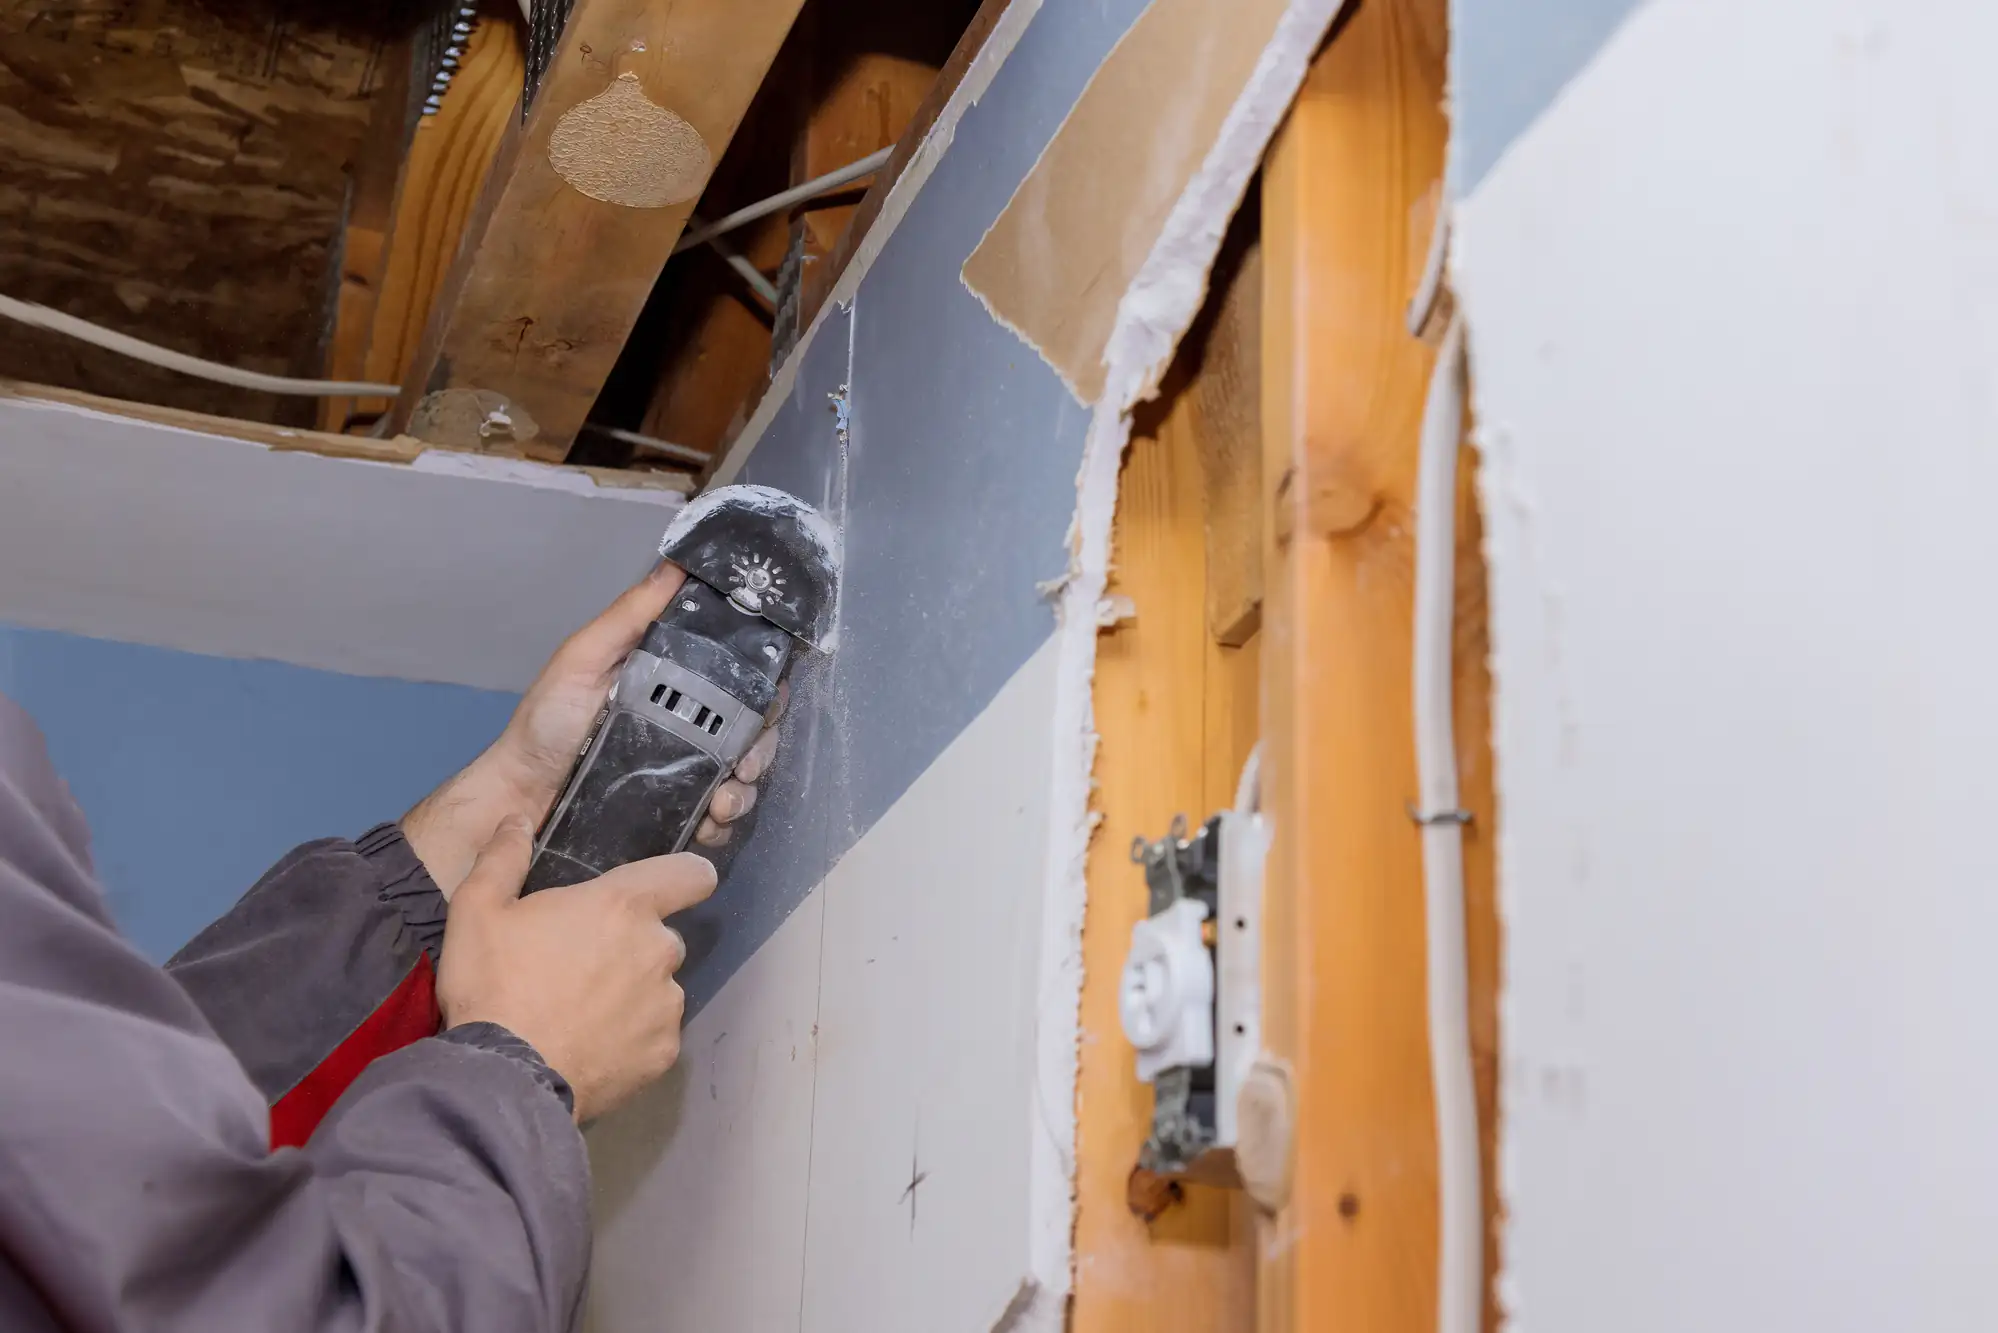
It depends on the extent and type of damage. Small holes, dents, and hairline cracks are usually repairable without replacing anything. We cut out the damaged section, reinforce it with backing, patch it with a new piece, and finish it to match the surrounding wall. Done right, you’ll never know it was there.
Larger damage—like a hole bigger than six inches, water damage that’s compromised the paper facing, or areas with mold growth—usually requires cutting out and replacing the entire section or full sheet. Once drywall gets saturated or the paper facing is torn up, the structural integrity is gone. Patching over it just hides the problem temporarily.
Water damage is especially tricky. If the drywall has been wet for more than 48 hours or shows any signs of mold, it needs to come out completely. Mold remediation isn’t something you want to skip or half-do. We’ll walk you through what needs replacing and why, and we can coordinate with other trades if there’s a moisture source that needs fixing first.
The industry recognizes five levels of finish, from Level 0 (no taping or finishing at all) to Level 5 (the smoothest possible surface). Most residential work falls into Level 4 or Level 5 depending on the paint and lighting.
Level 4 is the standard for most homes. All joints and fasteners are covered with three coats of compound and sanded smooth. This finish works well under flat paint or in rooms with normal lighting. You won’t see seams or screws under typical conditions.
Level 5 adds a skim coat of compound over the entire surface—not just the seams. This creates an ultra-smooth finish that’s necessary if you’re using glossy paint, enamel, or if you have harsh lighting conditions like large windows or bright LED fixtures. Without that skim coat, even perfectly finished seams can show through under certain light. It costs more because it’s more labor-intensive, but if you’re doing high-end finishes, it’s worth it.
We’ll recommend the appropriate level based on your paint choice and room conditions. No point paying for Level 5 in a basement storage room, but you’ll want it in a kitchen with big windows and semi-gloss paint.
Honest answer: it varies based on the scope of work, ceiling height, number of corners and cuts, and finish level you need. A straightforward room with standard 8-foot ceilings and Level 4 finish runs differently than a two-story foyer with cathedral ceilings and Level 5 finish.
For rough numbers, basic drywall installation and finishing typically ranges from $2 to $4 per square foot for materials and labor combined in the Suffolk County area. That includes hanging, taping, mudding, and sanding to a Level 4 finish. Repairs are usually quoted by the job since every situation is different.
What drives cost up: high ceilings, complex architecture, moisture-resistant or specialty boards, Level 5 finishes, and extensive repair work where we’re dealing with old damage or structural issues. What keeps cost reasonable: straightforward layouts, standard materials, and realistic expectations about finish level.
We give written estimates that break everything down. You’ll see exactly what you’re paying for—materials, labor, and any additional work like moving furniture or extra coats. No line items that say “miscellaneous” or “additional services.” If the scope changes during the job, we talk to you before doing anything extra.
Yes. We’ve worked on everything from single-room repairs in residential homes to full commercial drywall installation in multi-unit buildings and business spaces across Suffolk County.
Commercial work often involves different requirements—fire-rated drywall, sound-dampening installations, commercial-grade finishing, and coordination with other trades on tighter timelines. We’re set up to handle those specifications and we understand the permitting and inspection process for commercial projects in Northwest Harbor and surrounding areas.
Residential projects tend to be more focused on aesthetics and living comfort. You care about how the walls look, how quickly we can finish so you can move back into the space, and whether we’re going to track dust through your house. We approach residential jobs with that in mind—cleaner work sites, more communication about daily schedules, and attention to the details that matter in a home.
Whether it’s a bathroom remodel in your house or a full drywall installation in a new commercial space, the fundamentals are the same: proper materials, correct installation techniques, and finishing work that actually looks professional when it’s done.